How to Design Your Custom Stamp

Custom stamps remain an important tool in the business world even today, in the era where everything is digital. There are lots of variants available on the market.
Understanding various types of custom stamps and learning about their value is crucial for creating stamp designs that will be the best for your business image.
Learn how to design your custom stamp with this easy guide! Discover tips for creating professional, durable, and stylish stamps for any purpose
Understanding How the Stamp Design Works
Before choosing your perfect stamp it is important to understand how they work. There are specific requirements for the design that are dictated by the nature of the tool. Consider working with black and white or positive and negative space.
The stamp design should look good in one color. It can be black, blue, or even red. There will be no second color, just paper. The areas on a higher level will be seen and printed, and the recessed ones will not be visible. The chosen design should look good with:
- lines
- simple shapes
Try to avoid designs that are complicated and have a lot of details. The less is, the better. Small stamps should not have additional details.
There is less free space, and tiny elements will not be visible. Durability is another aspect to consider. Inking stamps are used multiple times. The clarity and main shapes should not be lost throughout repeated usage of the tool.
Why do you need a custom stamp?
Understanding the purpose of the stamp creation will help you make a suitable design. Custom stamps can be used for decorating documents, making them reliable and professional, identifying that some papers belong to you, etc. The final design will depend on the initial goal.
If you intend to design your stamp for business, you will indicate:
- contact information
- company logo
- corporate elements
A stamp for personal usage can have a creative and abstract look. A decorative stamp might be designed with a specific style in mind.
Surfaces on which you will use your custom stamp play an important role. If you want to use it on a variety of materials, opt for a versatile kind of design.
For rough paper, the stamp should look simpler. Smooth cardboard gives you more design possibilities. The overall look will broadcast a visual message, so think about what you tell people who will see it.
To create a design that matches your purpose and looks great on various surfaces, you can use graphic design programs to experiment with different layouts and elements.
How to Design Your Custom Stamp: Step-by-Step Guide
1. Custom Stamp Design Elements
You identified your purpose; now, let’s choose the elements that will create your design. For a text-based tool, define the essential information. Think about the size of the text and what words or phrases will be bigger and more noticeable. The smallest text should be readable and recognizable.
To add graphic elements, keep it simple and balanced. Intricate designs might not be printed well on paper. Leave free negative space between the elements. Otherwise, you risk creating an over-detailed kind of design.
Understand the purpose of placing this or that graphic element. Is it there as a decoration? Does it convey some meaning? Get rid of the things that are impractical or extra. Simple stamp designs look better as final products.
2. Choose Your Style
The design style is an important aspect of creativity. Say you need a custom stamp for business documents. It should look professional and respectable.
Including many playful elements or graphics is a bad idea. Keep it short and simple for a professional look. For decorative style, select the preferred fonts and graphic elements. Design the stamp using visuals that fit into a particular aesthetic.
There are certain styles that are more popular than the others. Classical style includes:
- serif fonts;
- emblems;
- borders.
Incorporate some coat of arms style. If you already have a corporate style and would like to design the same stamp for your brand, use the branding elements that represent your company.
Keep practical aspects in mind, too. There are several types of stamps:
- Pre-inked: A built-in inking well can be pressed lightly on the paper.
- Self-inking: It refreshes the ink when pressed.
- Rubber stamps: They can be applied to various surfaces and work with different ink types.
If you need a self-inking stamp, consider that it usually has a rectangular shape. Traditional rubber stamps come in different shapes and stamp sizes.
Dark colors look good on various types and shades of paper. Be careful with the light colors of the stamps. There are some papers on which they will not be visible at all.
3. Create Custom Design
It is time to start designing. Sketching ideas might help narrow down the distinctive ones. Use a pencil and paper for this step. Play around with the elements before you transfer the process to the digital area.
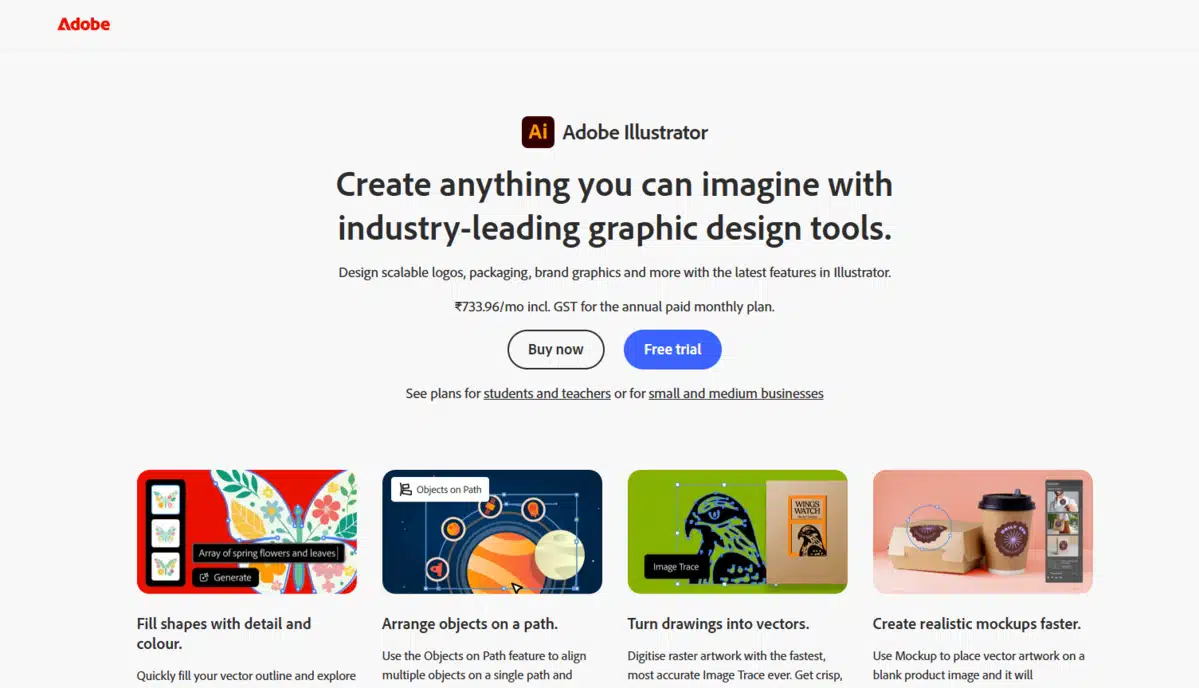
Graphic design programs such as Adobe Illustrator or CorelDraw are helpful. These are vector programs that allow the creation of images that can be scaled. No picture quality will be lost. Upload the initial sketches to a program to guide you through the process.
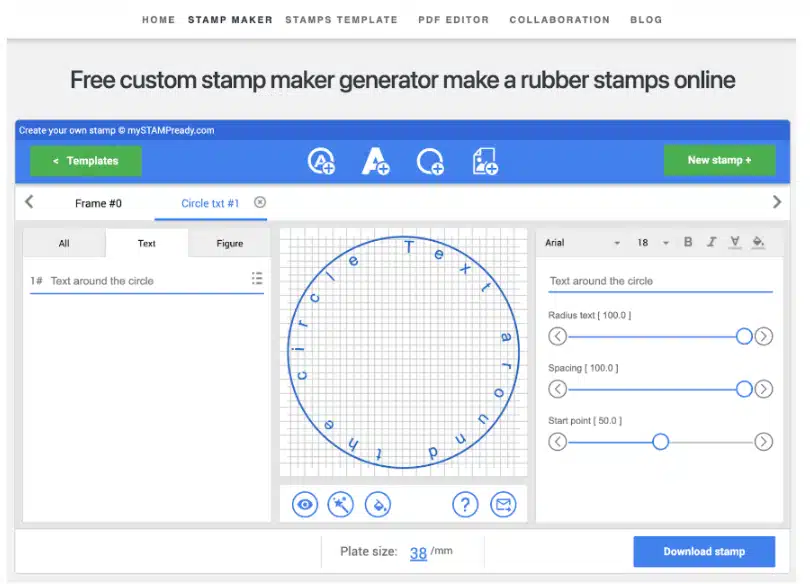
You can benefit from using online services. Mystampready has a simple and user-friendly interface that is easy to use. There are some stylish prepared templates that look good when turned into custom stamps. You can download your custom stamp in various file formats, including:
- PNG
- DOCX
- SVG
They can be used to produce actual stamps or digital documents. Visit mystampready.com and explore a variety of creative elements of this stamp maker!
Designing in a digital program, choose black and white colors mode. You will see if the design looks good in mono color. Keep the balance between negative and positive spaces.
4. Testing Step

Test the final result to get the perfect design ready. MyStampReady has a preview window, you will see the design and will be able to download it in PNG, SVG, PDF and DOCX.
Want to go the extra mile? Print your designs individually on sheets of paper. Do it in various sizes to see how you can scale the stamp. Put the printed paper on the wall and step away from it. See if you recognize the main elements.
Test several versions of your design. Try adding or deleting elements in order to achieve a harmonious look. Design changes radically when you work with small details.
Some companies offer to purchase test stamp prototypes for a small cost. Order one to check if the result is what you need and will serve you well.
5. Final Steps of the Design
Now, let’s finalize the final product. The online designing tool is simple. Preview your design, add finishing touches, and place an order. Download the file if you need it for digital documents only.
Designed your stamp using vector software? Prepare a file according to your manufacturer’s requirements. They include black and white images in high resolution, the format may be EPS or PDF. Double-check the final result before sending it to the manufacturer.
Do not forget to buy accessories for your stamp. You will need an ink pad which can be in various colors:
- black
- green
- blue
- red
- violet
- orange.
Several shades will give you freedom when using the tool.
Care for Stamp Correctly
Did you get your custom stamp? Congratulations! Care for it right if you want to keep using it for a long time. Do not forget to cap the tool when you finish applying it.
This step prevents the ink from drying. Clean the stamp with a soap and water solution. This is important if you use different colors. Do not apply any abrasive cleaning liquids or aggressive kinds of chemicals to it.
Keep your tools in a dry and cool place, away from the direct sunlight. Protect the rubber from extreme temperatures and humidity; do not allow rapid temperature changes.
If inked stamps start to create a less clear impression, refill the ink pad or buy a new one. With the right maintenance, the quality of stamping is high for many years of usage.
Summary
Creating your custom rubber stamp will allow you to get a useful and unique tool. Understanding the main requirements of stamp design is essential for getting the perfect final product.
It is a creative process; be bold with your ideas and try various lines and shapes. You will succeed at designing and producing a versatile tool for your brand, business, or personal use.

Abhijit Sarkar
Hi, I’m Abhijit Sarkar. I am deeply passionate about creating engaging content and exploring. My journey includes gaining valuable experience in content writing and creating useful resources for my readers.
Leave a Reply