How to Create an Auction Website with WordPress: Step-by-Step Guide

Want to create your online auction website – something like eBay, but specific to your niche? You have come to the right place! Learn how to create an auction website with WordPress. Building a bidding site may sound complicated and daunting, especially if you are not a developer, but don’t worry — it is much easier than you think.
In this article, you are going to learn exactly how to create an auction website with WordPress – no coding necessary. By using an exciting and robust plugin such as Ultimate Auction for WooCommerce, you can set up and run a fully functional auction site in just a few clicks!
Whether you wish to sell antiques, unique digital products, limited edition merchandise, or collectibles, this step-by-step tutorial will take you through the whole process — from beginning to end — of setting up your site to launching your first auction.
Ready to create your bidding empire?
What is an Auction Website?
An auction website is a style of eCommerce site on which products or services are sold to the highest bidder. Instead of selling at fixed prices, buyers bid against each other for a while. At the end of the auction period, the highest bidder becomes the owner of the product.
An auction site is a digital auction house, like eBay, but tailored to your audience. Some other big auction sites are:
- Bonanza
- Catawiki
- Copart
- DealDash
Whether you are auctioning vintage collectibles, NFTs, or limited-edition sneakers, an auction website gives you 100% control over your listings, bidding procedures, and payouts. Creating an auction site is easy with WordPress.
In this guide, we’ll take you through how to create an auction website using WordPress (and a plugin that will turn your store into a competitive, real-time bidding auction marketplace).
How Does It Work?
So, how do the auction websites work? Building one from scratch or utilizing software platforms like WordPress (my preferred option) is pretty easy to understand. Here’s the process in a quick overview:
- Sellers create a listing for an item they want to auction — it can be anything from rare books, calculators, to digital goods.
- Seller’s input rules: starting price, increment, reserve price, and time for the auction.
- Buyers register and place bids in real-time.
- When the time countdown runs out, the highest bidder wins the auction.
- The winner pays, and the seller fulfills the order, either by sending the shipment or sending digital delivery.
To me, what makes auction websites fun is the excitement in the competition and the format of an auction itself. The auction style usually creates urgency, or scarcity, and usually provides a higher sale price, which are all good things for an eCommerce seller.
If you are still considering how to create an auction website with WordPress, this was all good information to know as part of the process. Plugins like Ultimate Auction for WooCommerce will help make it easier and more automated to complete each part of the experience, from collecting bids to notifying the auction winner.
How to Create an Auction Site with WordPress: 6 Easy Steps
This is where the fun begins – building your auction site, using WordPress and the Ultimate Auction for WooCommerce plugin. Whether you’re new to WordPress or have experience running a WooCommerce store, these six easy steps detail everything you need to build an auction site with WordPress – no coding required.
Let’s get started with the step-by-step guide.
Step 1: Choose a Domain Name and Web Hosting

First, you’re going to need a home for your website, which means you’ll need a domain name and reliable WordPress hosting.
Domain Name Tips
- Keep it short, simple, and brandable.
- Use keywords if relevant (e.g.,
vintagebidstore.com). - Don’t use hyphens, numbers, or anything tricky.
Hosting Recommendations
Choose a host that supports WooCommerce and offers good speed. A few solid options include:
- Bluehost – Good for beginners, one-click WordPress install
- SiteGround – Speed and Support-focused
- Hostinger – Good value and scalable
- Cloudways – Strong on performance and flexibility
Once you’ve bought the hosting, most providers offer a one-click WordPress installation. This will install WordPress and set the stage for your auction site.
Pro Tip: If you can, get a hosting plan that has at least 2–4 GB RAM, as well as SSD storage, so you won’t have problems running slowly during peak auction times.
Step 2: Install WordPress and Select a Theme
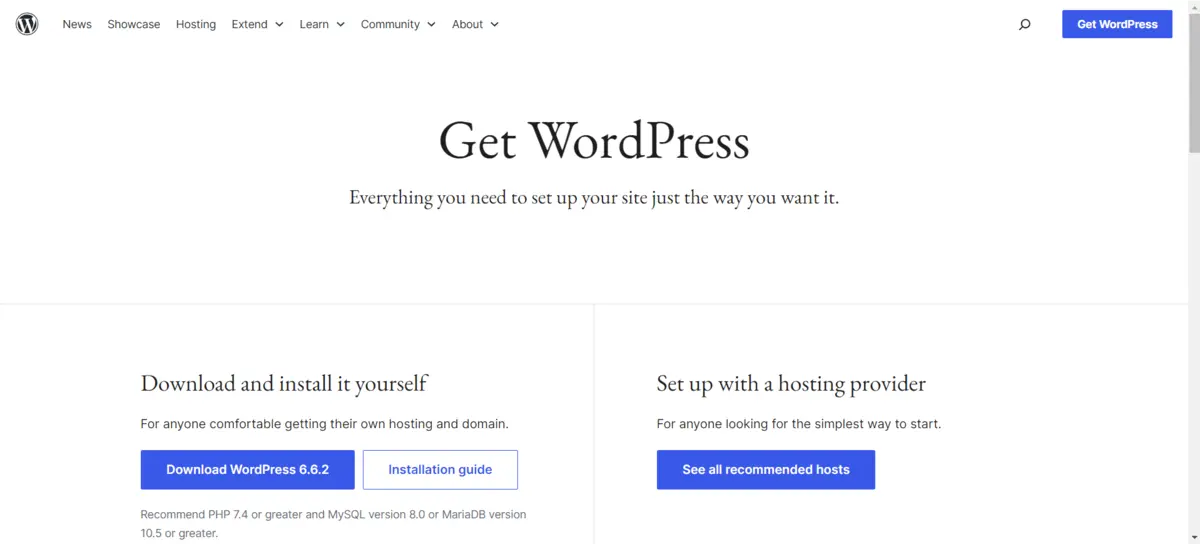
Now that you have the hosting and domain set up, it’s time to install WordPress (if your host didn’t already).
Once you have WordPress installed, you will want to select a WordPress theme that is WooCommerce compliant and is also good for auction themes.
Recommended Themes:
- Astra – Lightweight, customizable, and WooCommerce compliant.
- OceanWP – Feature-heavy with great layout controls.
- Neve – Superfast with a modern layout.
- Blocksy – Very compatible with Elementor and WooCommerce.
Make sure your theme is responsive (mobile-friendly), clean, and customizable. This is good for your users and effective for SEO.
Don’t overthink trying to make everything perfect. You can go back and refine the design later using Elementor or WordPress Customizer.
Step 3: Install and Configure WooCommerce
Your auction website needs a powerful eCommerce engine to handle listings, user registration, product administration, and payments. That’s where WooCommerce comes into play — it is the most popular eCommerce plugin for WordPress.
Steps to Install WooCommerce
- From your WordPress dashboard, go to Plugins → Add Plugin.

- Search for WooCommerce.

- Click Install Now, then Activate.

Follow the setup wizard to:
- Set your business location.
- Select the currencies you’ll accept,
- Choose your payment gateways (e.g., PayPal, Stripe, bank transfer).
- Set up your shipping zones and taxes.

Once you are done, WooCommerce converts your site into a fully functioning online store — a great base for your WordPress auction plugin to build upon.
Pro Tip: Even if you are only running auctions, make sure you set up at least one payment method and one shipping rule to prevent problems with checkout!
Step 4: Install Ultimate Auction for WooCommerce Plugin
This is the step when the auction heavyweight quality and capacity can finally get unleashed on your site.
The Ultimate Auction for WooCommerce plugin is a powerful yet simple user interface module that, when added to WooCommerce, enables a variety of auction features such as bidding rules, timers, auto-bidding, and reserve prices.
Features
- Multiple auction types: standard, silent, reverse
- Countdown timer and auction end time
- “Buy Now” feature concurrent with bidding
- Proxy bidding and bid increment controls
- Notifications to bidders and admins
Steps to Install
- Go to Plugins → Add Plugin.
- Search “Ultimate Auction for WooCommerce”.

- Click Install Now, and Then Activate.

Once installed, you will then have an “Ultimate Auction” menu as part of your dashboard. Inside this menu, you can locate and manage all auction settings either globally or at the individual product level.
Note: There is a Pro version as well with further options such as multiple auctions per product, custom user roles, and premium support.
Step 5: Create Your First Auction Listing
Now it begins — it’s time to create your first active auction.
Steps to Create an Auction Product
- Head to Products → Add New Product.

- Fill in your product title and description.

- Upload product image (should be high-quality, high-resolution images that are zoomable).

- In the Product Data section, select Auction Product.

- Fill in the details.

- When you’re done, hit Publish — congratulations, your first auction is active!
Bonus Tip: Upload multiple view angles of the item, and possibly upload short demo videos to instill trust and engagement.
You can also use auction categories, tags, and filters to customize navigation for users.
Step 6: Customize and Launch Your Auction Site
It’s time to make your auction site look polished before you invite bidders. A professional appearance builds trust; that’s crucial for any online auction site.
Customization Tips
- Use Elementor or your favorite page-building tool to make a homepage design.
- Add the benefits, such as “Live Auctions,” “Recently Ended,” “Popular Items,” etc.
- Create navigation for auctions in categories like categories, prices, or status.
- Set up WooCommerce settings for user & order emails.
- Control SSL (HTTPS) to allow secure bidding/paying options.
- Add Branding: logos, favicons, brand colors, and fonts.
Keep in mind to add legal pages like:
- Privacy Policy
- Terms & Conditions
- Contact Us
- Shipping & Refund Policy
After everything is set up, you should test all the auction processes from beginning to end. Use a test product and a test user account so you can experience the registration all the way to winning the auction with your customers in mind.
Bonus: Set up email notifications with plugins like WP Mail SMTP to ensure bidders are notified when outbid, they win, or they need to make a payment.
Final Thoughts: Build and Launch Your WordPress Auction Website Today
And that is a comprehensive, rookie-friendly guide on how to create an auction website with WordPress with only a domain name, some plugins, and your imagination.
At this stage of the article, you have learned:
- What is an auction website, and how does it work?
- How an auction site generates urgency and encourages user interaction.
- What tools and plugins will you use to set up your site (big shoutout to Ultimate Auction for WooCommerce)?
- How to set it up and get going from hosting to your first live auction.
The bottom line is that you do not have to hire a developer, spend thousands of dollars, or reinvent the wheel – with WordPress’ flexibility, it has never been easier to create a fully functional revenue-generating auction site – whether you are flipping collectibles, operating a charity bid, or creating the next site for your niche that is similar to eBay.
Frequently Asked Questions (FAQs)
Q1. Is it possible to create an auction website using WordPress?
You can create a basic auction website with free products such as WordPress and WooCommerce, plus the free version of Ultimate Auction for WooCommerce, and do it all without any cash out of pocket.
Q2. Will I need coding skills to set up an auction website?
You will need NO coding skills. It is all plugin-based, and you can do everything visually through WordPress.
Q3. Is Ultimate Auction for WooCommerce responsive?
Yes! Ultimate Auction for WooCommerce will work with responsive WordPress Themes so your auctions will look okay on any device.
Q4. Can I list fixed price items and auctions on the same website?
Yes! WooCommerce allows you to list Fixed Price Items and Auctions side by side. You have full flexibility.
Q5. How do payments work when an auction is complete?
When an auction ends and a customer wins the auction, they will be taken to the checkout page, where they can pay through whichever payment gateway you have set up, including PayPal and Stripe.
Ekta Lamba
Ekta Lamba is a tech writer at DevDiggers focused on making WordPress and WooCommerce straightforward for non-developers. She covers plugin errors, platform updates, and WordPress basics, written so readers can follow along without a second tab open to translate the jargon.
Join thousands of readers getting smarter every week.
Leave a Reply