How to Customize the WordPress Reset Password Page (2 Easy Methods)

Have you ever clicked “Forgot Password?” and ended up landing on the bland, cold, and confusing reset page? Your users likely have as well. The default WordPress reset password page works, but it is not particularly user-friendly, and it certainly does not reflect the brand they know and love.
Not to mention, it is a lost opportunity to build trust, improve the overall experience, and reinforce your site’s identity and presence.
That is why knowing how to customize the WordPress reset password page is so useful and important. Depending on your case, it may be aesthetically pleasing to create design similarities with your brand, or for better user guidance and consistency in a user experience, the wonders a tailored reset page can provide are undeniable.
In this post, we will cover two simple ways to customize the reset password page on WordPress: first, a plugin method (no coding required!) and the other a custom PHP code method (so you can maintain total control).
We want to take that general form and customize it to a beautiful, branded, high-converting experience.
Why Customize the WordPress Reset Password Page?
When a user wants to reset their password with your WordPress website, they’re expecting a seamless experience that they can trust. The default reset page, on the other hand, is generic, old-fashioned, and lacks any touch of your identity at all.
In a world of digital competition, and with a brand being the sum of all experiences, every touch point matters, including the reset password page.
Knowing how to customize the WordPress reset password page is a no-brainer.
Here’s why it’s a smart move:
- Enhance Your Brand Identity: “Reset Password” pages in WordPress default to WordPress branding, instead of yours. When you create a custom design, you reinforce your brand colors, voice, and logo, providing your users with a more cohesive, professional experience.
- Enhance User Experience (UX): You can provide clearer instructions, streamline the layout, and build a mobile-responsive form, making it more intuitive for your users to quickly reset their password.
- Strengthen Trust & Security: Good design conveys legitimacy and is more likely to build trust among users. Your users will be more likely to trust a site with branding far more than a generic-looking site.
- Increase Conversions & Engagement: Using custom CTAs or post-reset redirects, you can guide users back to high-value pages such as their dashboard, a product offer, or onboarding content.
- Customize for Various User Roles or Languages: If you’re running a membership site or WooCommerce store, you can run role-based reset flows for customers, vendors, or admins, or display localized content for users around the world.
Think About This: The reset password page may be a small aspect of the user journey, but it is still part of the user journey. So, why not make it great?
How to Customize the WordPress Reset Password Page: 2 Methods
We now know why customization is important, so let’s look at how. With regards to how to customise the WordPress reset password page, there are primarily two ways:
- Use a plugin – good for beginners or non-coders.
- Add custom code – this is for developers and advanced users who want complete control.
Let’s start with the plugin route, which is easy, powerful, and takes less than 10 minutes to set up.
Method 1: Customize the WordPress Reset Password Page Using a Plugin (No Coding Needed)
If you’re not a developer or if you just want a fast and reliable way to tweak the reset password flow, using a plugin such as Theme My Login is your best option.
Theme My Login replaces the default WordPress login and reset pages with branded front-end versions you can style and redirect.
Here is how to go step by step:
Step 1: Install and activate the plugin
- Go to your WordPress dashboard. Navigate to Plugins → Add Plugin.

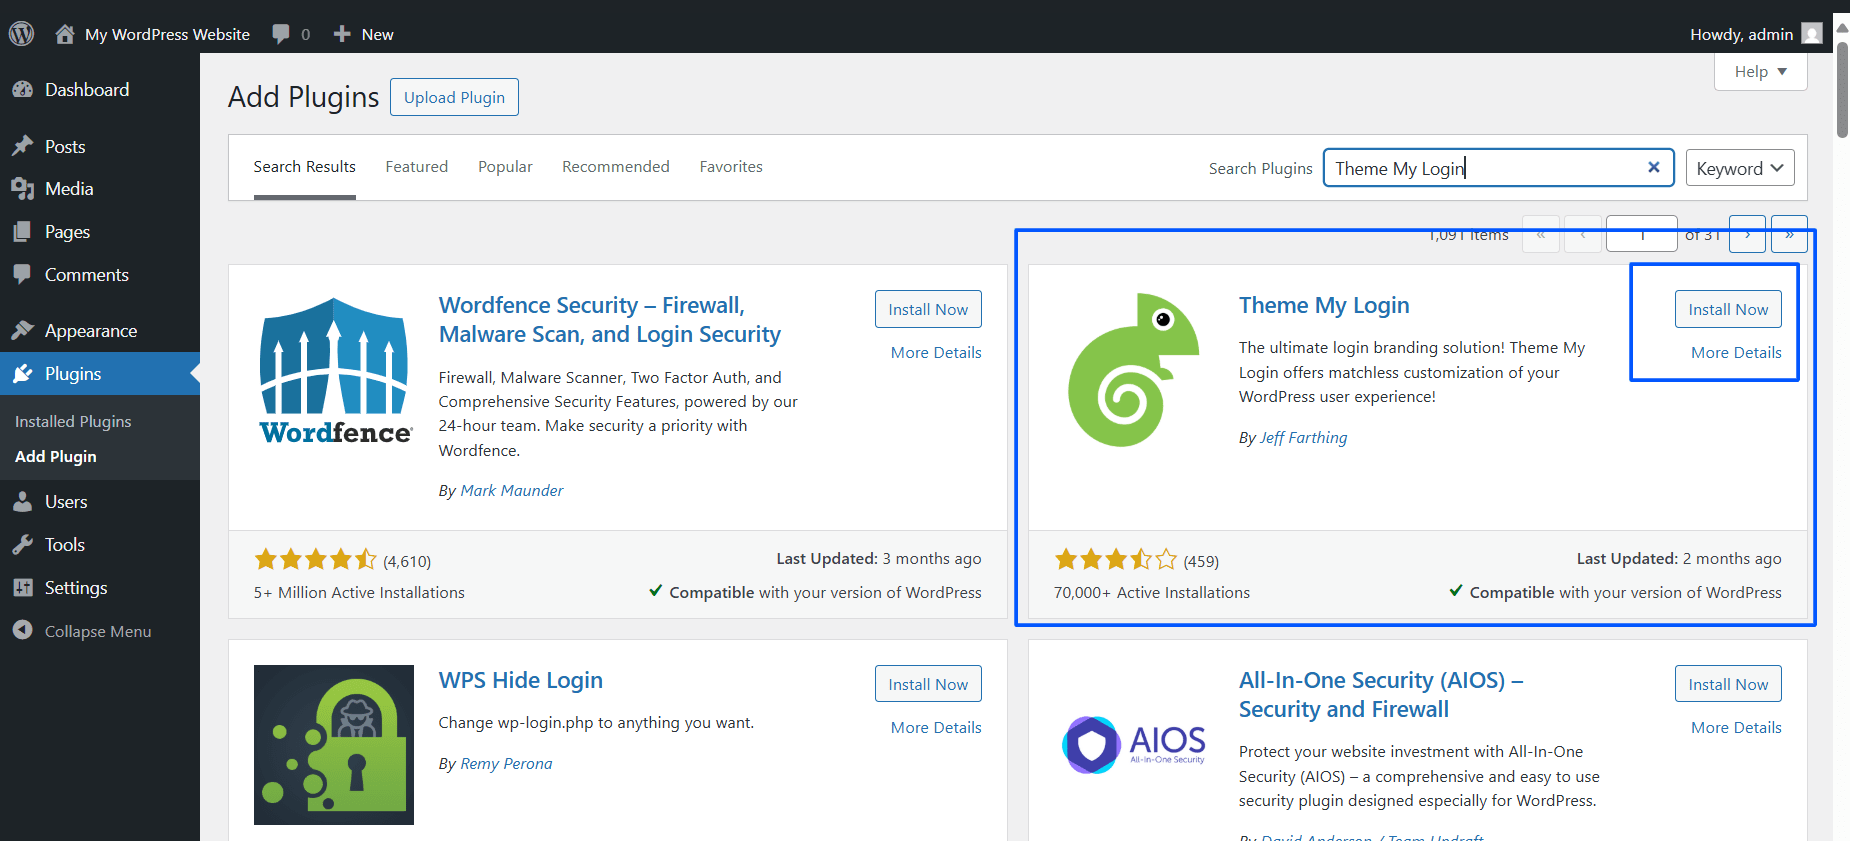
- Search for Theme My Login.
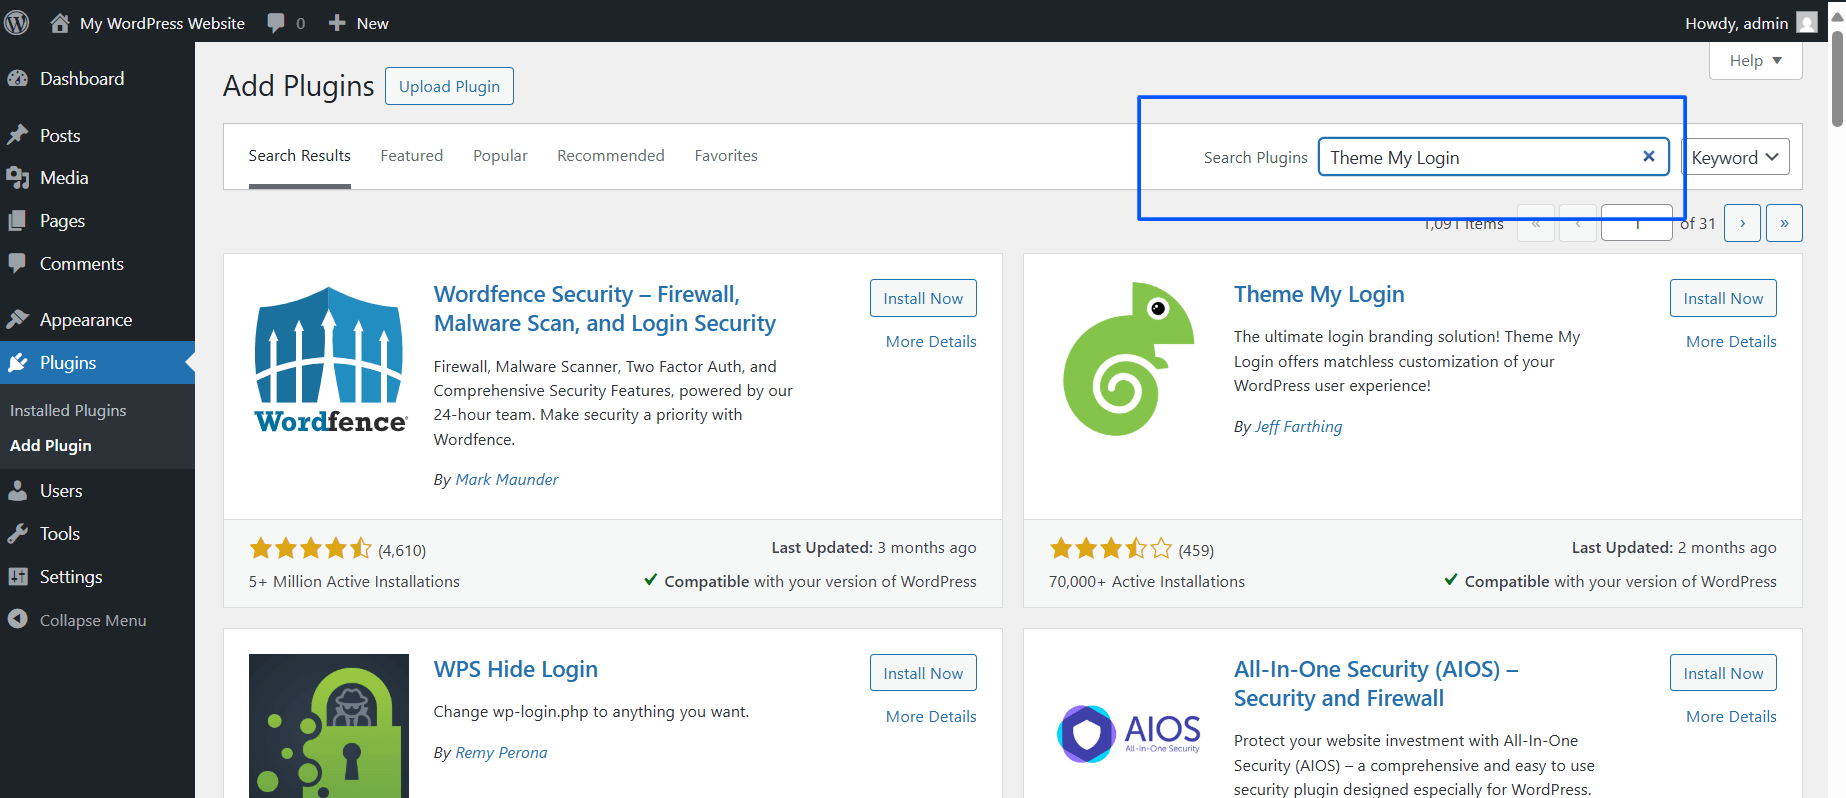
- Now, click Install Now and then activate the plugin.
Pro Tip: The benefit of using this plugin is that it allows you to customize the reset password page, as well as the login, registration, and profile, all in one tool.
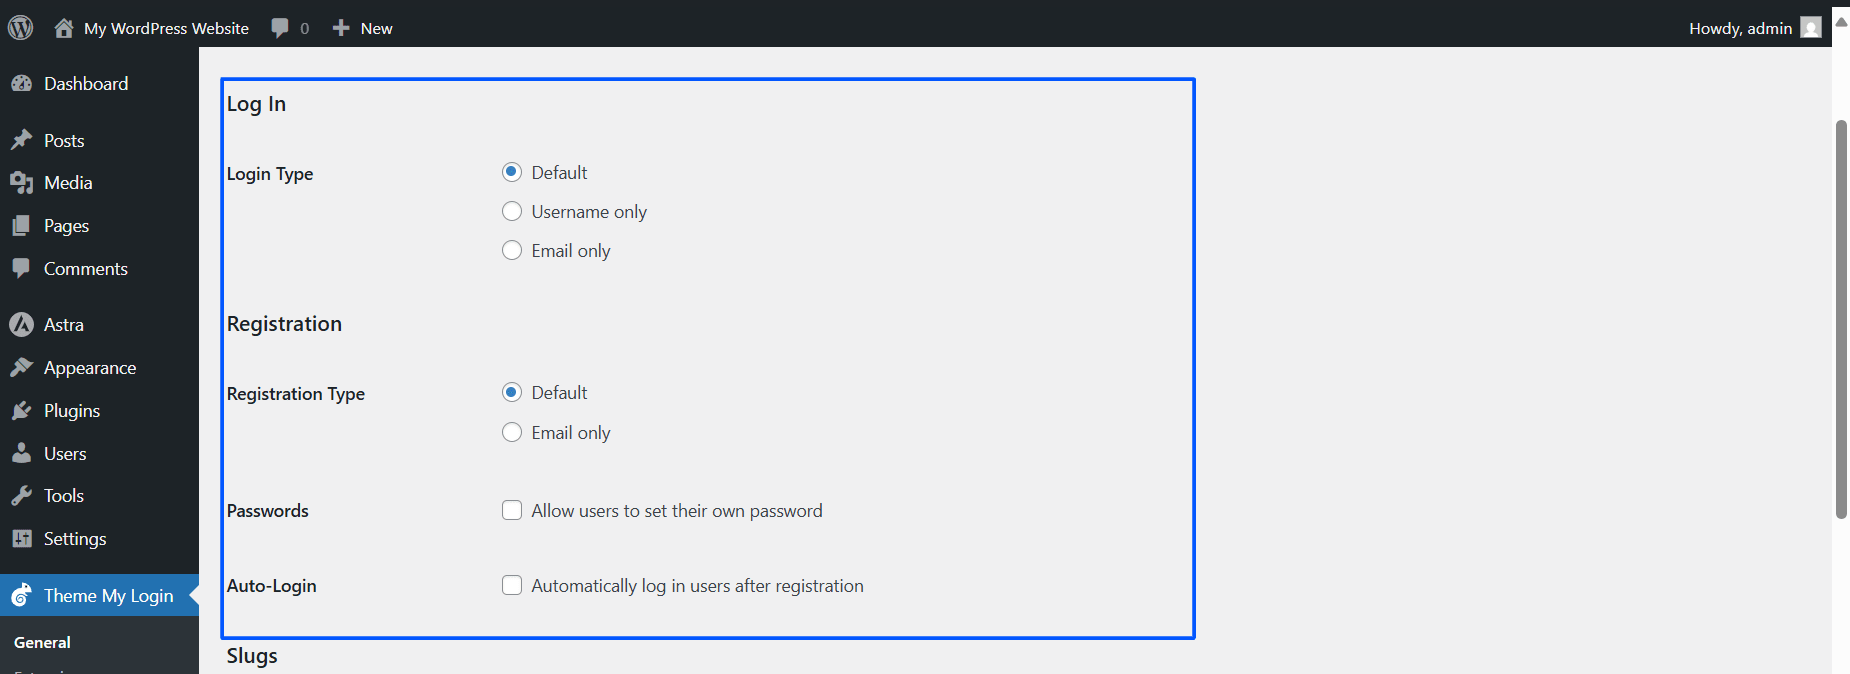
Step 2: Configure the Plugin and Enable Password Reset Module
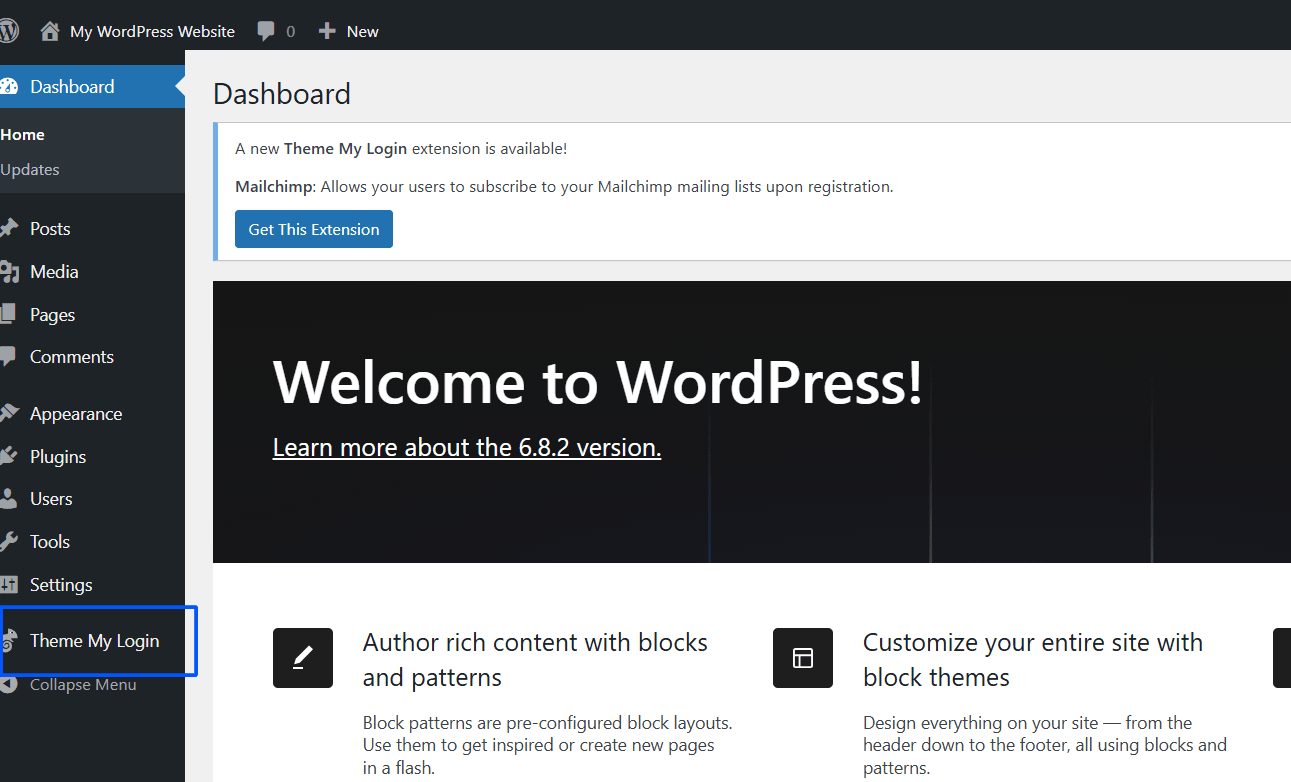
Once the plugin is activated:
- Click on Theme My Login from your WordPress admin menu.
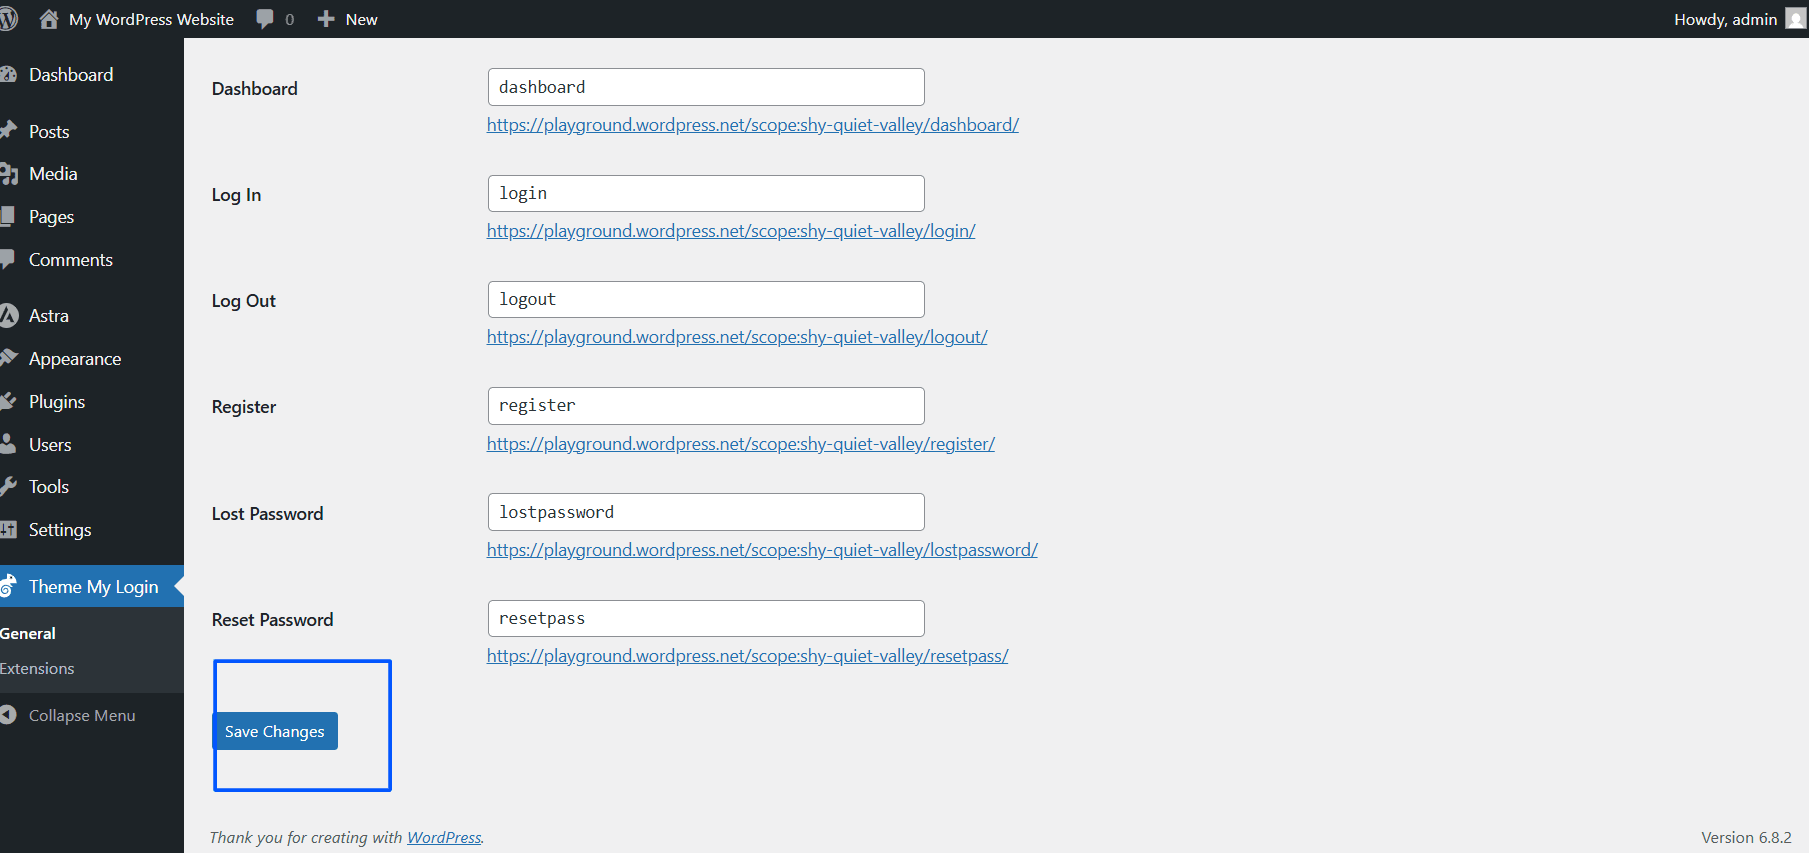
- Go to the General section and scroll down to slugs.
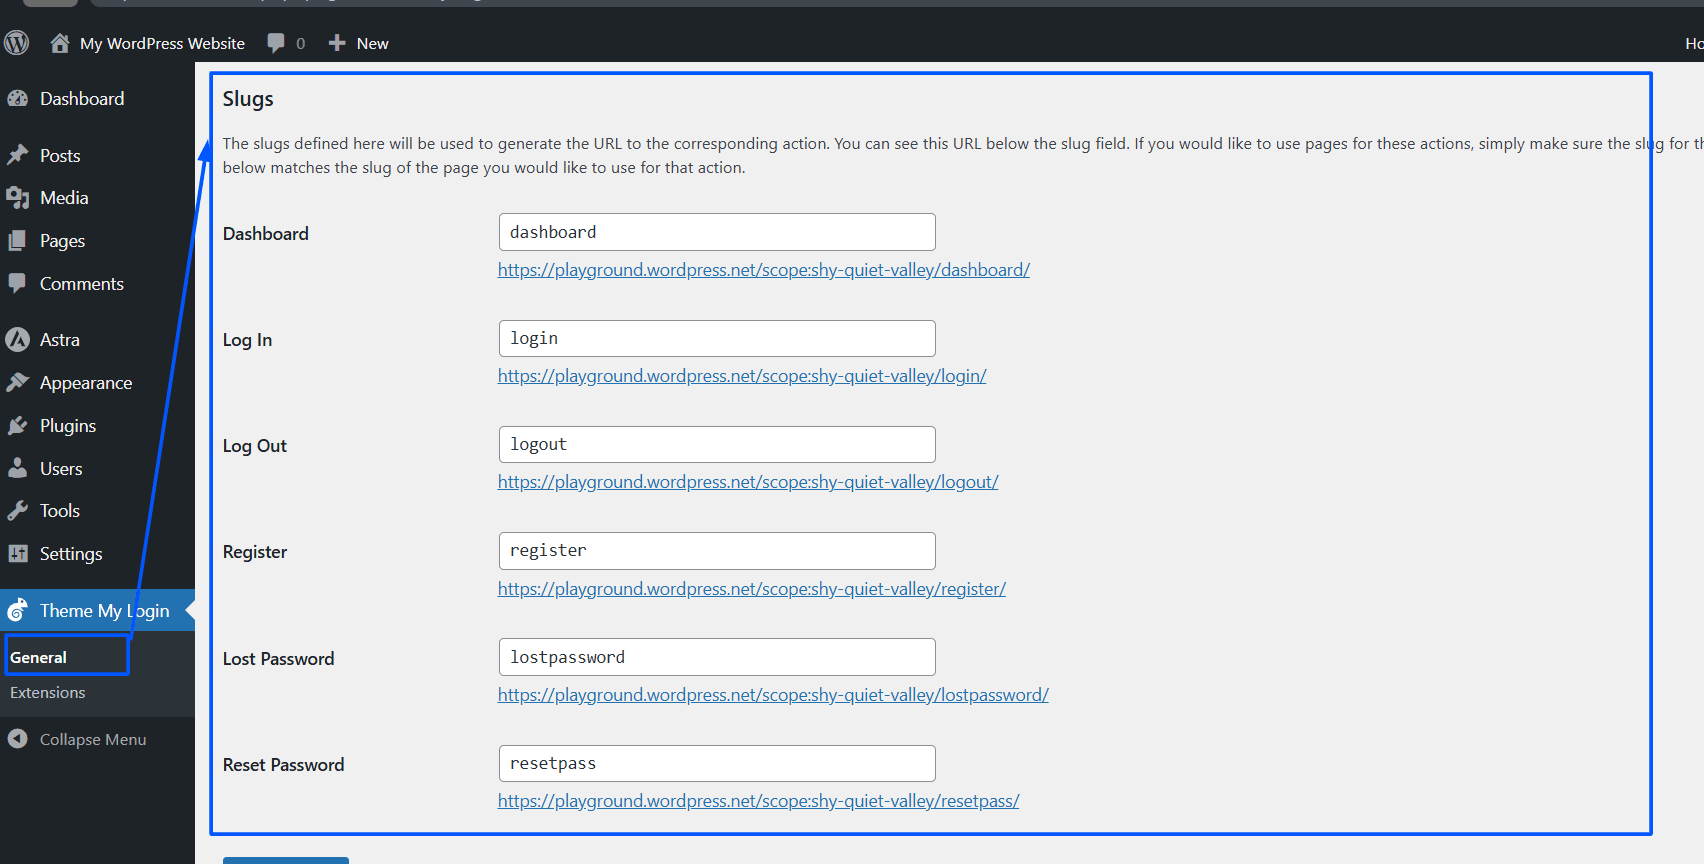
- You can configure settings.
- Click Save changes.
The plugin handles the creation of frontend pages for login, registration, and password reset on its own, and you can find them under Pages.
Step 3: Customize the Reset Password Page using the Block Editor or Page Builder
You now have a new page titled Reset Password (or similar) available under Pages.
Here is how to customize it:
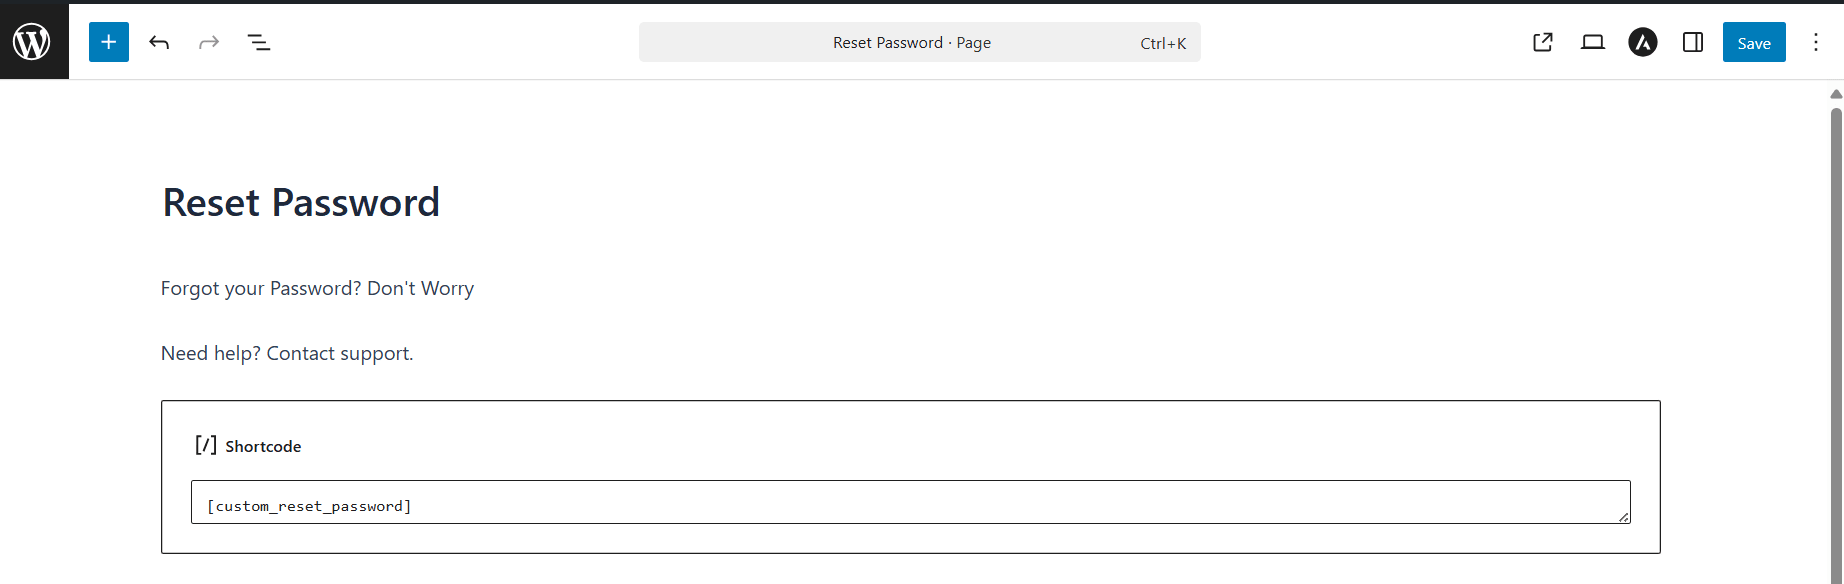
- Open the Reset Password page in the Block Editor, or any of your favorite page builders (Elementor or Beaver Builder).

- Add your company logo, some instructions, and style it to suit your existing pages. You might have helpful content such as:
- “Enter your email to receive a reset link.”
- “Need help? Contact support.”
Example:
<div class="password-reset-header">
   <img src="/wp-content/uploads/logo.png" alt="Site Logo">
   <h2>Reset Your Password</h2>
   <p>Enter your email and we’ll send you a link to reset your password.</p>
</div>
Step 4: Add Custom Styles (optional, but recommended)
To create a more complete-looking form, you can also go to:
- Go to Appearance → Customize.
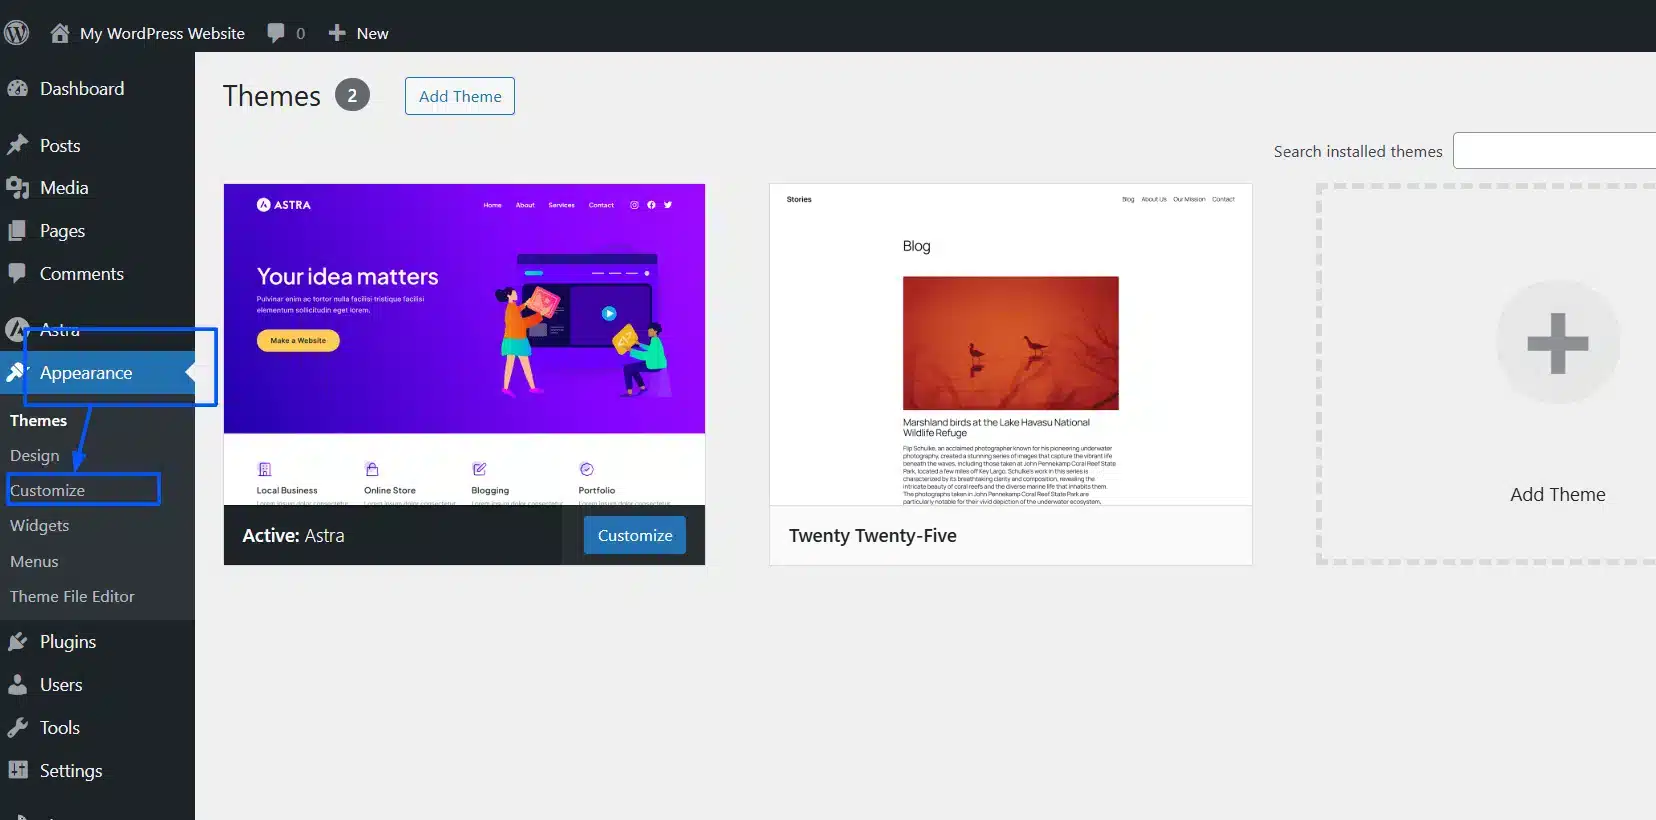
- Click on Additional CSS.
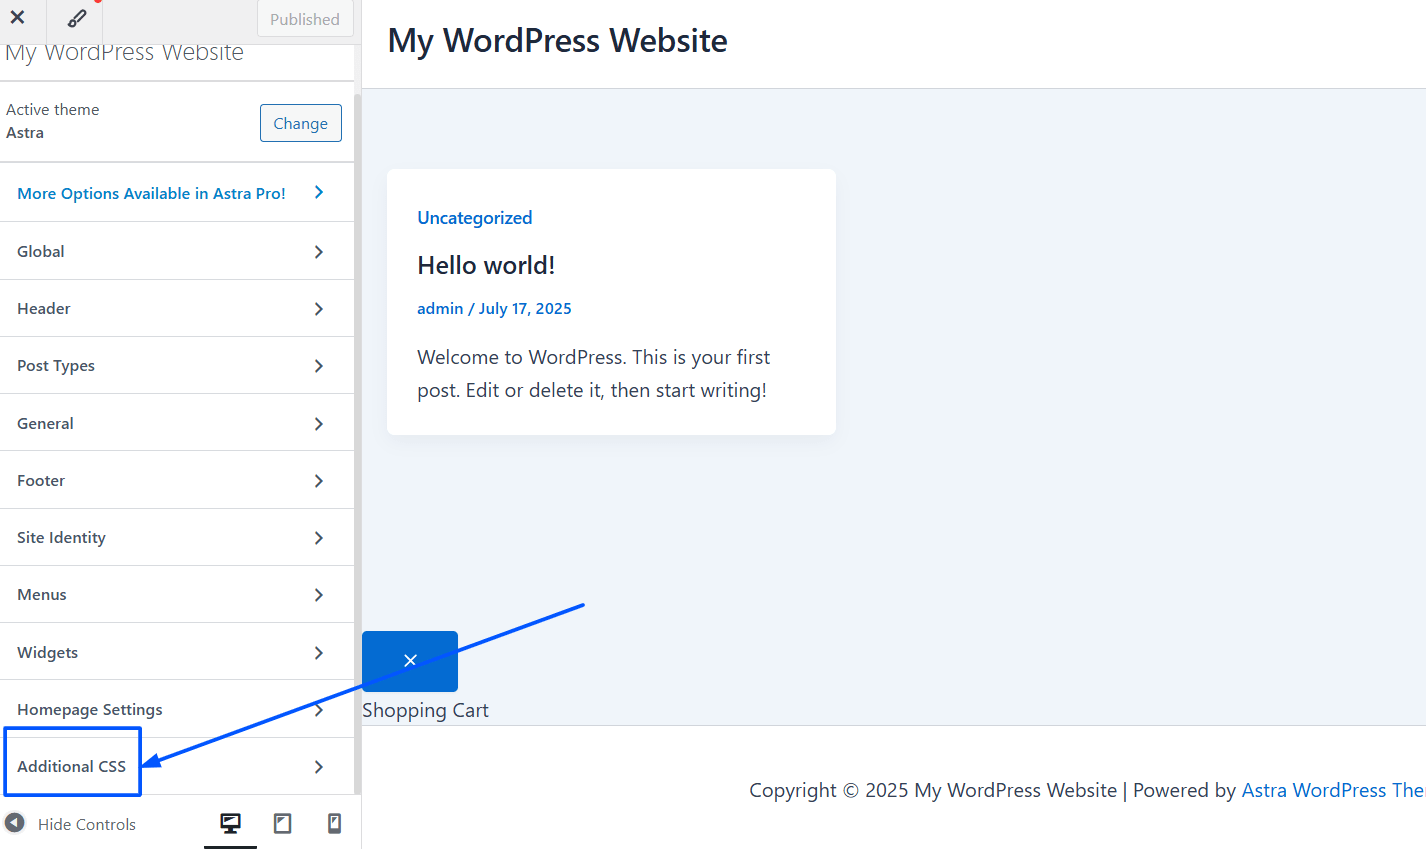
And add in some custom CSS like:
.tml tml-password-reset {
   background: #f7f7f7;
   padding: 30px;
   border-radius: 8px;
   box-shadow: 0 0 10px rgba(0,0,0,0.05);
}
Want a straightforward experience? Use the same button styling and fonts from your theme for a consistent visual match.
You can also target specific Theme My Login classes to customize the spacing around the form input fields, borders, and messages.
Step 5: Redirect Users After They Have Reset Their Password (optional)
You can go to another level here.
You can redirect users to a custom page after they have reset their password, and back to:
- Their user dashboard
- A welcome back page
- A product page (if you’re using WooCommerce)
To set it up:
- Go to Theme My Login → General Settings.
- Scroll down to the Redirection section (pro addon needed).
- Under After Reset, add the custom URL. Example:
/welcome-backor/my-account.
This small change gives a professional touch and keeps the user in your funnel for a sale or engagement.
Method 2: How to Customize the WordPress Reset Password Page Using Code (Developer-Friendly)
If you’re a developer or simply someone who enjoys fine-grained control of everything, this method may be for you. This method grants you ultimate flexibility to customize the WordPress reset password page.
Using your custom code will override the default /wp-login.php?action=rp flow, and it will provide users with a reset page that is fully branded and customized.
Let’s work through this flow in five simple steps.
Step 1: Create a Custom Reset Password Page in WordPress
To start, we’ll need to create a page that will serve as your new reset password screen.
- In your WordPress dashboard, navigate to Pages → Add Page.

- Name the page Reset Password (or similar).
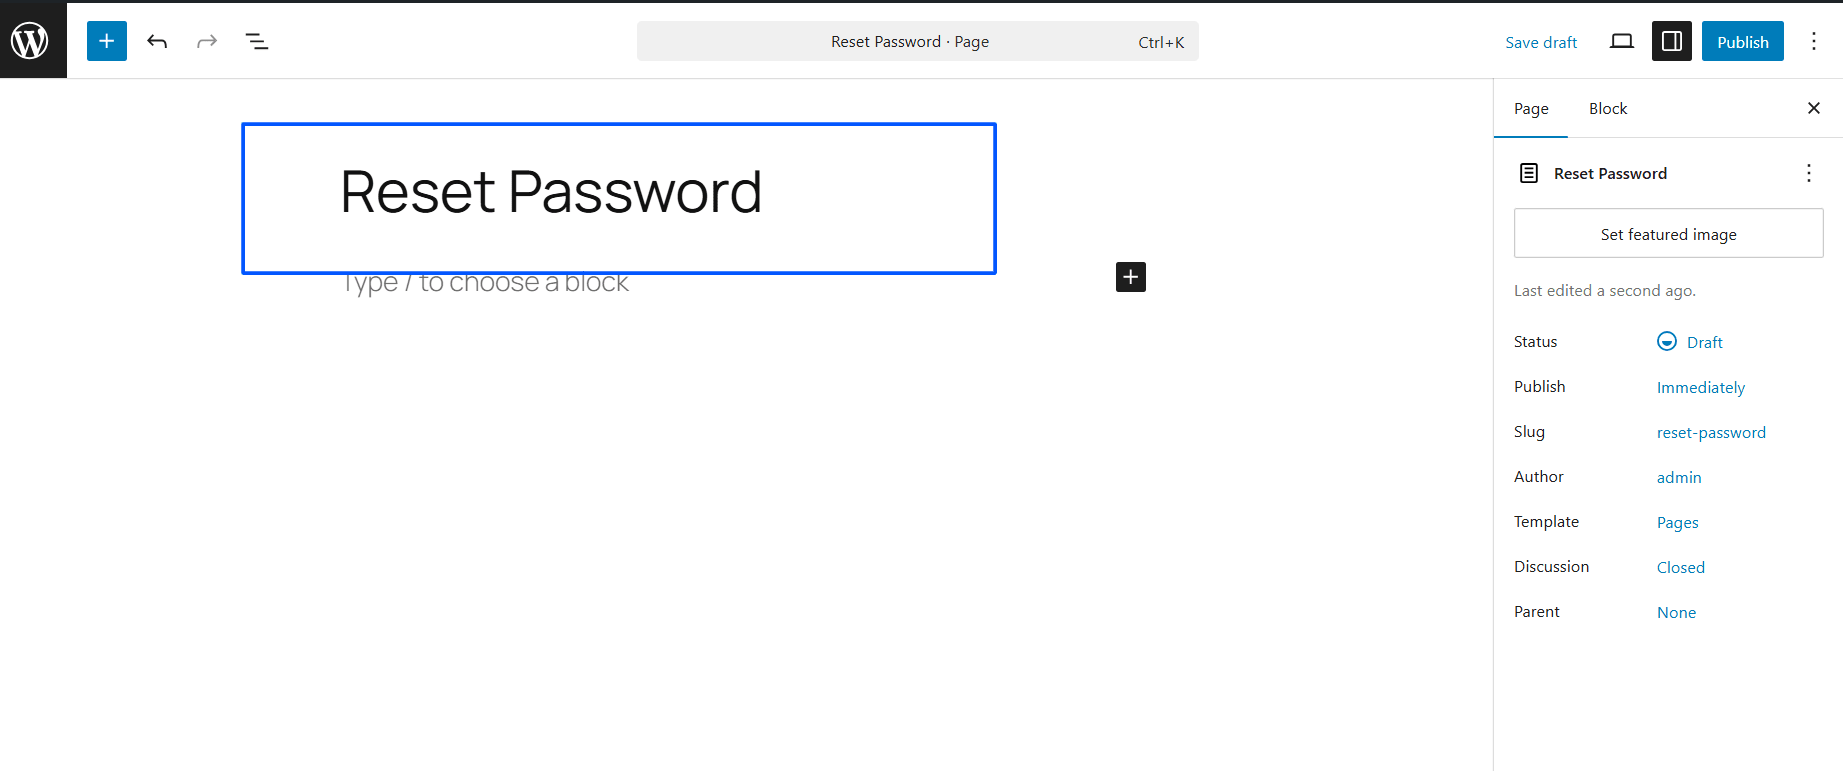
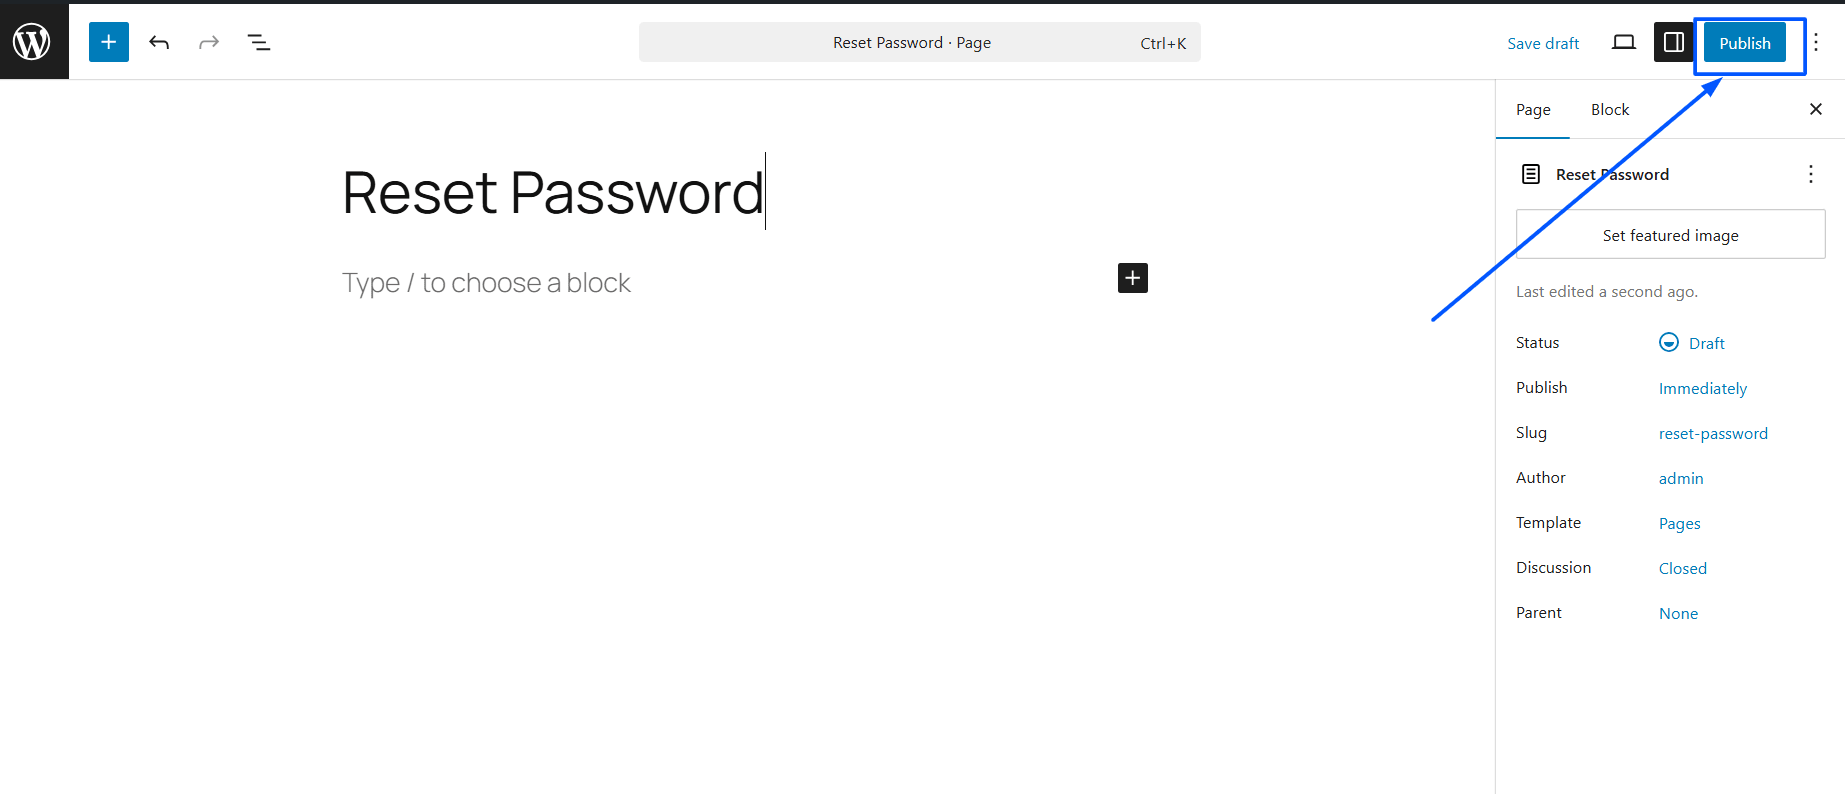
- Publish the page.
- Note the slug, for example:
/reset-password.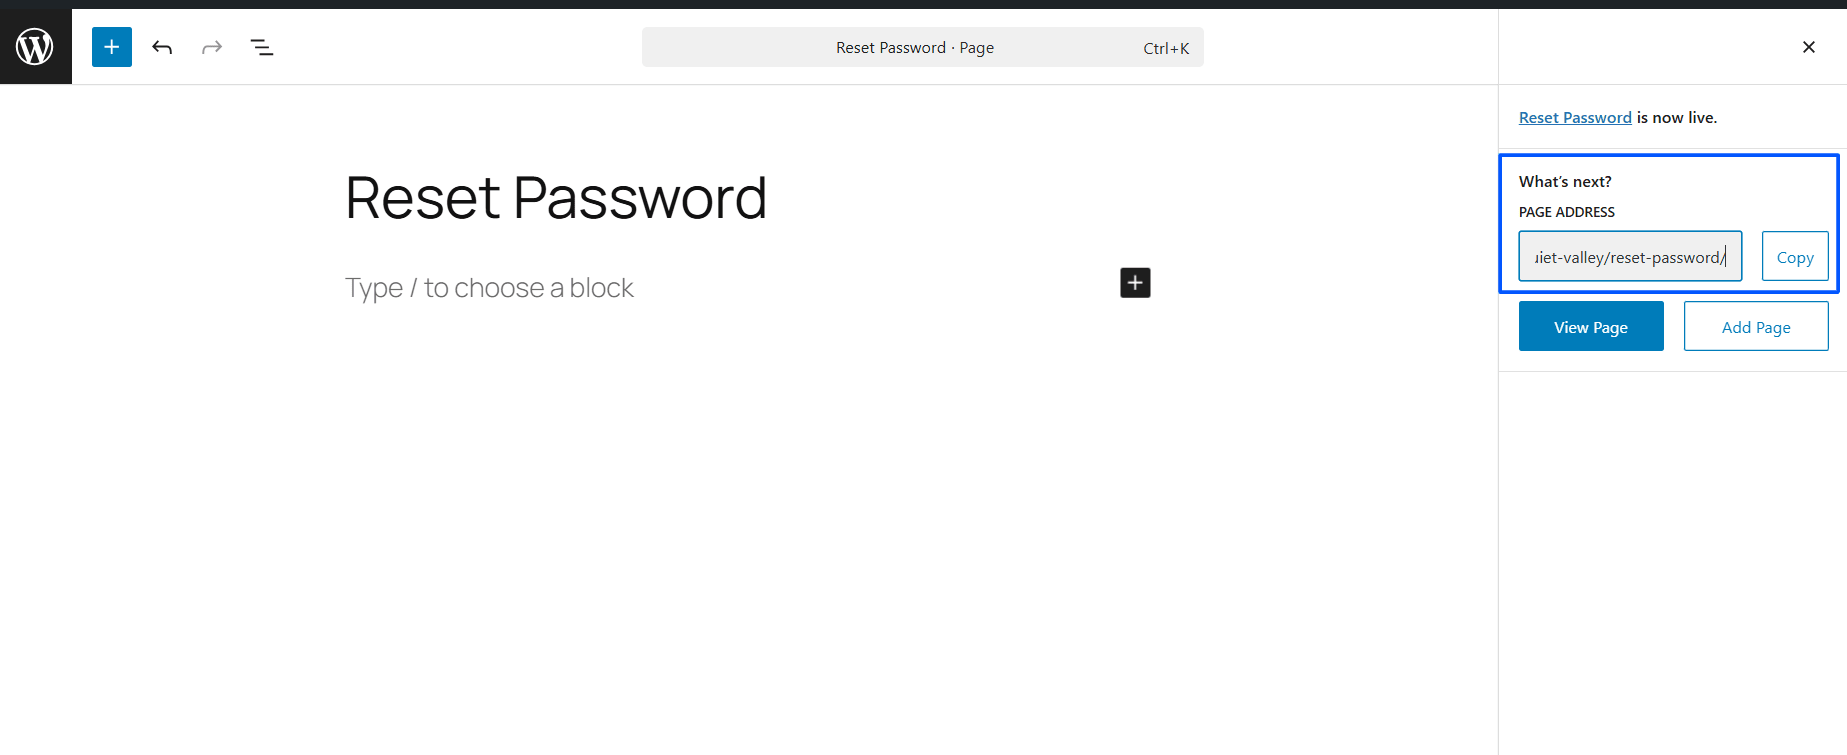
Next, we will place a shortcode on this page in the next step that manages the password reset logic.
Step 2: Add a Custom Shortcode to Render the Password Reset Form
We’re going to need to hook into WordPress’s wp_reset_password() method to manage the password reset.
In your theme’s functions.php file (or, even better, a custom plugin), add the following:
function custom_reset_password_form() {
    if ( isset( $_GET['key'] ) && isset( $_GET['login'] ) ) {
        ob_start();
        ?>
        <div class="custom-reset-form">
            <h2>Reset Your Password</h2>
            <?php reset_password( $_GET['login'], $_GET['key'] ); ?>
        </div>
        <?php
        return ob_get_clean();
    } else {
        return '<p>Invalid or expired reset link. Please try again.</p>';
    }
}
add_shortcode( 'custom_reset_password', 'custom_reset_password_form' );
Now go back to your Reset Password page and add the shortcode:
[custom_reset_password]
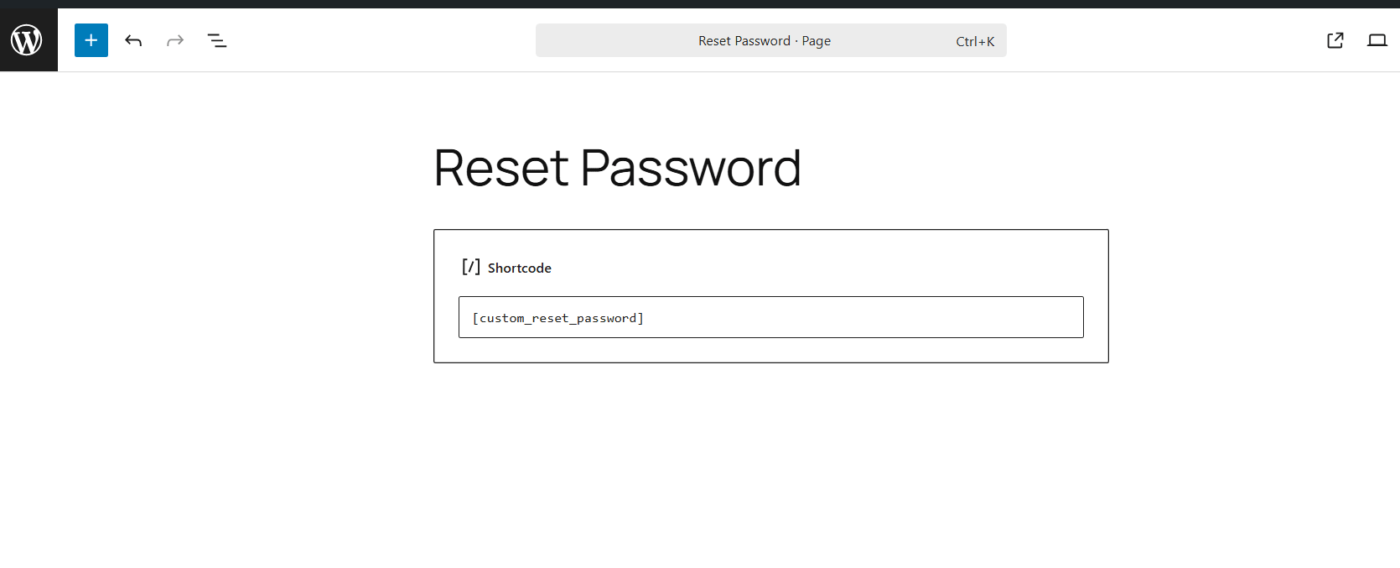
This will render the native WordPress reset form, but on your custom frontend page, giving you complete control over styling and layout.
Step 3: Redirect Your Users to Your Custom Reset Page
Now you need to intercept the default reset link and point users to your new reset page with the appropriate login and key parameters.
Add this to your functions.php:
function redirect_password_reset_page() {
    if ( isset( $_GET['action'] ) && 'rp' === $_GET['action'] ) {
        $login = sanitize_text_field( $_GET['login'] );
        $key   = sanitize_text_field( $_GET['key'] );

        $reset_url = site_url( "/reset-password/?login=$login&key=$key" );

        wp_redirect( $reset_url );
        exit;
    }
}
add_action( 'login_init', 'redirect_password_reset_page' );
Now with this redirect in place, whenever someone clicks on a password reset link. They will be redirected /reset-password instead of /wp-login.php?action=rp.
You now have full control over the reset experience.
Step 4: Brand Your Password Reset Form with Styling
As you now have your form on an actual WordPress page, you can customize the design using CSS, page builders, or frameworks like Bootstrap or Tailwind.
You can:
Add Additional CSS from Appearance → Customize.

OR
Enqueue a custom stylesheet in your theme:
function enqueue_custom_reset_styles() {
    if ( is_page( 'reset-password' ) ) {
        wp_enqueue_style( 'custom-reset-style', get_template_directory_uri() . '/css/reset-password.css' );
    }
}
add_action( 'wp_enqueue_scripts', 'enqueue_custom_reset_styles' );
Example CSS:
.custom-reset-form {
    max-width: 500px;
    margin: 50px auto;
    background-color: #fff;
    padding: 30px;
    border-radius: 8px;
    box-shadow: 0 2px 12px rgba(0,0,0,0.05);
}
.custom-reset-form h2 {
    text-align: center;
    margin-bottom: 20px;
}
Tip: Remember to match your branding – colors, fonts, and maybe even voice in the instructions.
Step 5: Create Redirect After Password Reset (Optional)
To improve user experience even more, you may want to redirect users to a custom page upon successful password reset.
Since WordPress does not allow for a clean hook, we can use a workaround on the login_form_rp action:
function custom_password_reset_redirect() {
    if ( ! empty( $_POST['pass1'] ) ) {
        wp_redirect( site_url( '/welcome-back' ) ); // Change to your desired URL
        exit;
    }
}
add_action( 'login_form_rp', 'custom_password_reset_redirect' );
Remember to create that redirect page in WordPress with a friendly message like:
“Your password has been updated successfully. Click the link below to log in.”
You have now created a fully custom and branded password reset flow without any plugins!
Final Thoughts: Your Reset Password Page Must Not Be Ignored
Let’s face it, as most WordPress site owners are aware, the reset password page isn’t usually the first thing that pops into your mind. But now that you have seen how to customize the WordPress reset password page, you realize how a tiny adjustment can make a huge difference.
Whether you’re a store, a membership site, or a home/hobby blog, the reset password page is a part of your users’ journey. And every single step of that journey should align with your brand, inspire trust, and smooth the path.
Here’s the bottom line:
- If speed and simplicity are what you’re looking for, choose a plugin like Theme My Login—no coding required.
- If you want to control every single detail, go the coding route and customize not only the look and feel but also everything from locations to redirects.
In either case, you are providing your users with an experience that is more seamless, more intuitive. And that is the type of detail that elevates a professional website above the rest.
So go ahead—customize that page. It will not go unnoticed by your users or your brand.
FAQs on How to Customize the WordPress Reset Password Page
Q1. Is it possible to change the WordPress reset password page without coding it?
Yes. If you use a plugin such as Theme My Login, you can alter the reset password page without any coding involved.
Q2. Is the custom site working well on mobile devices?
Yes, if you’re using a responsive design or modern page builder, the reset page will respond and function properly on all screen sizes.
Q3. Is it possible to add my logo and brand colors to the reset password page?
Definitely, most plugins and page builders will allow you to add a logo, text, style, and colors with relative ease.
Q4. What happens if the user clicks an expired reset link?
They’ll receive an error message. You can customize this message to direct them back to the reset form or direct them to your support page.
Q5. Will I need a plugin in order to customize the reset password page?
No. Although it is optional, you can code it on your own if that is something you’re comfortable with, but if you want to go the simple route with no code, then a plugin is what you want.
Ekta Lamba
Ekta Lamba is a tech writer at DevDiggers focused on making WordPress and WooCommerce straightforward for non-developers. She covers plugin errors, platform updates, and WordPress basics, written so readers can follow along without a second tab open to translate the jargon.
Join thousands of readers getting smarter every week.
Leave a Reply