WooCommerce PostPaid – Buy Now Pay Later Plugin Documentation

The WooCommerce PostPaid – Buy Now Pay Later module enables consumers to buy things from your store without immediate payment, up to a maximum established by the Admin. Customers can settle their dues at a later time. The admin can set the maximum PostPaid balance consumers can utilize for retail purchases.
Customers may delay purchasing on your website due to limited cash while browsing merchandise. PostPaid allows customers to complete their purchases without leaving their carts, enabling them to buy instantly. Additionally, you can apply interest on transactions conducted using PostPaid. This might enhance the money generated by your website.
Why choose our plugin?
Our products stick to WordPress’s quality requirements in security, quality, performance, and contemporary coding standards. Envato has given us a WP Requirements Compliant Badge for our CodeCanyon Profile.
Installation
To access the Add New submenu in WordPress, the customer must log in to the admin end, navigate to the Plugins menu in the menu region, hover the mouse over it to access the submenu, and then click on Add New.

Next, the user should click the Upload Plugin button to upload the WooCommerce PostPaid plugin zip file.

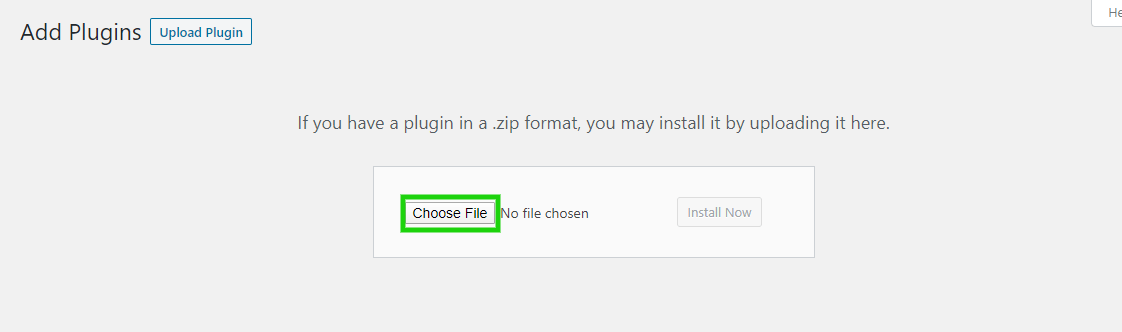
Upon pressing the Upload Plugin button, the image below will be displayed. Next, select the Choose File option to locate the WooCommerce PostPaid – Buy Now Pay Later plugin.
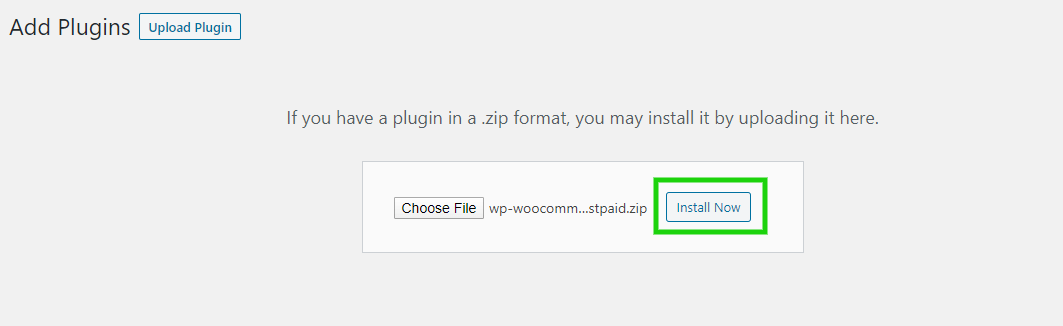
When you choose the WooCommerce PostPaid plugin zip file, it will be displayed below. Click the Install Now button to complete the plugin installation process.
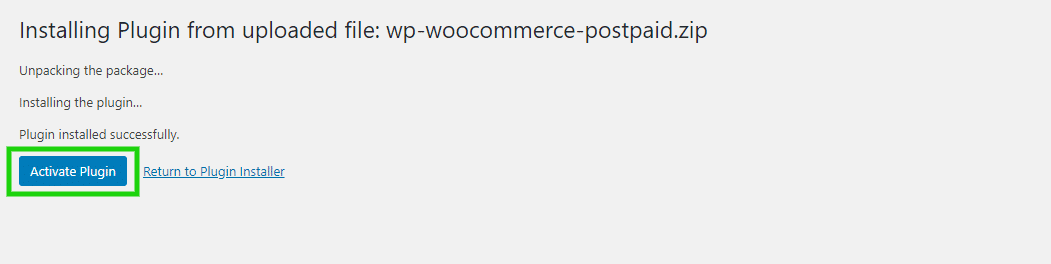
Once the plugin is installed, select Activate Plugin to activate it.
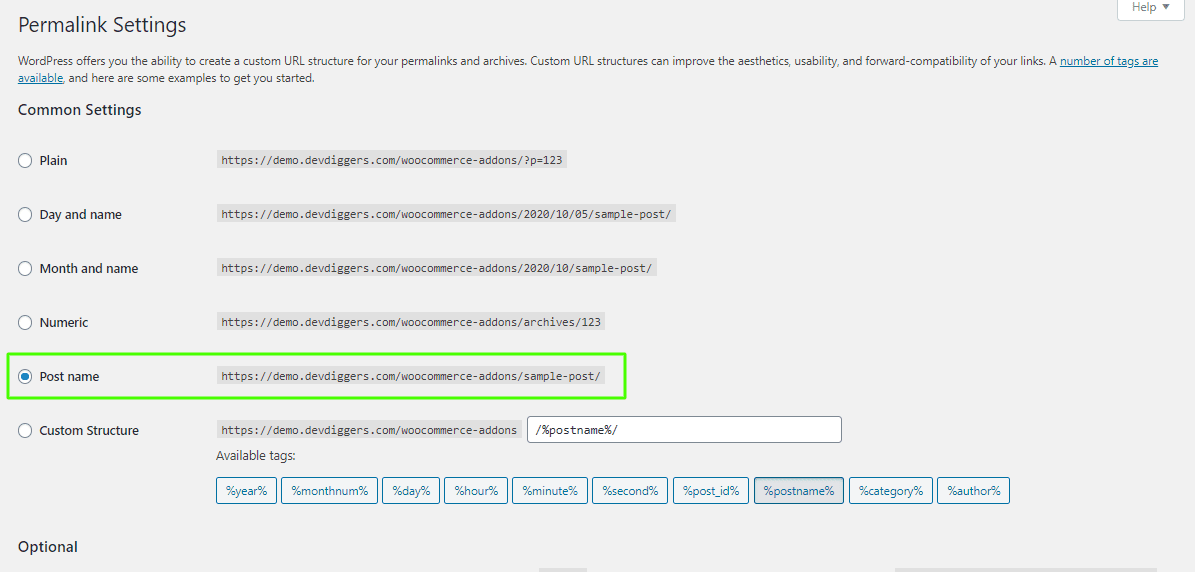
Permalinks
The Admin must flush the permalinks by going to Settings > Permalinks. The administrator must then save the Post name permalinks.
Admin End
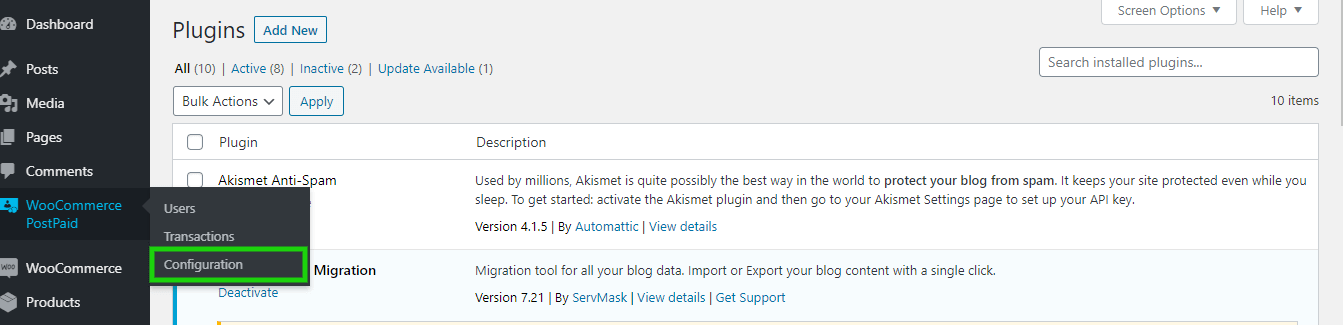
Click on Configuration to access the plugin’s configuration page. Alternatively, hover over the WooCommerce PostPaid admin menu to view three submenus: Users, Transactions, and Configuration. Click on the Configuration to access the configuration page.

Configuration
The Admin can then view the configuration page.
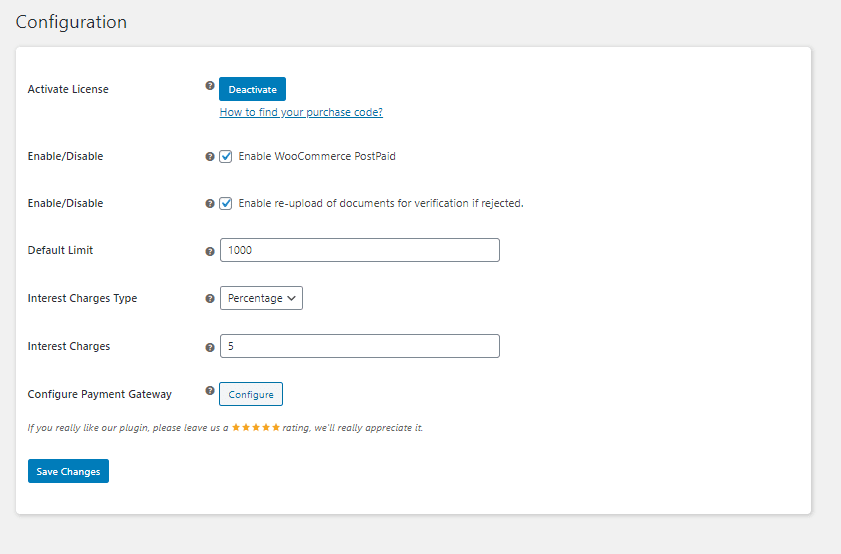
Activate License
You must input your purchase code to activate your license and use this plugin.
Enable/Disable:
The admin can activate or deactivate functionalities for customers.
Enable re-upload of documents for verification if rejected:
The Admin can enable/disable this setting to allow or prevent customers from re-uploading their verification documents if the Admin denies them.
Default Limit:
The Admin can set the maximum PostPaid balance that customers can utilize for purchases in the store. The default amount is set at 1000.
Interest Charges Type:
The Admin can choose between setting the interest costs as a percentage or a fixed amount. These charges will be calculated for customers when they clear their postpaid dues.
Interest Charges:
The Admin may add interest charges to the postpaid dues amount at the customer’s end. No interest costs will apply if no entry is made.
Configure Payment Gateway:
Admin can set up the PostPaid Payment Gateway for customers to use at checkout if they have sufficient funds. Clicking the configure button will redirect the admin to the payment gateway configuration page.
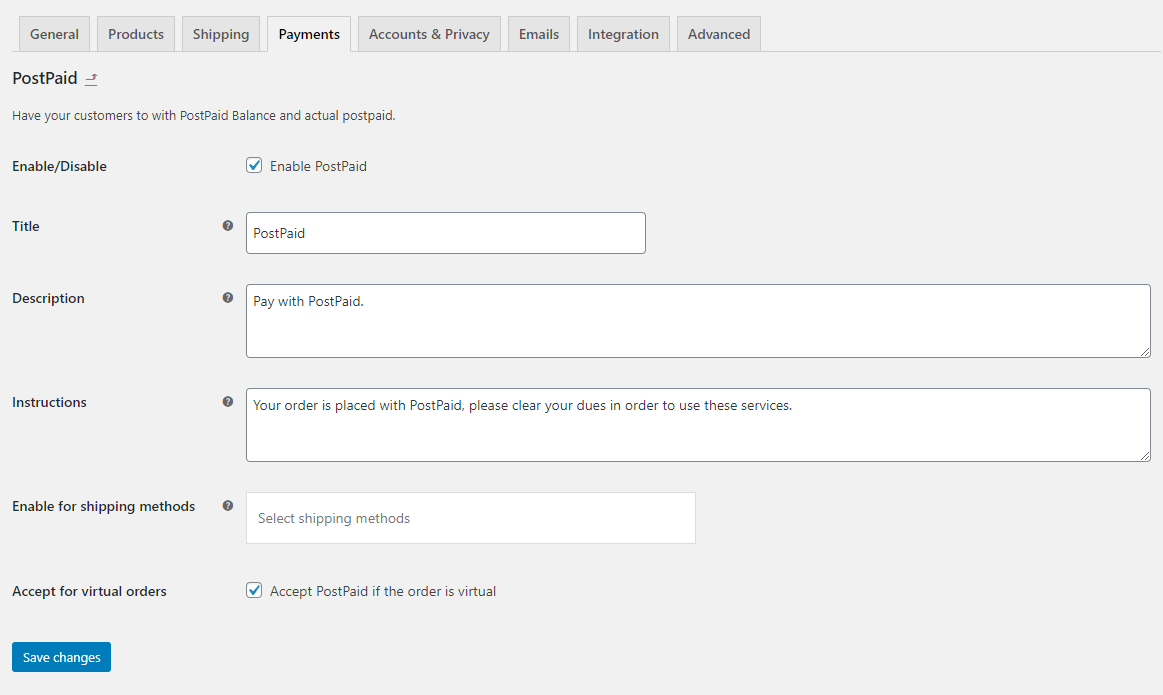
Enable/Disable:
The admin can activate/deactivate the payment gateway at the time of checkout.
Title:
The Admin can choose the title of the payment gateway that will be displayed at checkout.
Description:
The Admin can specify the description of the payment gateway displayed at checkout.
Instructions:
The Admin can establish the guidelines for displaying the payment gateway on the thank you page.
Enable for shipping methods:
Admin can choose the delivery methods where this payment gateway will be accessible at checkout.
Accept for virtual orders:
The Admin can activate/deactivate the payment gateway for virtual orders.
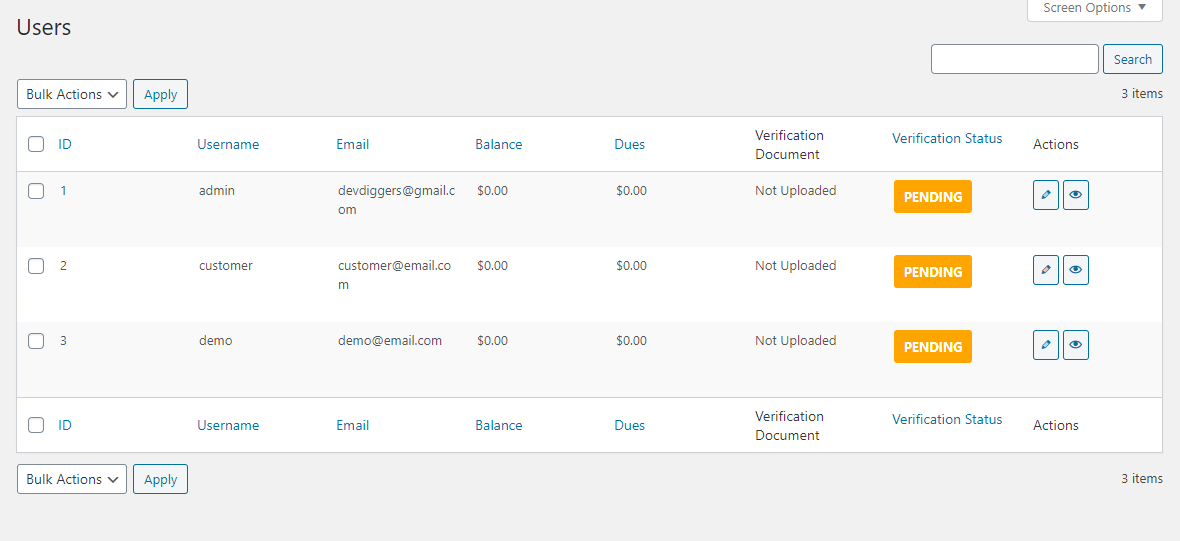
Users
When accessing the Users submenu, the Admin will view a list of users containing details such as verification documents, PostPaid balance, PostPaid dues, email, username, and verification status. An admin can modify the verification status of users either individually or in bulk.
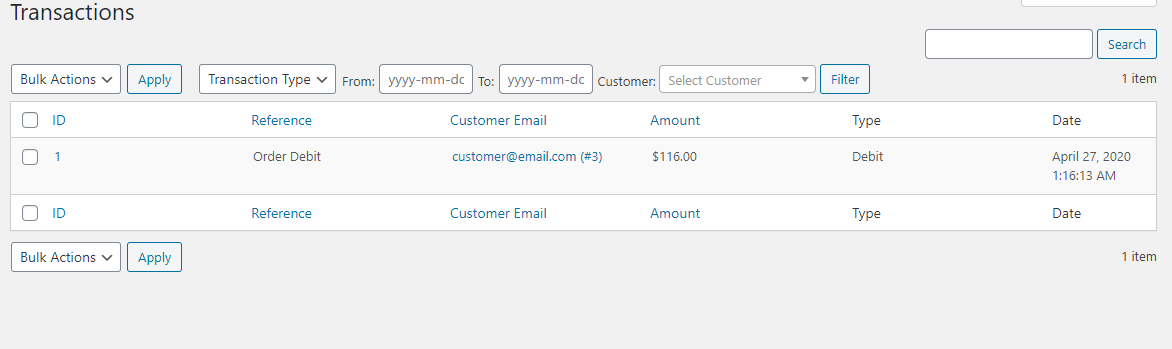
Transactions
The Admin can review PostPaid transactions by accessing the transactions submenu. An admin can access and examine specific transactions for more information. The admin can remove transactions using both individual and bulk operations.
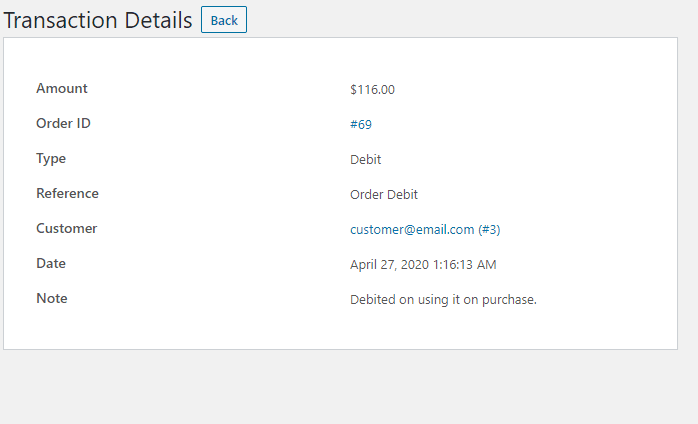
The admin can select any transaction ID to access the complete transaction details.
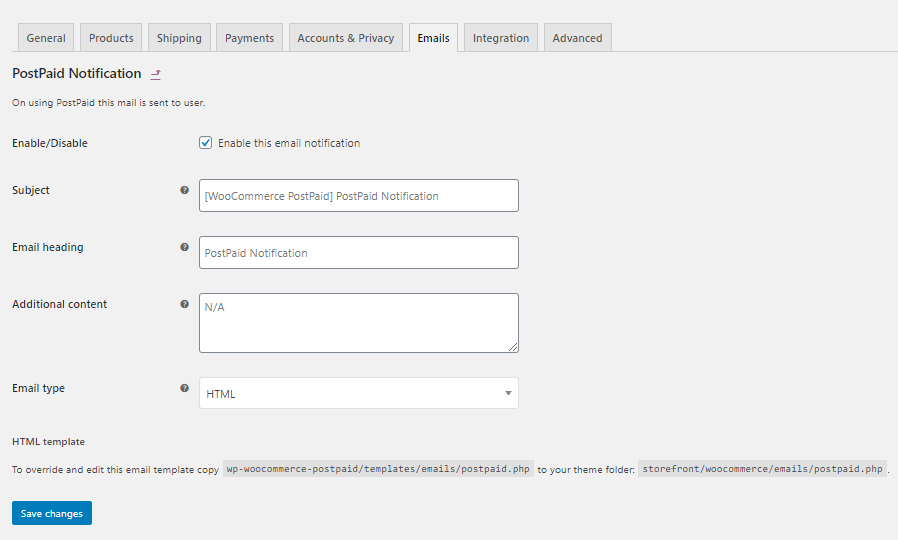
WooCommerce Email Template
Admin can customize Email Templates for the PostPaid-related emails sent to clients.
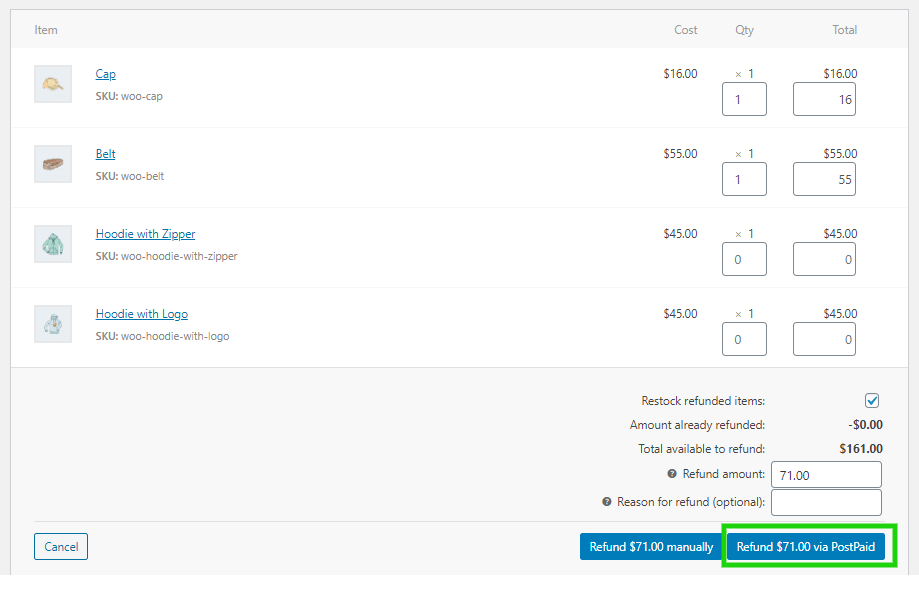
Refunds
The PostPaid payment gateway may process refunds. An admin can issue a partial or full refund for an order paid using the PostPaid payment channel.
Customer End
Customers can access the PostPaid menu on the WooCommerce My Account page. Customers can view all PostPaid-related data here.
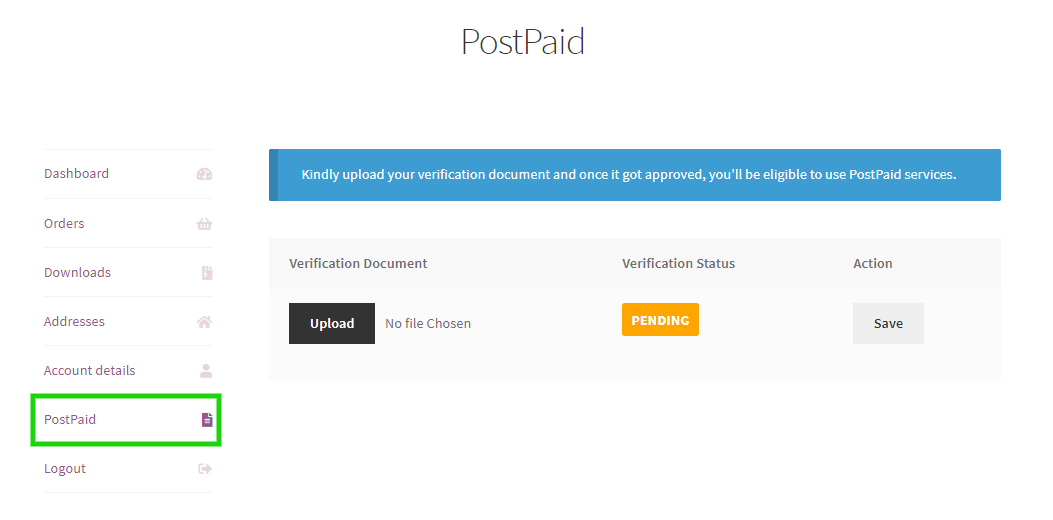
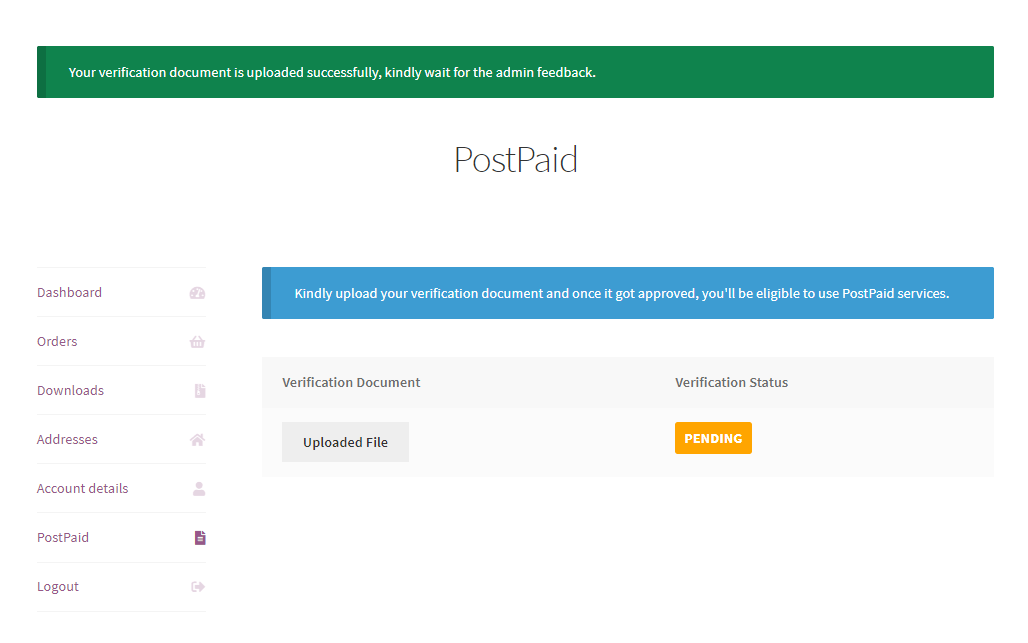
Customers must provide a verification document. Once the Admin confirms and sets the verification status as Eligible, the customer can access PostPaid services. Once the verification document is uploaded, the buyer will be directed to the following page.
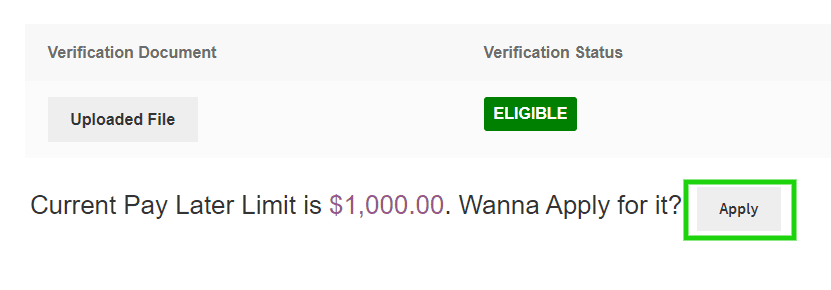
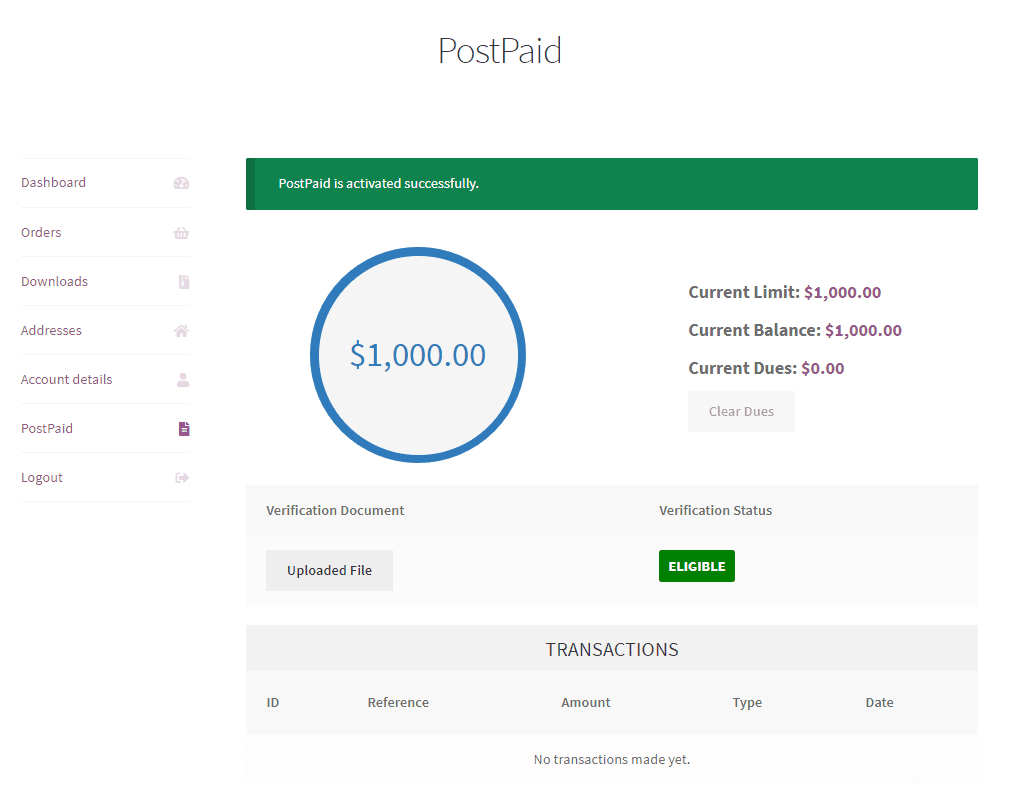
When the Admin reviews the verification document and changes the verification status to Eligible for the customer, the customer can apply for PostPaid.
Customers applying for PostPaid will be sent to this website. The consumer can view their current limit, balance, and dues for the PostPaid service here. Customers can view the transactions associated with PostPaid services.
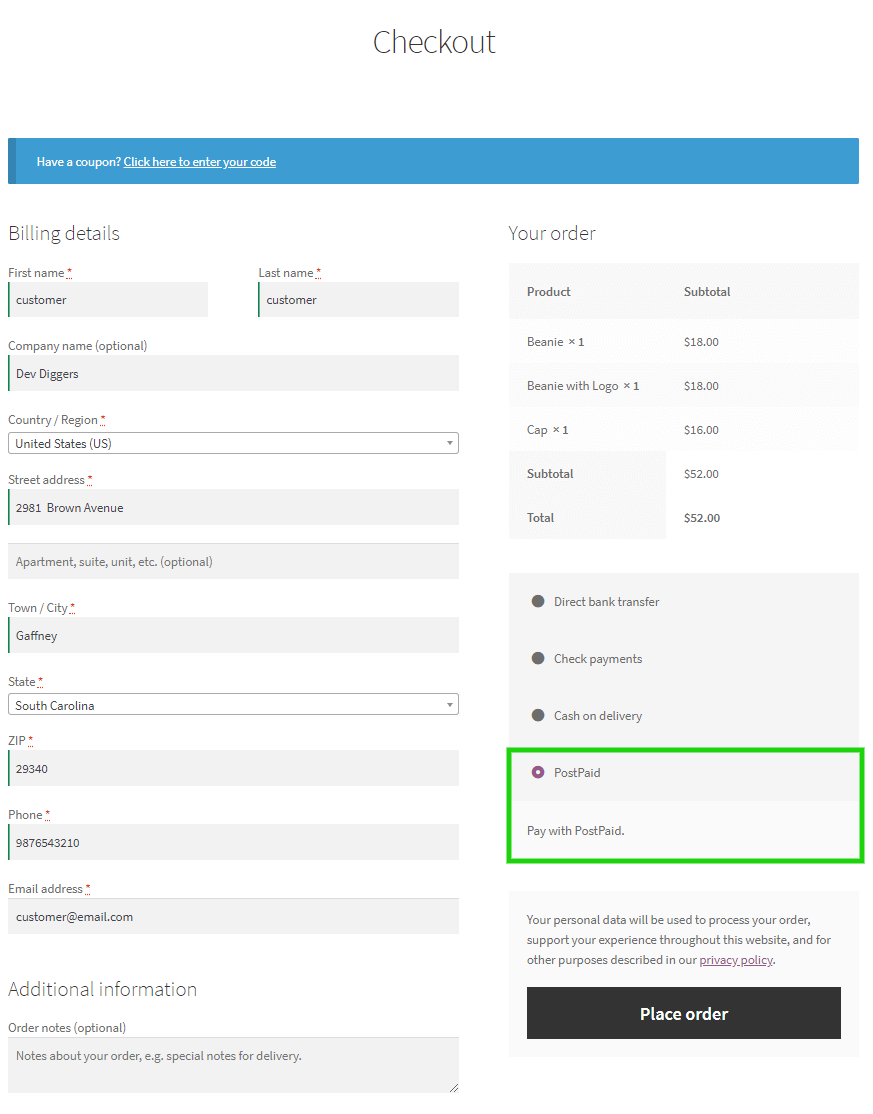
Customers can now utilize the PostPaid option during checkout. Customers will view their charges on the PostPaid section of the My Account website after making a purchase.
Customers can view transactions in the PostPaid section on the accounts page.
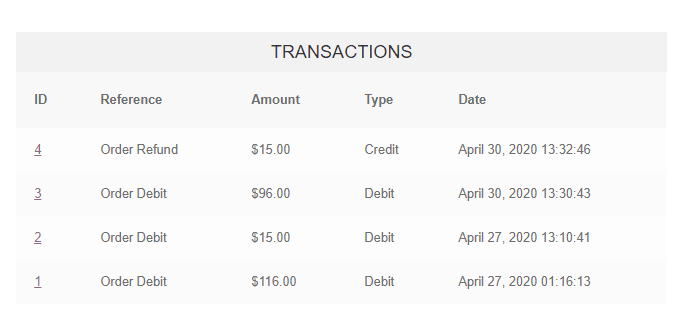
The customers can view additional transaction details by clicking on any transaction ID.

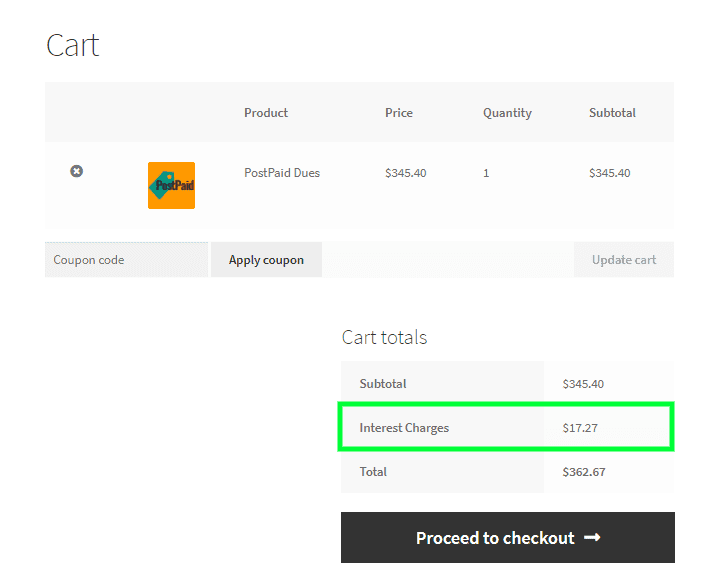
Customers must click the Clear Dues option to settle their outstanding payments.
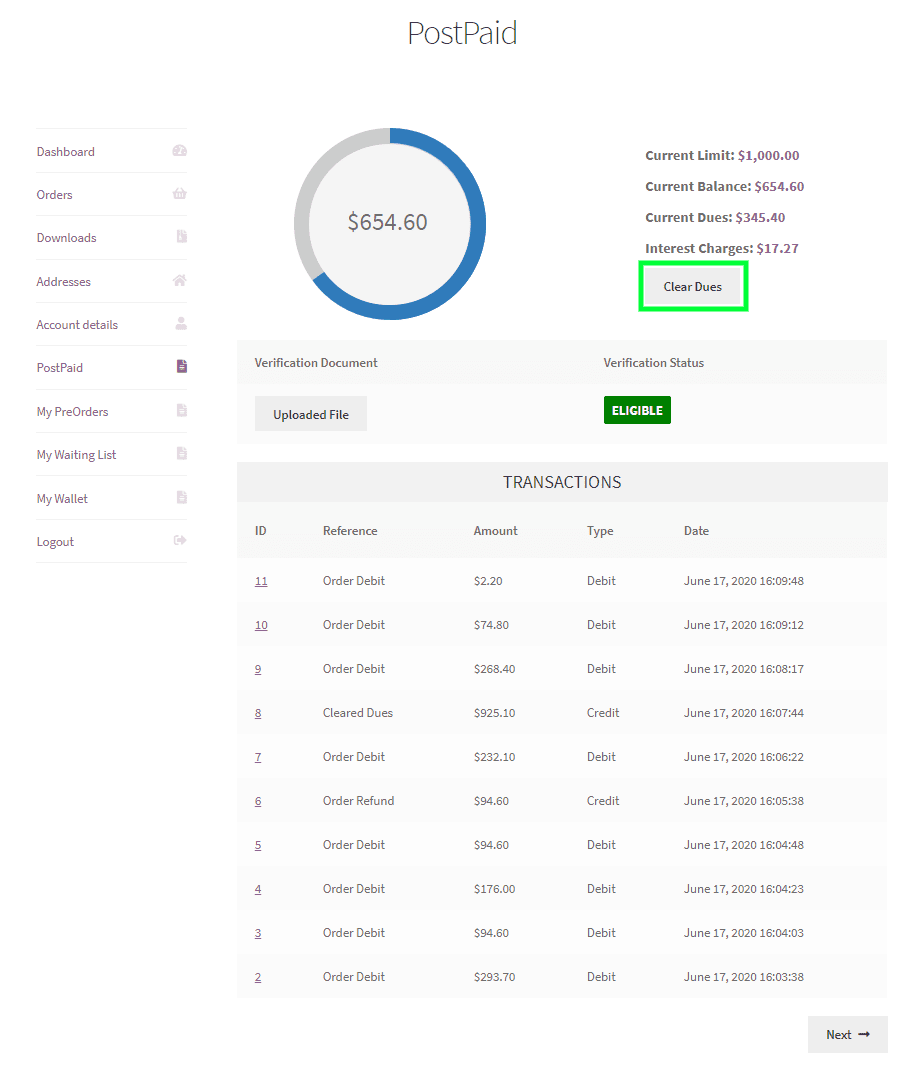
Customers are redirected to the cart page with the dues amount after clicking the Clear Dues button. The individual must proceed to pay using a different payment gateway on the checkout page.
The Admin confirmed and processed the order once it was placed. Customer arrears will be settled, allowing them to reaccess their PostPaid Balance.
Multilingual
The admin can translate the plugin using the .pot file in the plugin’s languages folder.
Support
If you have any concerns, need assistance with our WooCommerce extensions, or want customizations, contact us through our contact page or support@devdiggers.com, our support email address. We will do our best to provide immediate assistance.
Kartika Musle
Kartika Musle is a tech writer at DevDiggers covering WooCommerce features, web design, and development security. Her articles translate technically dense subjects into guides that a non-developer can follow without losing the detail that matters, drawing on a background that touches both design and development.
Join thousands of readers getting smarter every week.
Leave a Reply