What image WordPress shows on preview comes down to one setting most people never check. By default, it shows your featured image. If you have not set one, WordPress falls back to your SEO plugin’s Open Graph image. After that comes the first image inside the post, then a site-wide default if your theme has one set up.
That order is the short answer to what image WordPress shows on preview, and the rest of this guide walks through every screen you need to open to set that image on purpose, instead of leaving it to chance.
Getting this wrong is more common than you would think. A store owner sets a beautiful featured image, publishes the post, and shares the link on Facebook. A random screenshot from three paragraphs down shows up instead.
It happens because WordPress and your SEO plugin are both trying to pick an image. They do not always agree on which one wins, and that disagreement is exactly what what image WordPress shows on preview comes down to.
By the end of this guide, you will know exactly which setting controls the WordPress preview image on your site. You will also know the order WordPress checks them in, and how to test the result before you hit publish.
This matters more than most beginners realise. A preview image is often the first thing a stranger sees before they ever read your headline. Show the wrong one, and you lose the click before your writing gets a chance to earn it.
What Image WordPress Shows on Preview by Default?
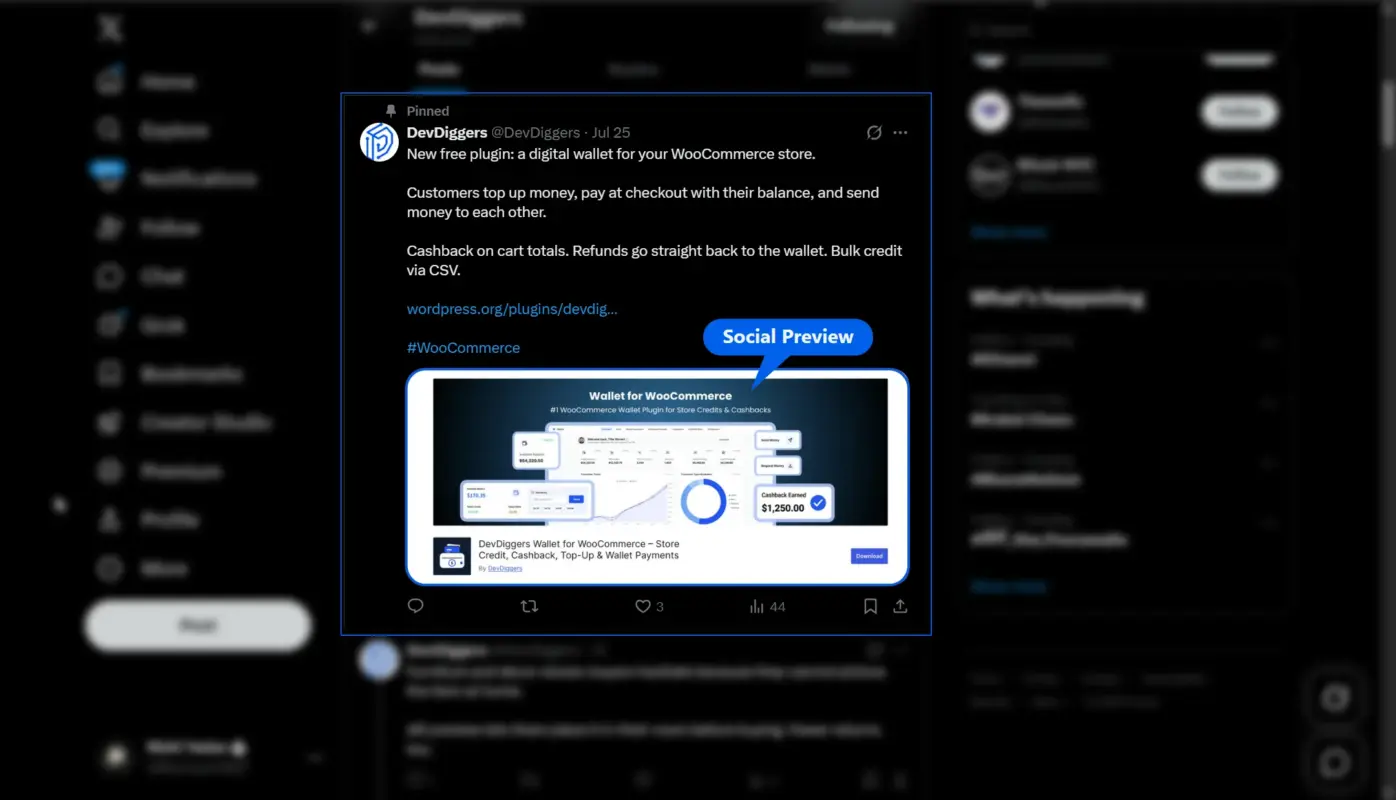
WordPress checks four places, in this order, until it finds an image:
- The featured image you set on the post or page.
- The Open Graph image (og: image) set by your SEO plugin, if one is configured.
- The first image found inside the post content, if no featured image or Open Graph image exists.
- A default fallback image, if your theme or plugin has one configured.
If none of these exists, most platforms show no image at all, just a bare title and link. That is the outcome you want to avoid, and it is completely avoidable once you know what image WordPress shows on preview and where each setting lives.
Ecommerce sites running WooCommerce follow a slightly different path for product pages, which we cover in a dedicated section further down.
Where This Setting Actually Lives
If you are curious what is happening behind the scenes, the featured image is stored as a post meta value called _thumbnail_id. It points to an attachment in your media library. The Open Graph image lives separately, inside your SEO plugin’s own post meta fields.
That separation is exactly why the two can disagree, and it is a big part of why what image WordPress shows on preview trips people up. Change your featured image and forget to update the Open Graph field, and your SEO plugin keeps serving the old image. Facebook and LinkedIn will show it even though your site looks correct. Knowing that these are two different settings, not one, saves a lot of confused troubleshooting later.
Before You Start: What You Need
You do not need to touch a single line of code for any of the steps below. Here is what helps:
- Admin access to your WordPress dashboard.
- An image at least 1200 by 630 pixels, saved as a JPG or PNG.
- An SEO plugin installed. Yoast SEO, Rank Math, and All in One SEO are all covered here.
- Five minutes per post, once you know where to click.
If you are brand new to the WordPress dashboard, start with our guide on what WordPress is. It covers the basics of the editor screen this guide references throughout.
Step 1: Set a Featured Image in the WordPress Block Editor
This is the setting that answers what image WordPress shows on preview almost every time, so start here.
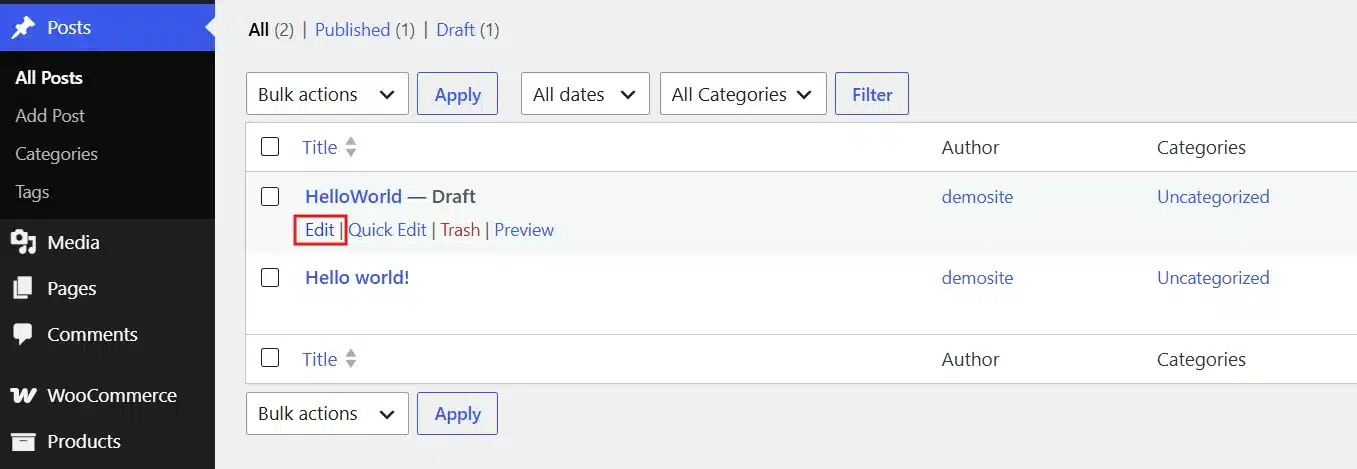
- Open the post or page you want to edit. From your dashboard, go to Posts or Pages → click the title of the post you want to fix.
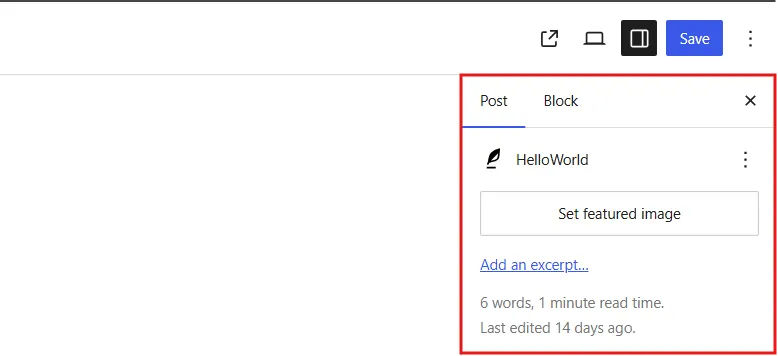
- Open the Post settings panel. Look at the top right of the editor screen.
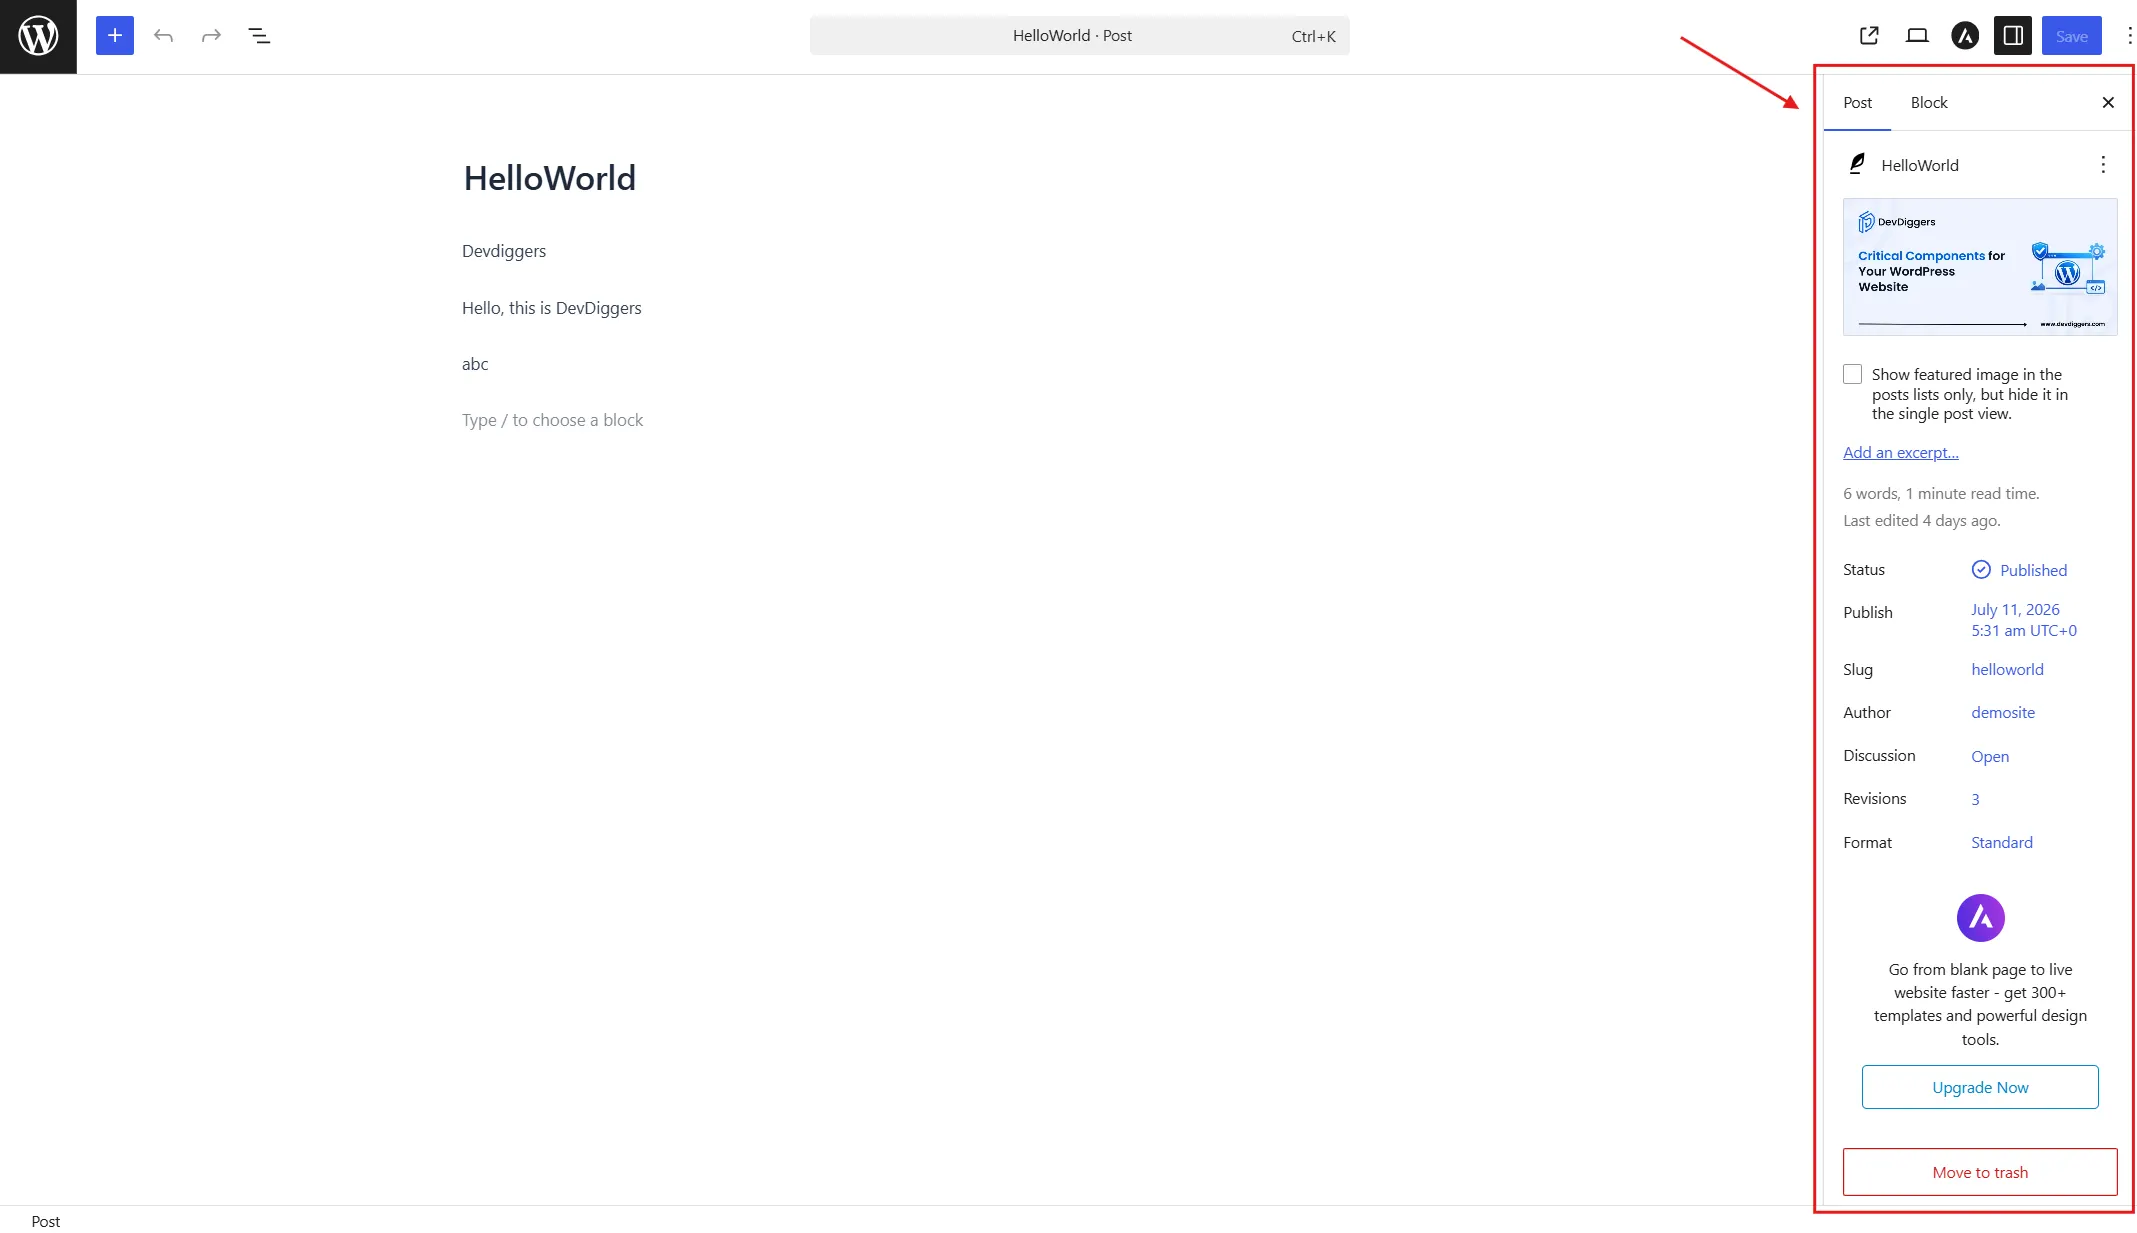
- In the sidebar, find the Featured image panel.
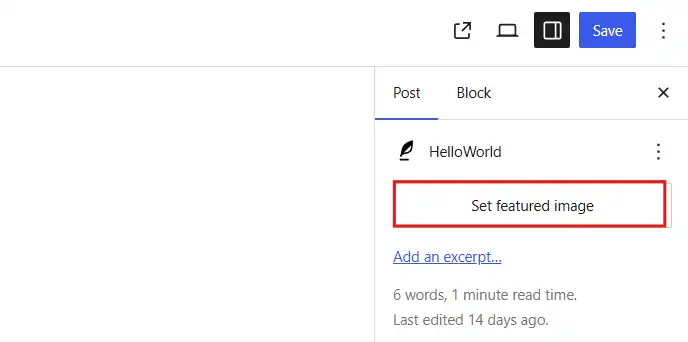
- Click Set Featured Image. A media library window opens. Upload a new image or pick one you already have on file.
- After upload, Update or publish the post so the change saves.
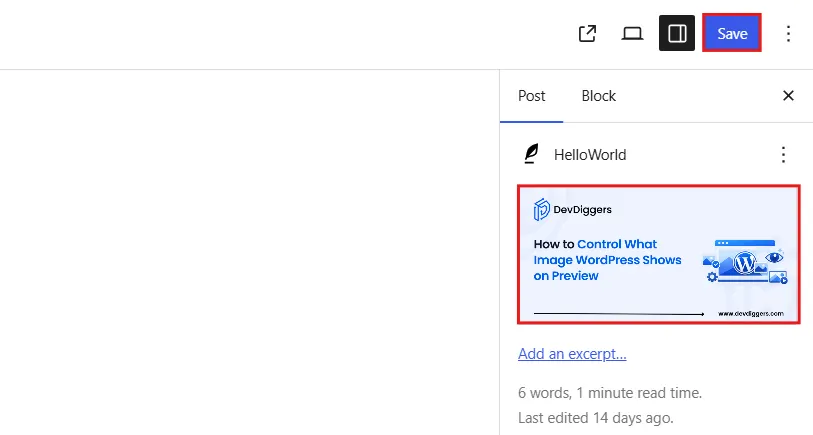
That one thumbnail is what most themes, most SEO plugins, and most social platforms will use first. Get this right, and you’ve already solved what image WordPress shows on preview for the majority of your posts.
One habit worth building: pick the featured image before you write the rest of the post, not after. Writers who add it last tend to grab whatever image is already open in another tab, and it rarely matches the aspect ratio you actually need.
Note: Your theme might crop the featured image into an awkward square on the homepage. If you need a wide version for social sharing, don’t fight your theme’s CSS. Upload the wide 1.91:1 version as the featured image instead, and let your SEO plugin’s Social tab (covered in Step 3) handle the crop separately for sharing.
Step 2: Check Your Theme’s Featured Image Support
Not every theme is built the same way, and this step catches a mistake beginners run into constantly when working out what image WordPress shows on preview for their own site.
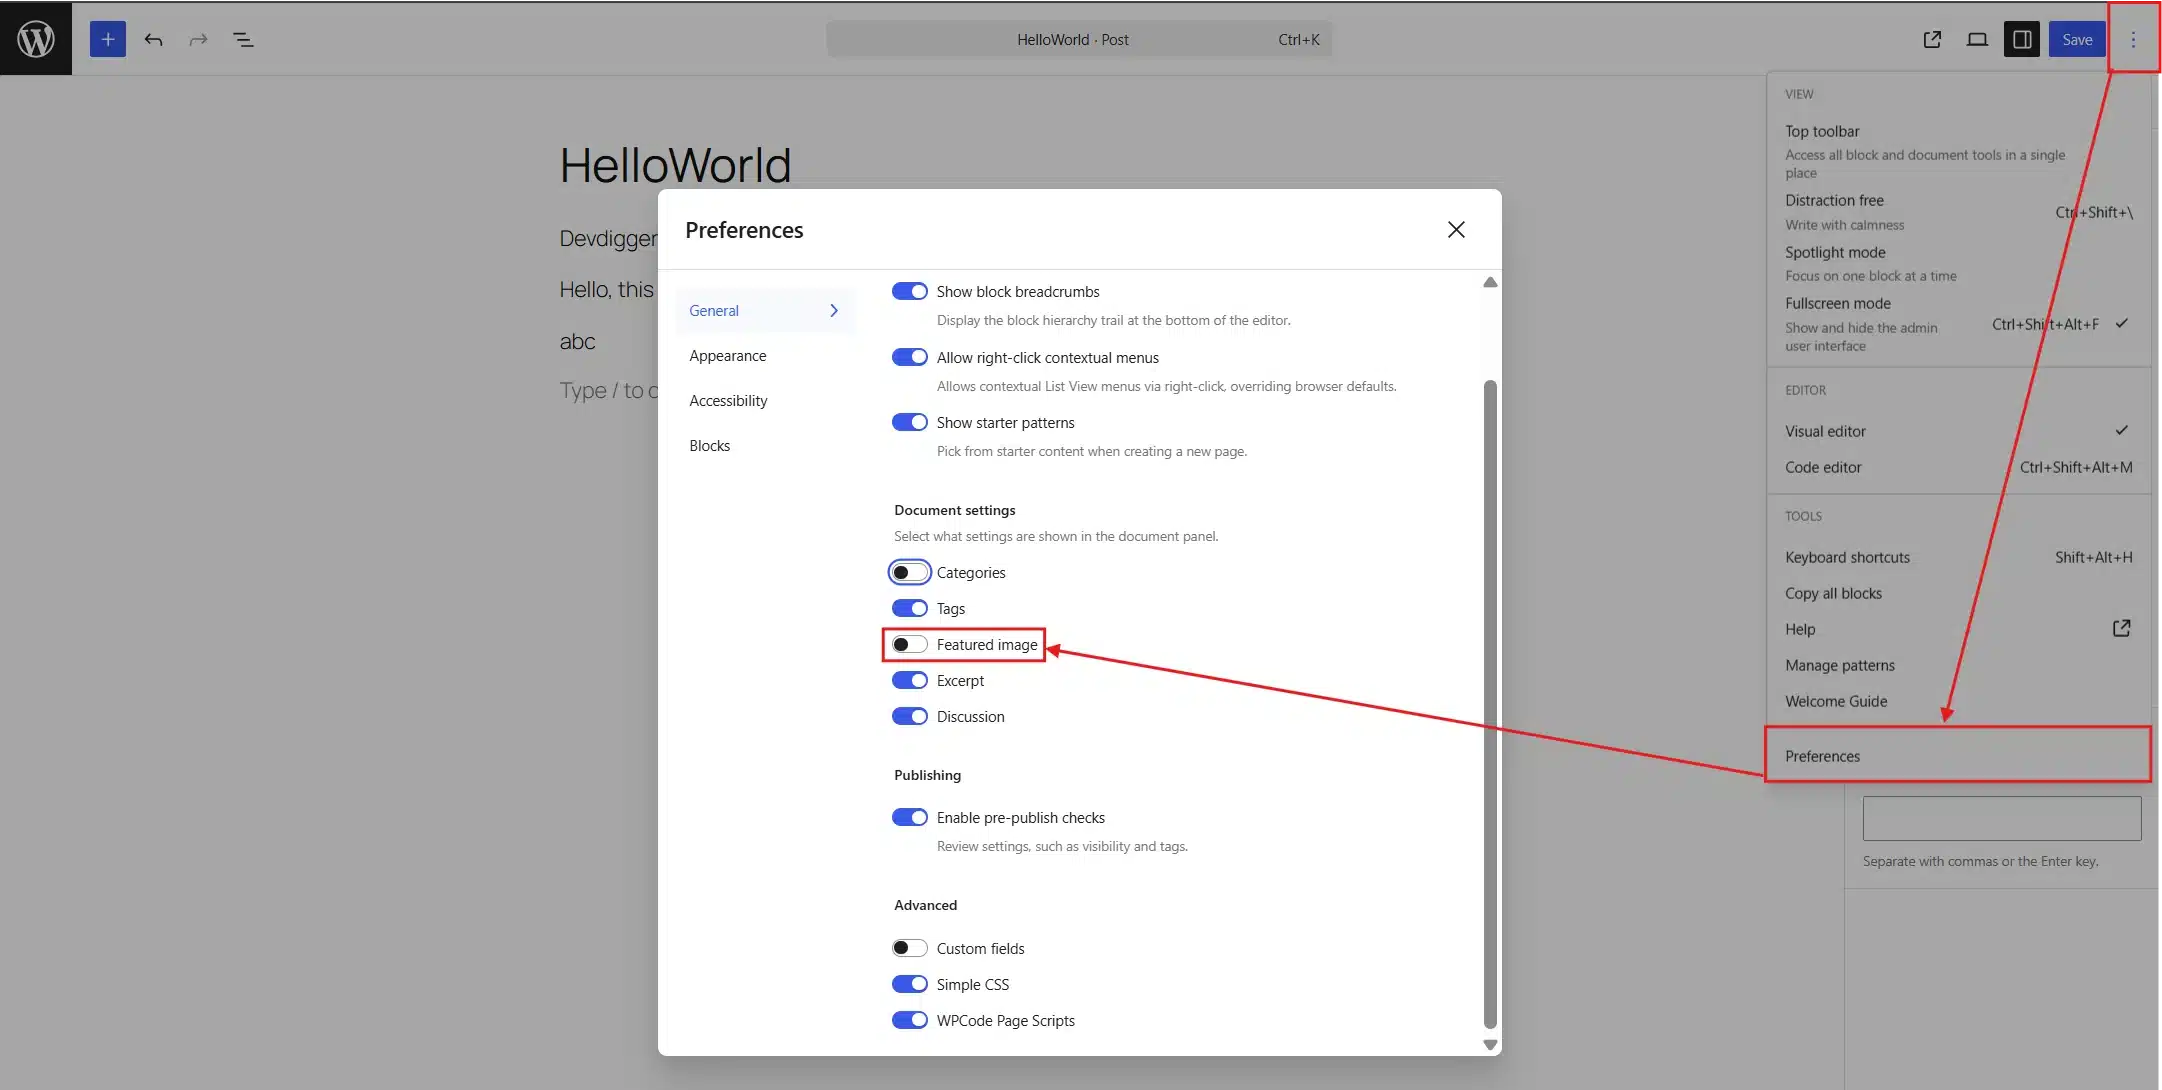
Confirm your theme supports featured images. Almost all modern themes do, but older or highly customised themes sometimes disable the feature entirely. If the Featured Image panel is now showing here, the solution:
- Check Screen Options if the panel is missing. Click the three-dot menu in the top right of the editor → Preferences → confirm Featured Image is toggled on under Panels.
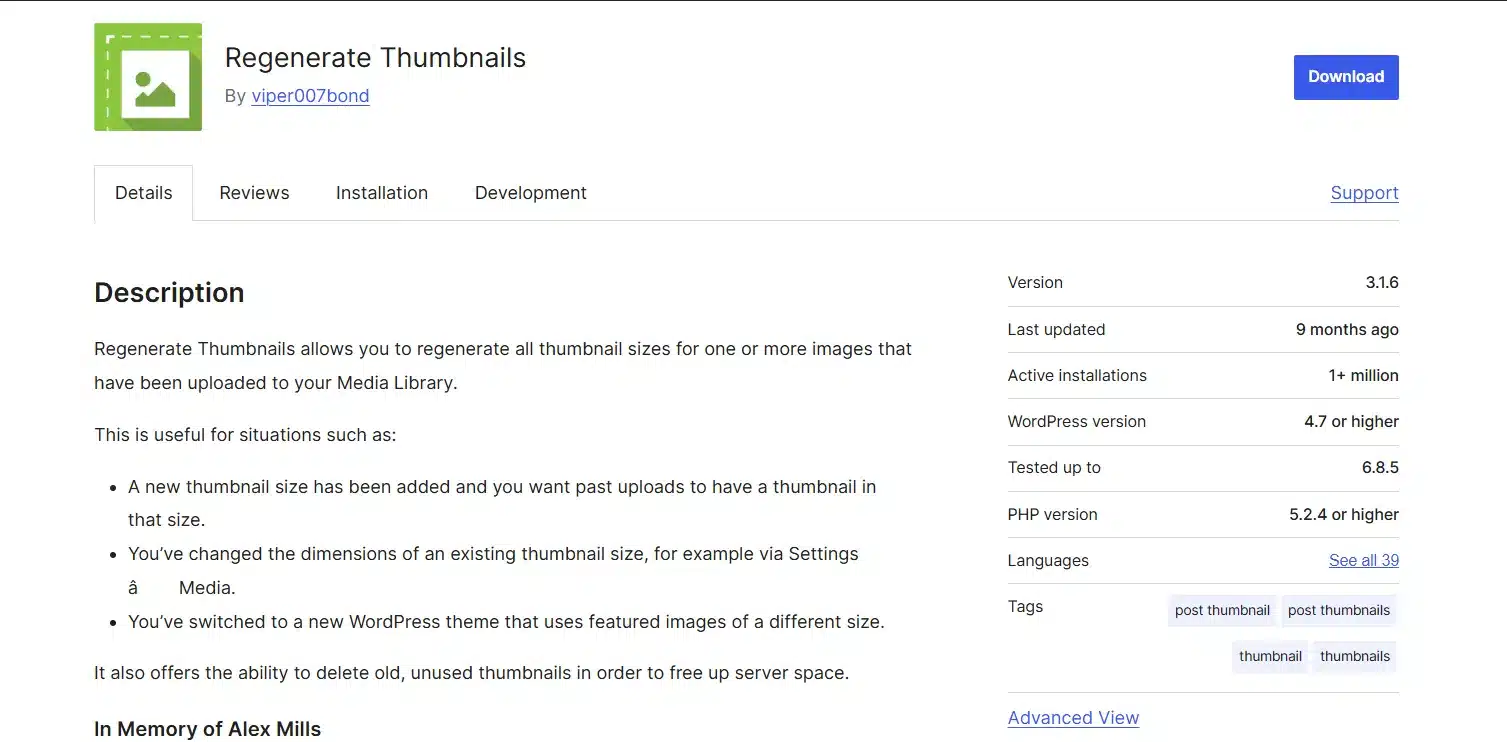
- Regenerate thumbnails after a theme switch. If you recently changed themes, your old featured images may display at the wrong crop or size. A plugin like Regenerate Thumbnails fixes this without re-uploading every image by hand. WordPress.com’s own featured image documentation covers theme-specific display quirks in more depth if yours still looks off after this step.
Step 3: Set an Open Graph Image With an SEO Plugin
Your featured image is the base layer. An SEO plugin lets you override it for social sharing, useful if you want a different crop or a version with text overlay for Facebook and LinkedIn.
This is also where most confusion happens around what image WordPress shows on preview. Whichever field is filled wins for that channel. Leave the Open Graph field empty, and the featured image takes over again.
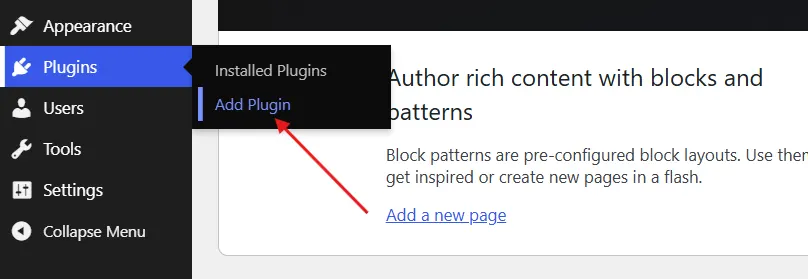
- Go to Plugins → Add New Plugin in your WordPress Dashboard.
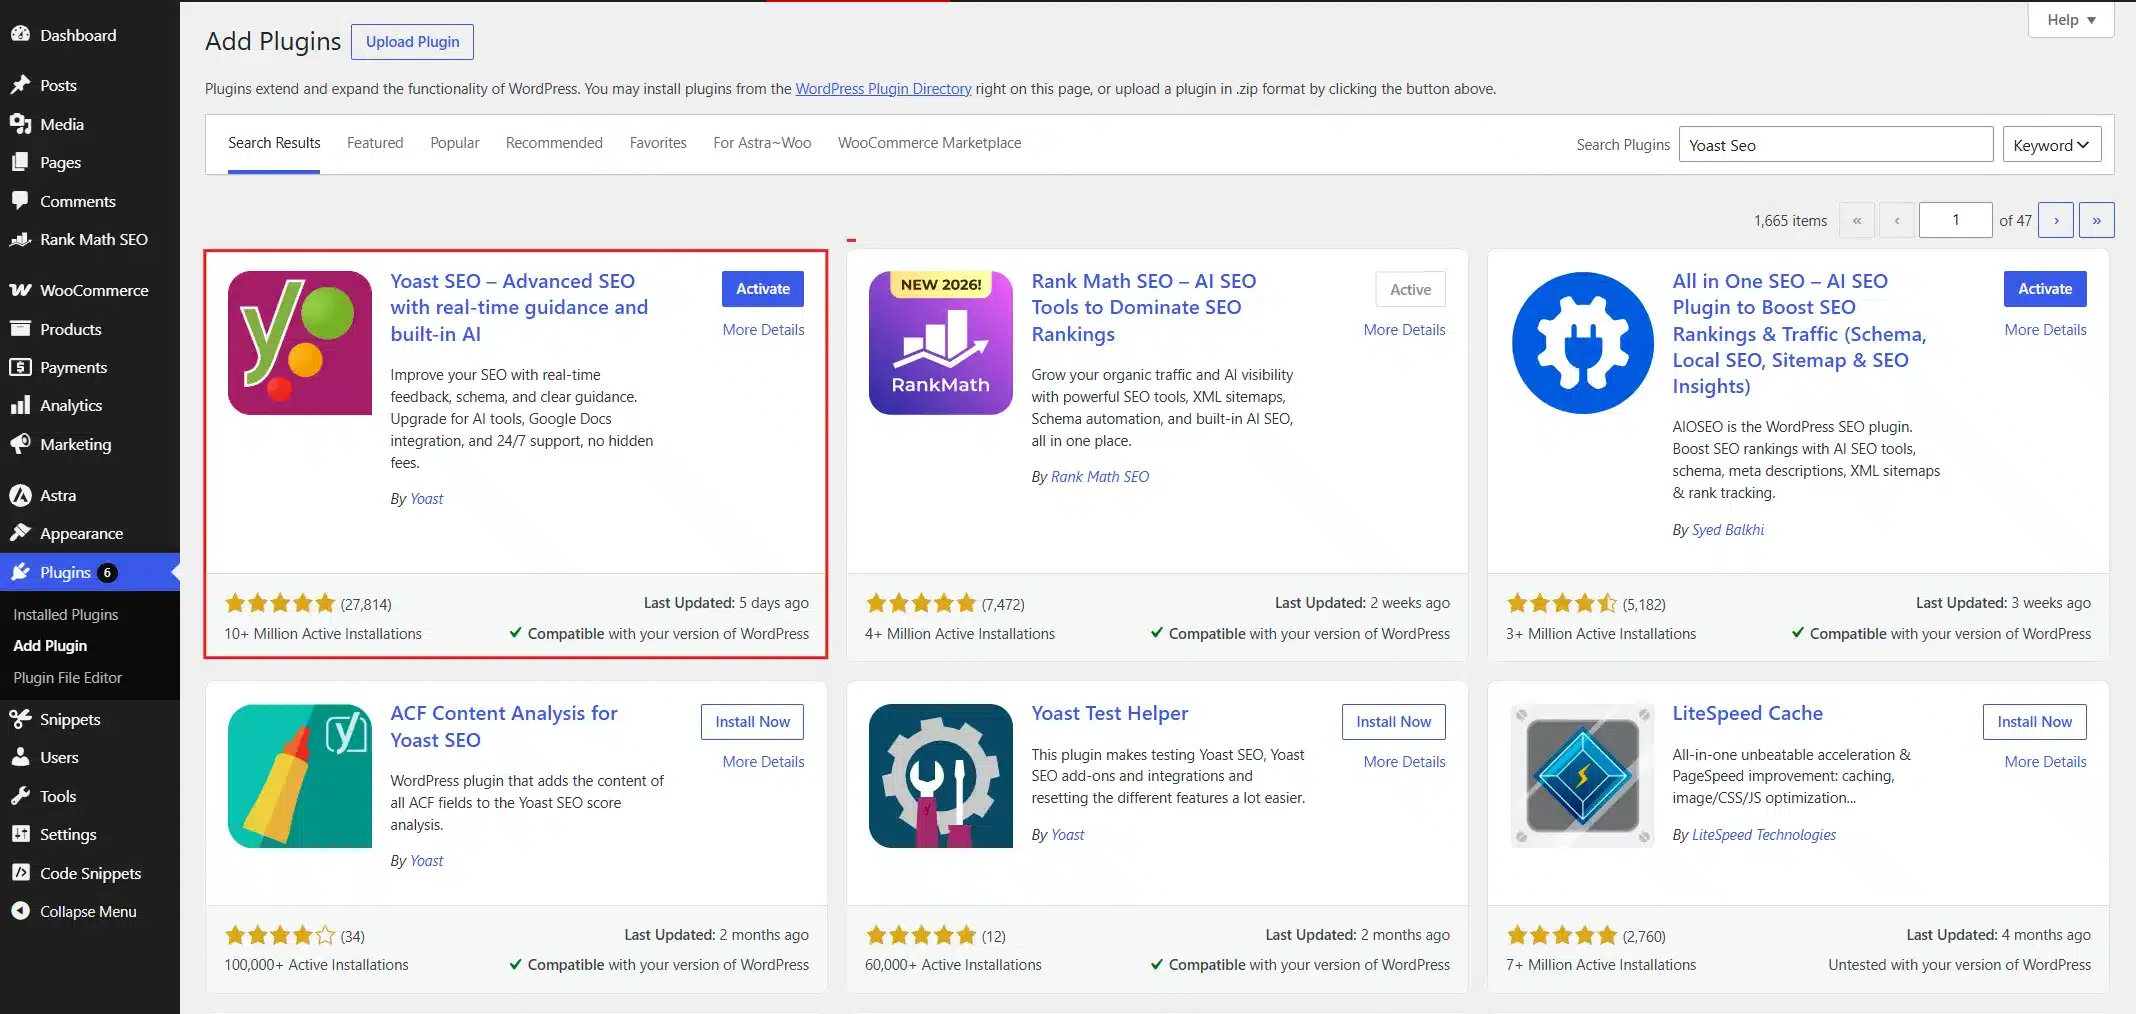
- Install and activate the Yoast Seo Plugin from the WordPress Directory.
- After Activation, go to Posts → All Posts and select the one you want to edit.
- Swipe up the Yoast Seo Box from the bottom and go to the Social Tab → Social Image and upload the image.
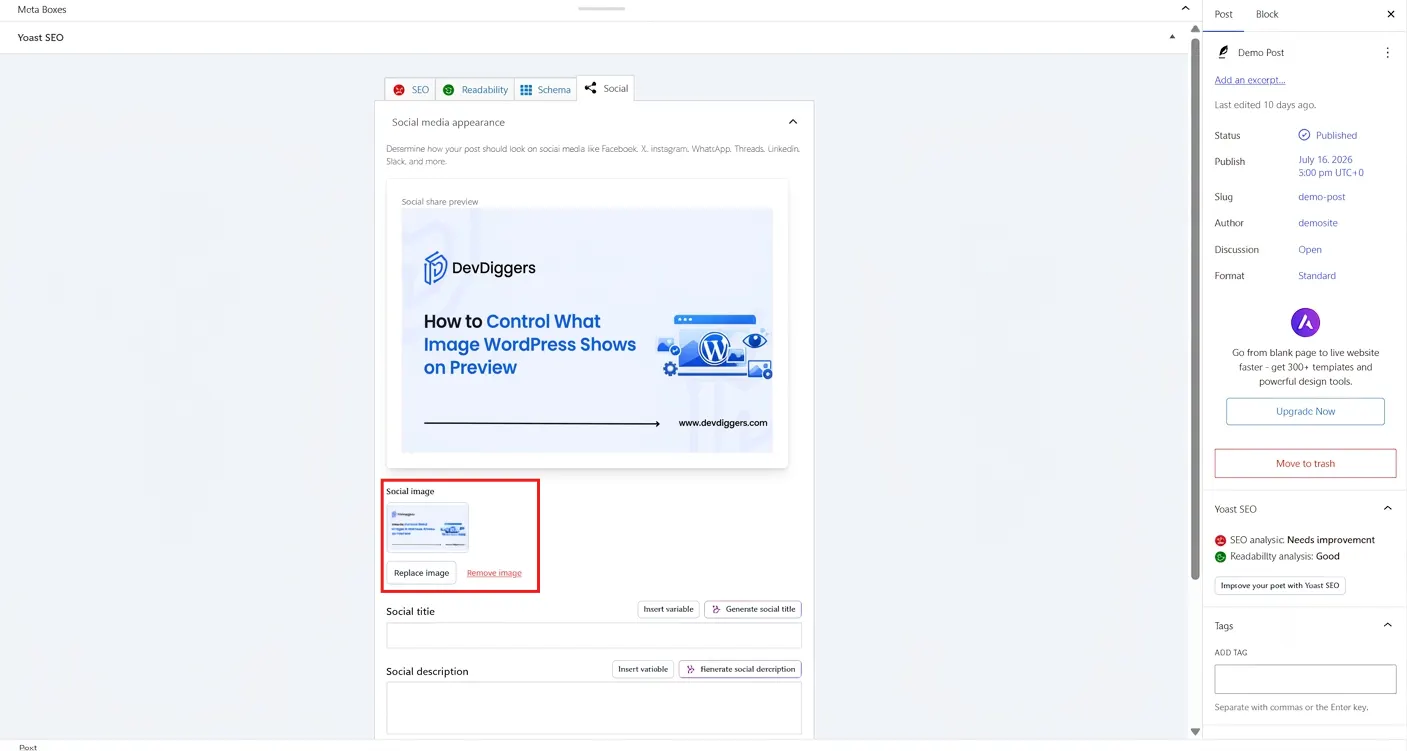
- At Last, save the post from the top right corner.
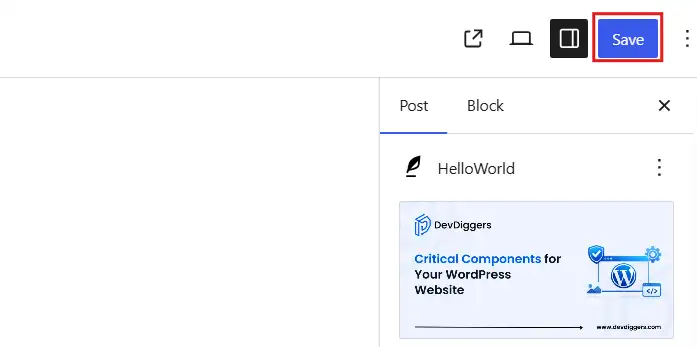
The logic is the same across all three: fill the field to override, leave it blank to fall back to the featured image.
Step 4: Use the Right Image Size and Aspect Ratio
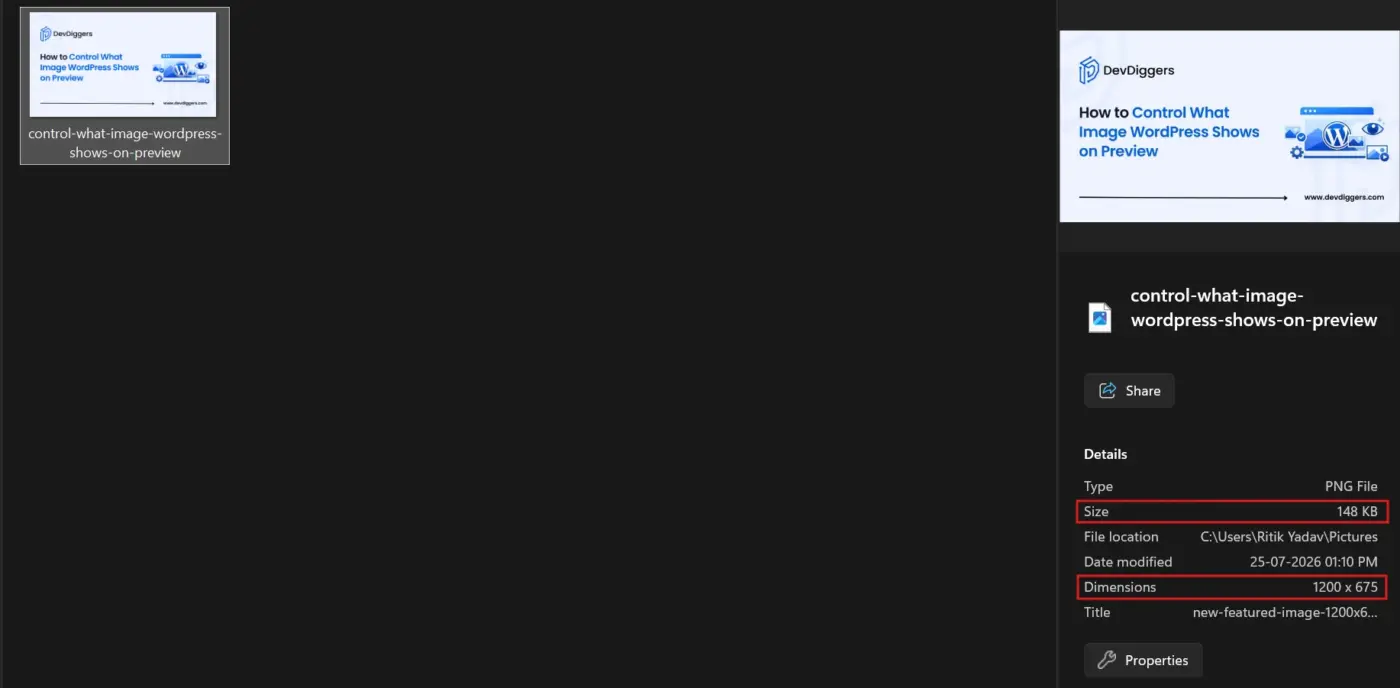
A correctly sized image prevents cropping and blur, and it’s the most skipped step in this process.
- Minimum 1200 × 630 pixels, 1.91:1 aspect ratio (fits Facebook, LinkedIn, and Google previews cleanly).
- Keep the file under 1MB.
- Avoid tiny text; it becomes unreadable once shrunk to a feed thumbnail.
Step 5: Test Your Preview Image Before You Publish
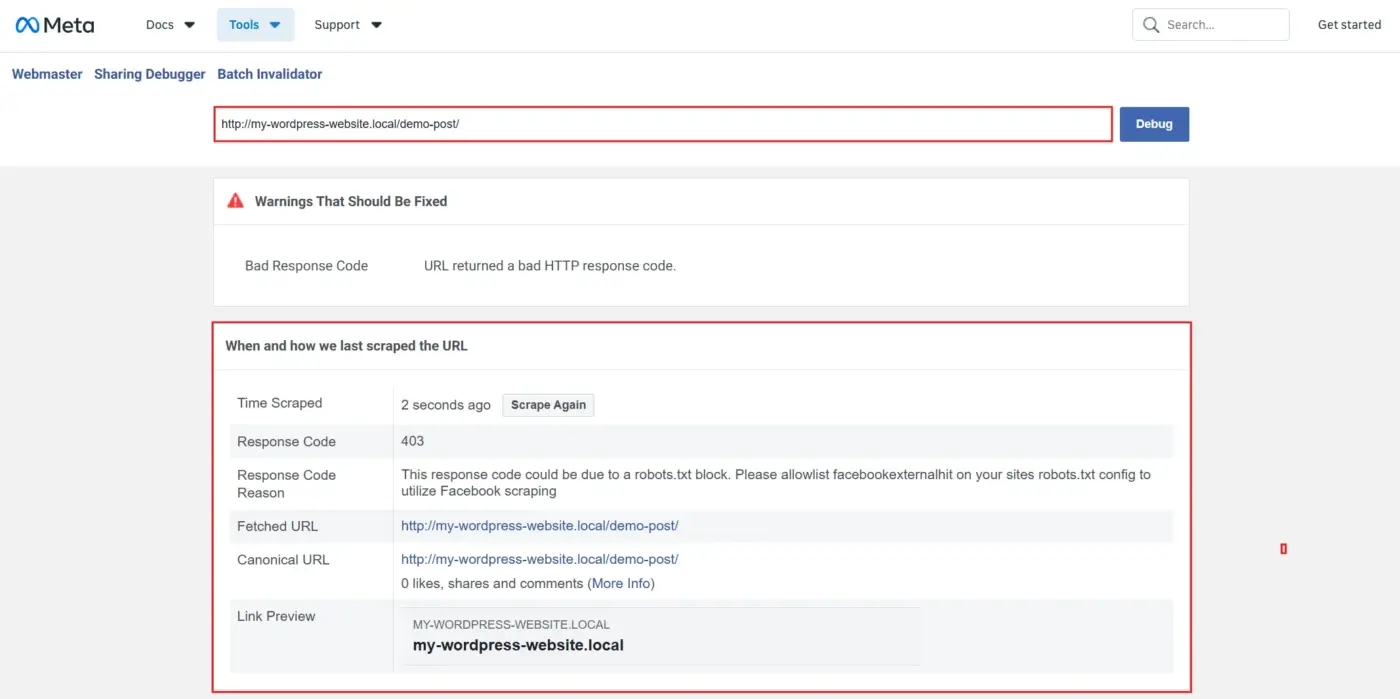
Cached data causes more preview problems than a missing image ever does.
Go to Facebook Sharing Debugger → Paste your URL → click Debug.
Step 6: Fix a Wrong or Cached Preview Image
If the old image still shows after you’ve fixed everything, it’s almost always a caching issue.
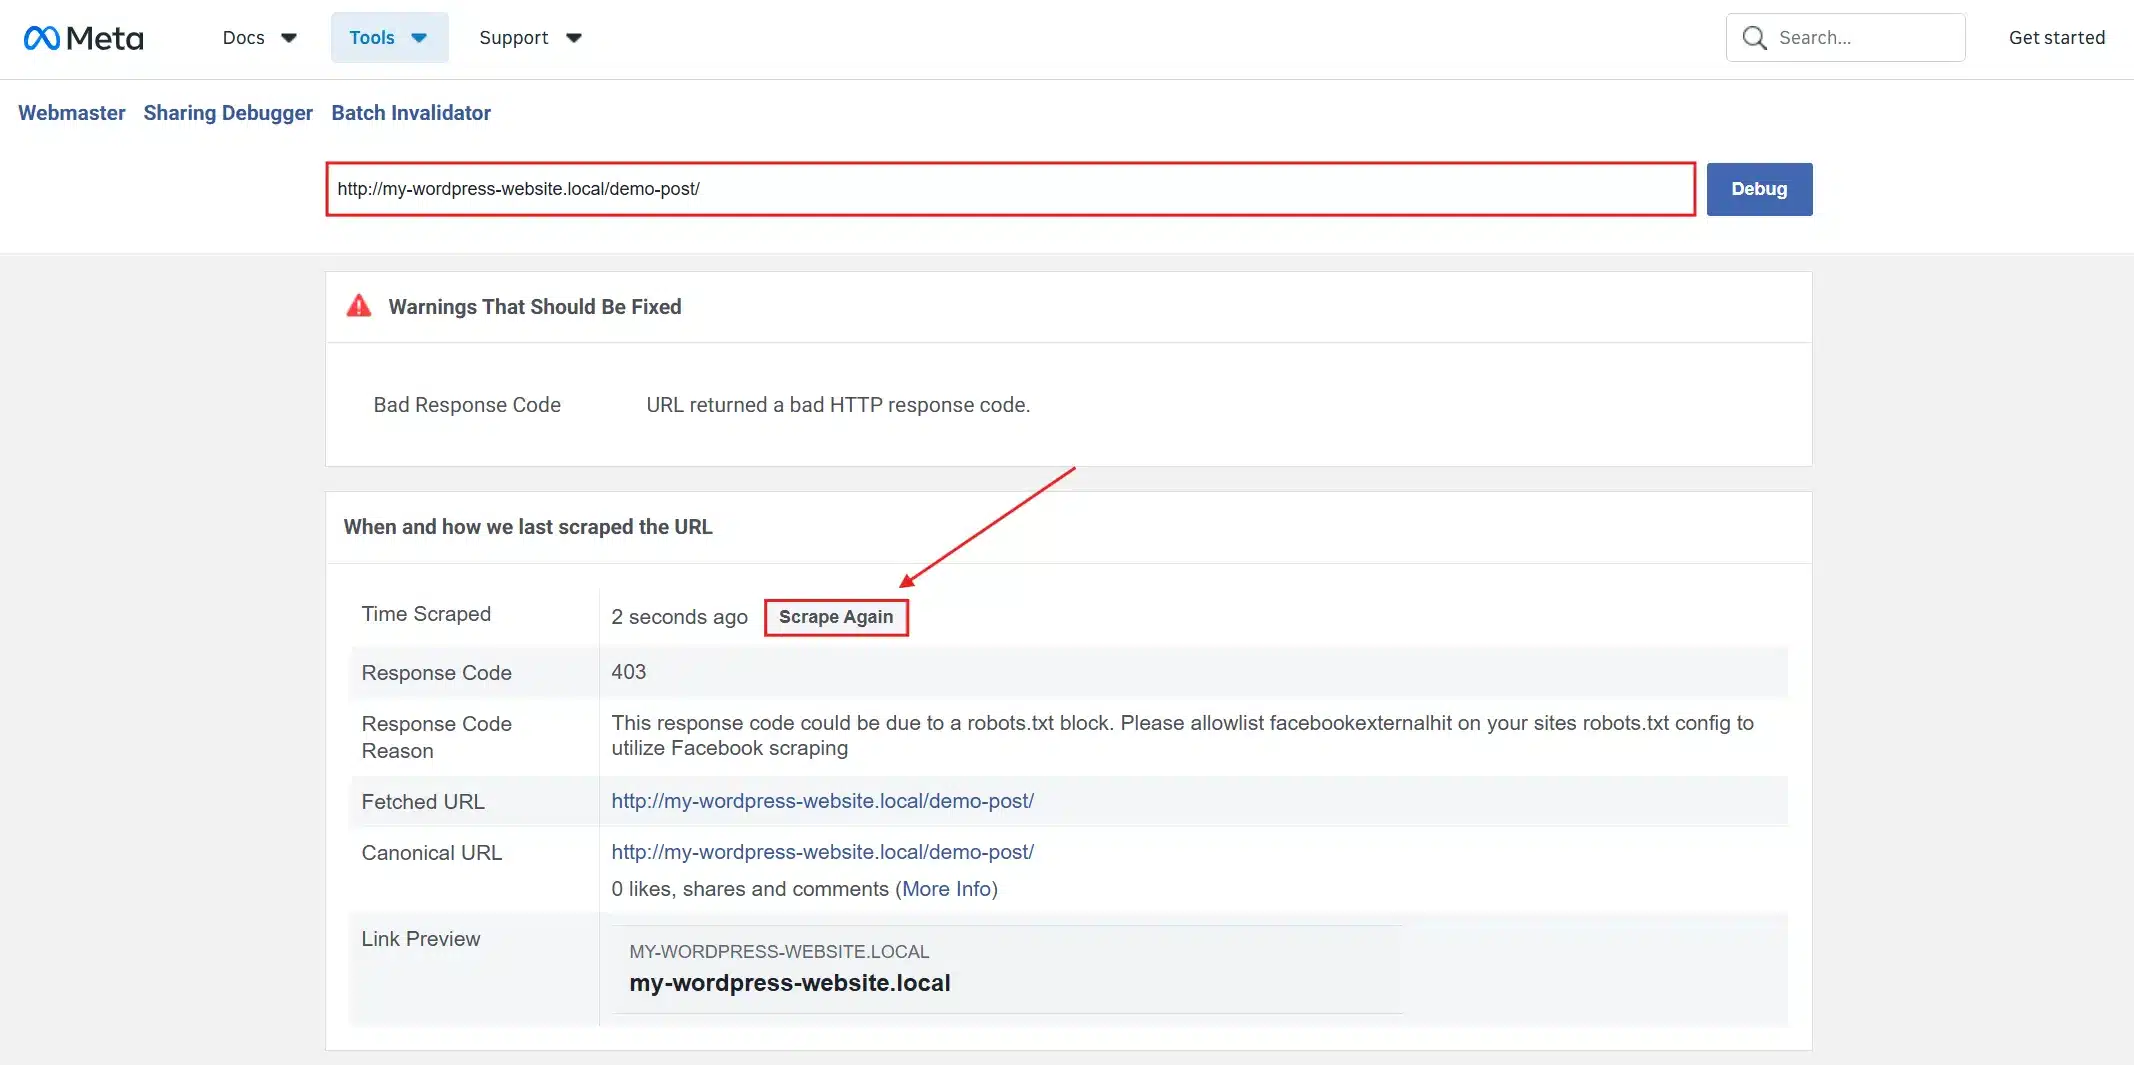
- Re-run Facebook Sharing Debugger → Scrape Again.
- Add a query string like
?v=2to your URL to force platforms to treat it as new.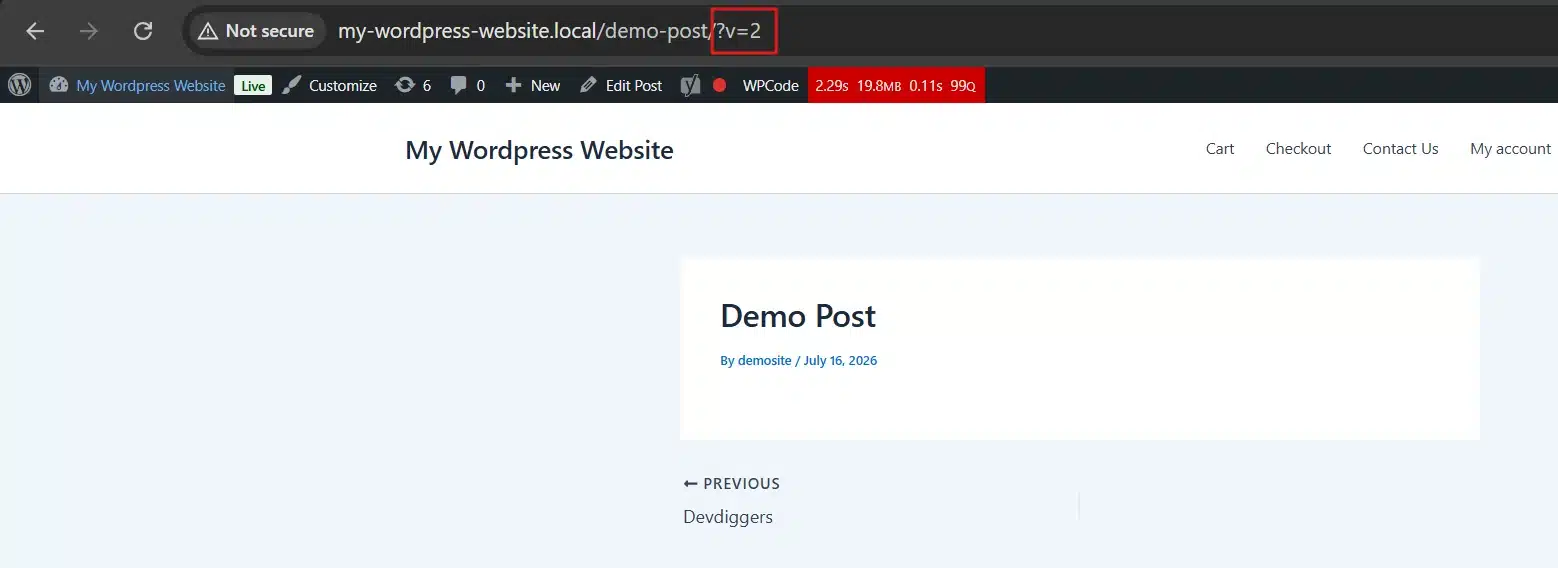
- Clear your WordPress caching plugin(eg., WP Super Cache), since cached HTML can serve an old
og: imagetag.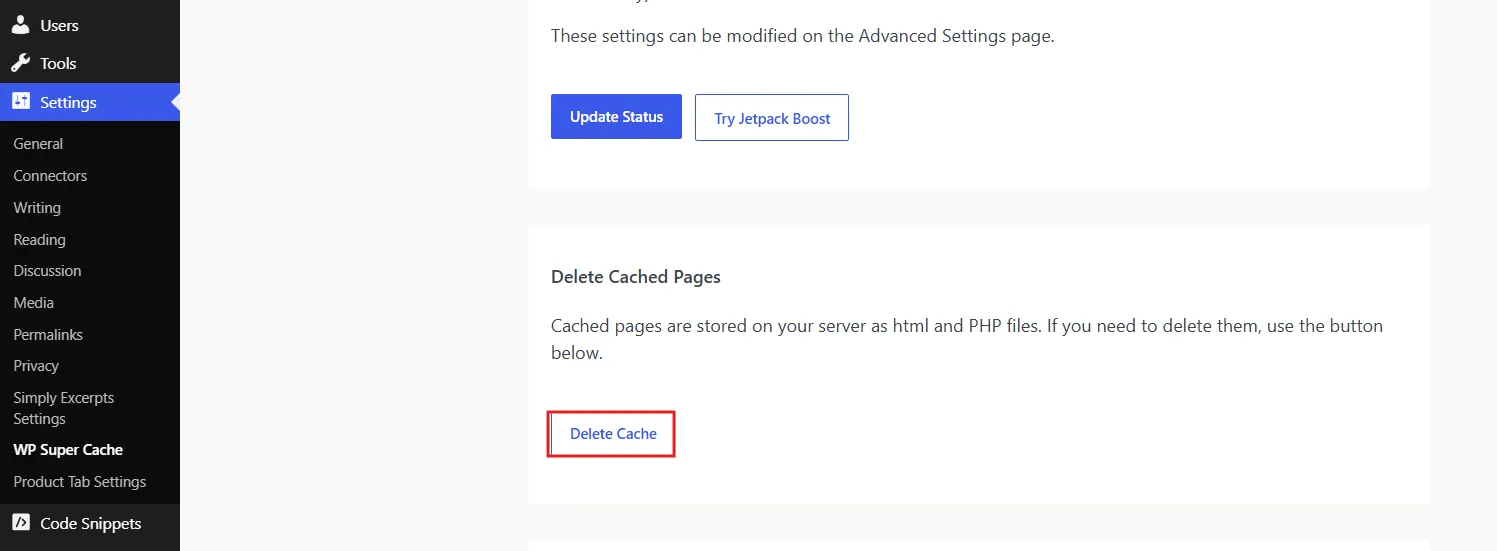
Step 7: Set a Site-Wide Default Preview Image
Catch posts that slip through without a featured image.
- Open your SEO plugin’s settings (in Yoast: General → Site Basics).
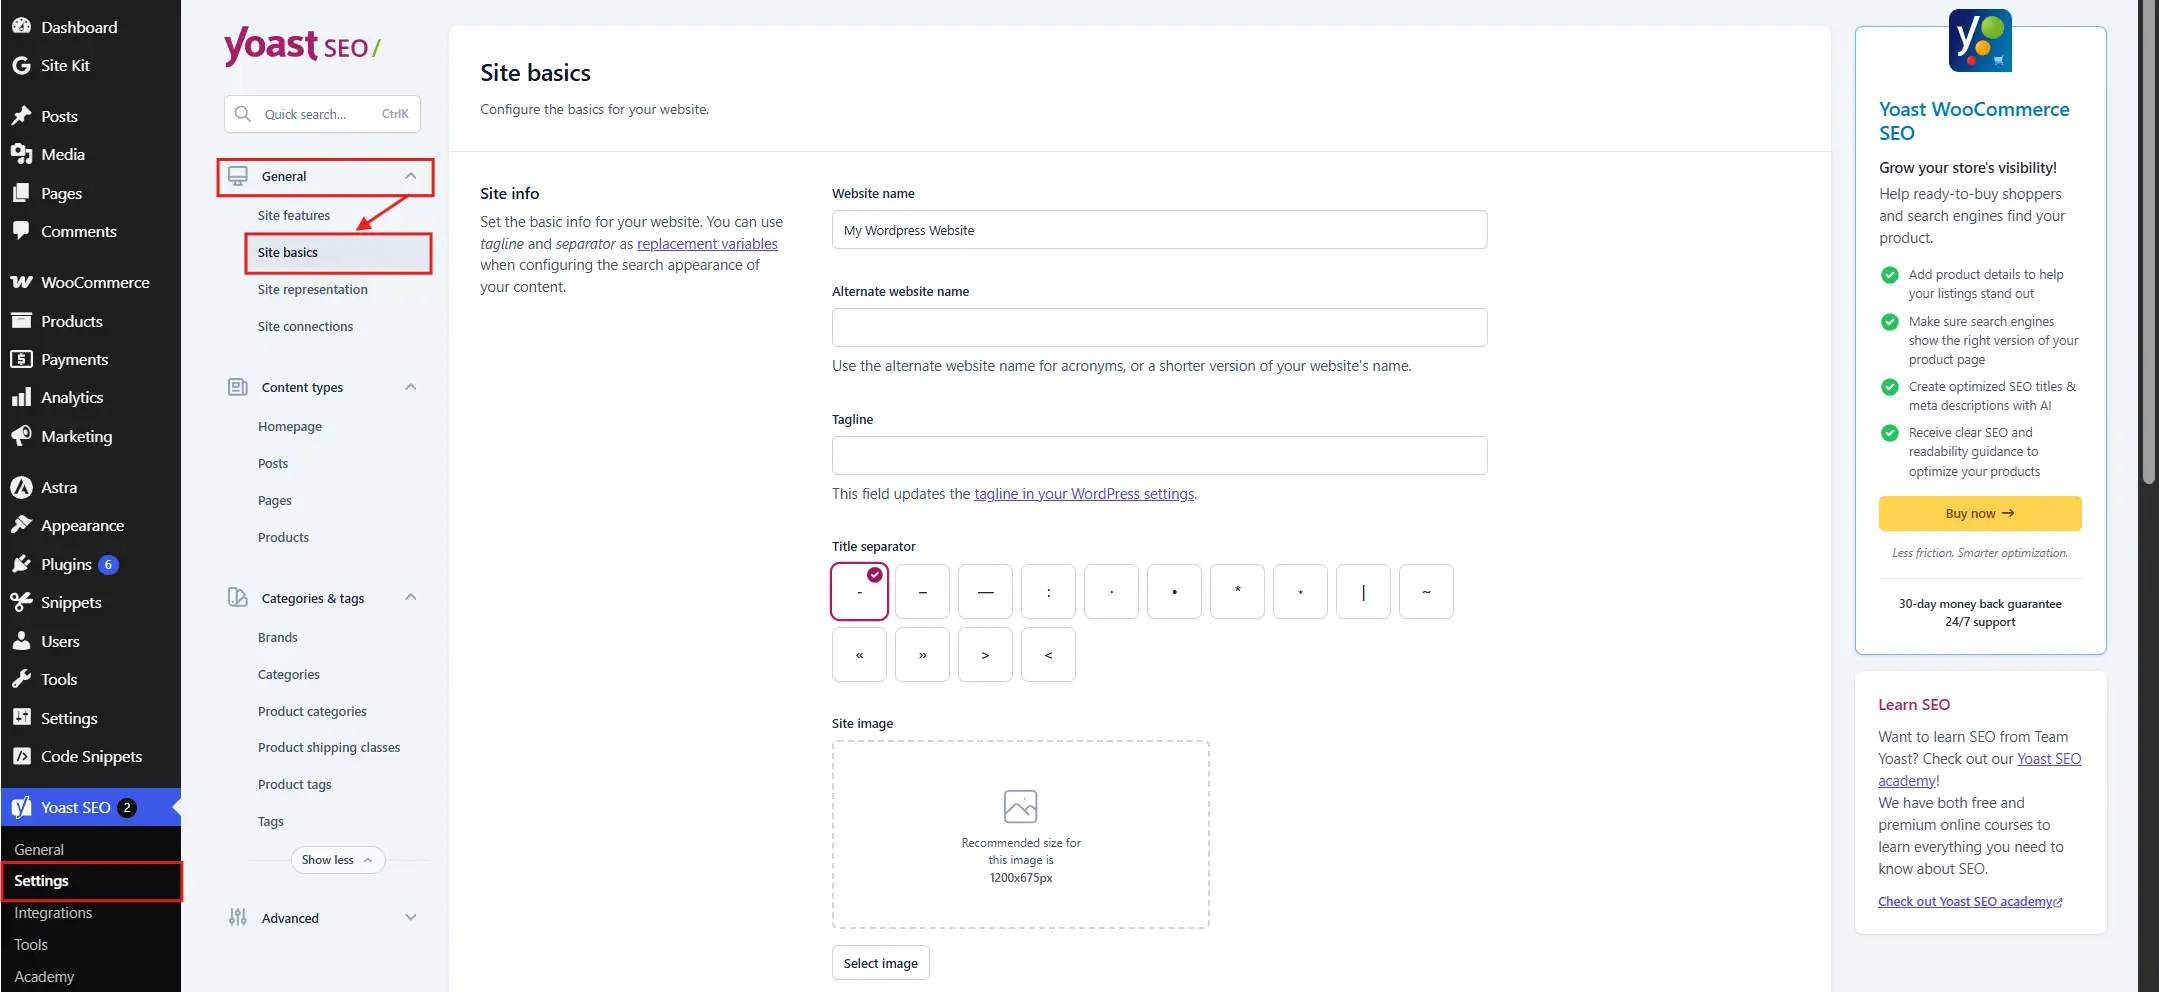
- Upload a branded fallback image at 1200 × 630.
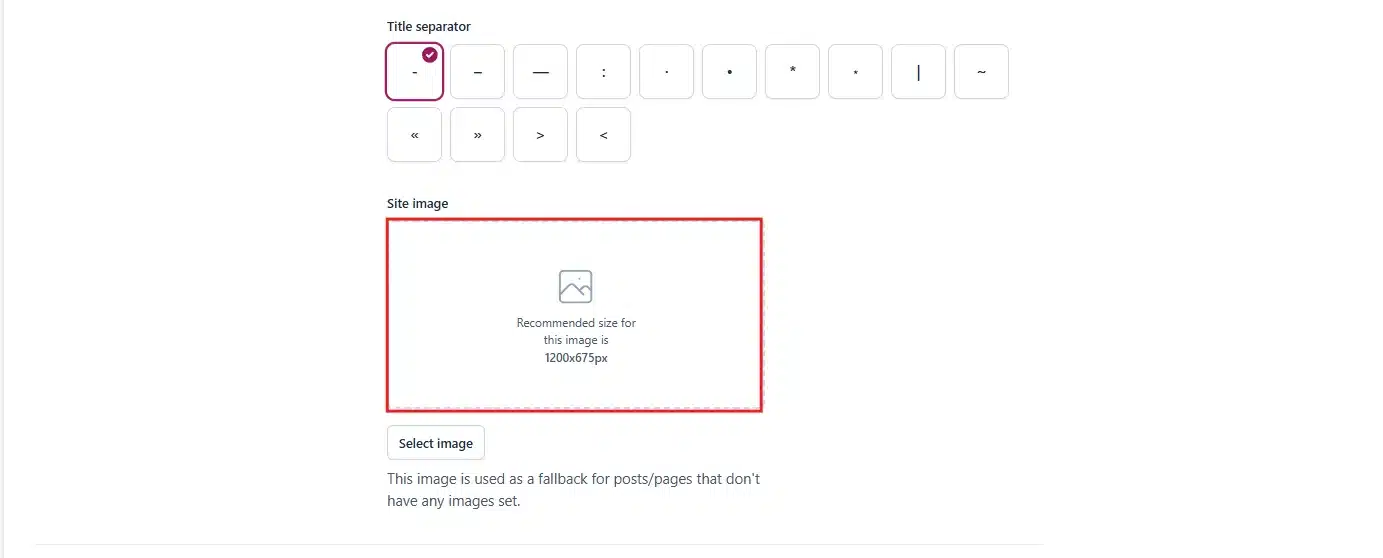
- Lastly, save all the changes.
Controlling Preview Images for WooCommerce Products
Ecommerce store owners run into a related but slightly different version of what image WordPress shows on preview. Product pages pull from the product image gallery, rather than a standard post’s featured image field.
WooCommerce automatically uses the main product image (the first image in the gallery) as both the featured image and the default preview image. If you want a different image specifically for social sharing, your SEO plugin’s Social tab still works the same way described in Step 3. It just lives on the product edit screen instead of a blog post.
For stores running promotions or seasonal campaigns, our WooCommerce SEO guide covers how preview images tie into broader product page optimisation. It also covers schema markup that helps Google pull the right thumbnail into search results.
Product galleries also introduce a variant problem. If a shopper shares a link to a specific colour or size variation, WordPress still shows the parent product’s main image by default. It will not show the variant image. Fixing that requires a variation-swatch plugin that also updates Open Graph data per variation, which is a more advanced setup than most stores need on day one.
Does the Preview Image Affect SEO?
Not directly. Google’s own developer documentation on images confirms that image quality signals feed into image search visibility rather than standard ranking factors for the page itself.
Where it does matter is indirectly. A weak or missing preview image lowers click-through rate on social shares and in search results. Click-through rate is something search engines do watch over time. Fix what image WordPress shows on preview for your posts, and you are really solving a click-through problem, with a side benefit of looking more professional.
Common Preview Image Problems and Quick Fixes
Before you close this guide, it helps to have a quick reference for the most common ways in which what image WordPress shows on preview goes wrong:
- Wrong image showing on Facebook: Cached data. Run the Sharing Debugger and click Scrape Again.
- Blurry or blurry preview: The source image is too small. Re-upload at 1200 by 630 pixels or larger.
- No image at all on Google search: Missing alt text or a blocked image URL. Check that the image is not set to hidden from search engines and has descriptive alt text.
- Image cropped oddly: Aspect ratio mismatch. Stick to 1.91:1 and avoid square or portrait images for social previews.
- Different images on different platforms: Expected behaviour if you set separate Facebook and Twitter images in Step 3. Not a bug.
Conclusion
What image does WordPress show on preview? It comes down to a simple order of priority: featured image first, Open Graph image second, first post image third, default fallback last. Once that order is set correctly, you never have to think about it again.
Here is your quick checklist for keeping what image WordPress shows on preview working in your favour:
- Set the featured image on every post before you publish.
- Use your SEO plugin’s Social tab whenever you need a different crop for sharing.
- Test the result with the Sharing Debugger or Post Inspector before you consider the job done.
- Set a site-wide fallback image so nothing slips through unbranded.
Skip the testing step, and you are trusting a cache that may or may not reflect what you just changed. Five minutes with these tools is what stands between a polished, on-brand share and a preview image that embarrasses the post attached to it. Get what image WordPress shows on preview right once, and every future post inherits the same clean, predictable result.
Frequently Asked Questions (FAQs)
Q1. Does WordPress automatically create a preview image?
No. WordPress does not generate a preview image on its own. It selects one from images you have already set, which is exactly what image WordPress shows on preview in practice. WordPress starts with the featured image, falls back to an Open Graph image, then finally the first image in the post.
Q2. What is the best image size for a WordPress preview image?
Use 1200 by 630 pixels at a 1.91:1 aspect ratio. This size works across Facebook, LinkedIn, and Google search results without cropping issues.
Q3. Why does my WordPress post show no image on Google search?
Google usually skips an image if it lacks alt text, is blocked by robots.txt, or is too small to meet quality thresholds. Add descriptive alt text and use an image over 1200 pixels wide.
Q4. Can I use a different preview image for Facebook and Twitter?
Yes. Most SEO plugins let you set separate images per platform under their Social settings tab, covered in Step 3 above.
Q5. Does changing the featured image update old social media shares automatically?
No. Platforms cache preview data once a link is shared. You need to manually refresh the cache using the Sharing Debugger or Post Inspector, and even then only future shares reflect the update.
Q7. Do I need a plugin to control the WordPress preview image?
Not strictly. The featured image alone controls most previews. A plugin like Yoast SEO or Rank Math becomes necessary only in one case: when you want a different image for social sharing than the one used elsewhere on your site.