Congratulations on your purchase of the DevDiggers’ WooCommerce plugin! In the paragraph below, you will find a cohesive and detailed walkthrough that helps you install and set up the plugin with ease.
This guide serves all users of the DevDiggers WooCommerce plugin, so it does not matter which marketplace you have purchased the item from.
It will work for everyone!
Setting up the WooCommerce plugin on your website is an easy task to tackle. It’s important to remember that your site needs to be able to meet the requirements for proper operation.
These steps will allow you to successfully deploy and activate the WooCommerce plugin within a few minutes.
Requirements #
- WordPress Version: 5.5 or higher.
- WooCommerce Version: 5.0 or higher.
- PHP Version: 7.4 or higher.
Installation and Activation #
Before starting the installation process, ensure that you have downloaded the plugin from your account where you made a purchase, either from the DevDiggers site or CodeCanyon.
Once you complete the download, follow these steps to upload the downloaded plugin onto your WordPress website.
Step 1: Access your WordPress account and open the dashboard.
Step 2: On the Plugins menu, click on Add New.

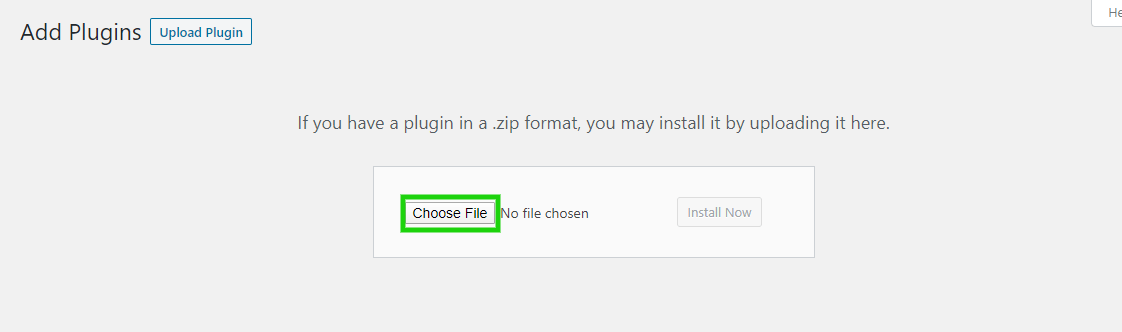
Step 3: Click on Upload Plugin at the top of the screen with the intent to upload the plugin zip file.

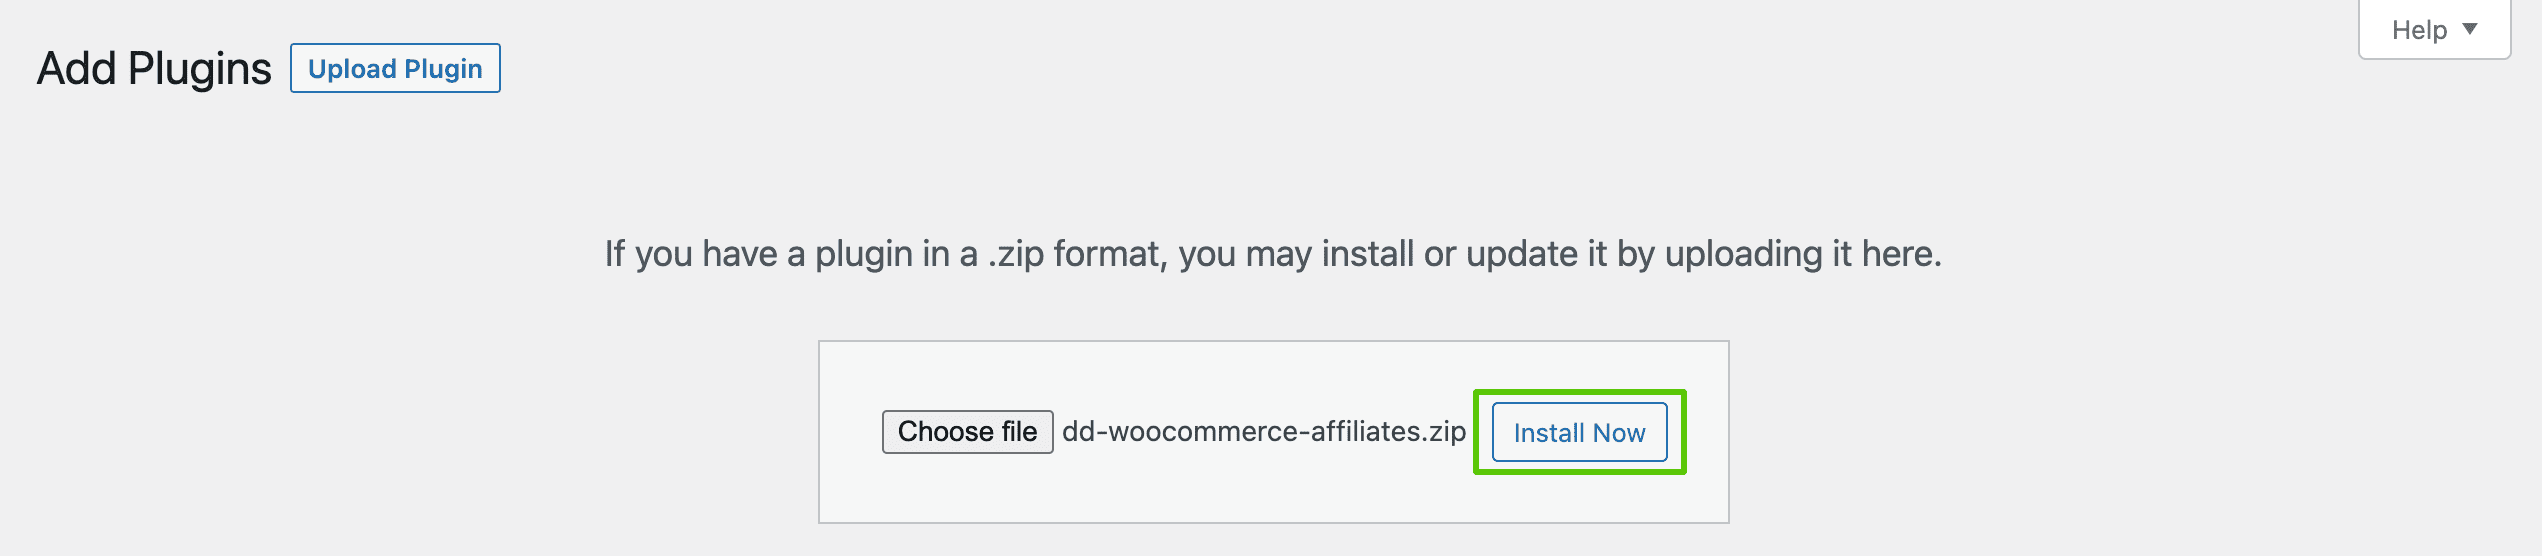
Step 4: Select the plugin file from your computer that you wish to install.
Step 5: Click on Install Now to install your chosen plugin. Your patience is highly appreciated during this process.
Step 6: After successfully installing the plugin, click on Activate to use the plugin on your website.
