How to Redirect a Page or URL in WordPress
WordPress is a solid site that makes it easy to manage content. But when you make changes to your site—whether altering a page URL, merging content, or rearranging domains—redirects are a necessary component of protecting your hard-won SEO and allowing for a seamless user experience.
In this guide here, we will inform you about how to redirect a page or URL in WordPress, why you should use WordPress redirects, and walk you through some ways (with plugins, .htaccess, and PHP code) to implement a redirect.
We will also cover best practices and troubleshooting so that you don’t become victim to common pitfalls and your site stays optimized and user-friendly.
What Is a Redirect?

A redirect is a command that automatically directs visitors (and search bots) from one URL to another. If a page is being relocated, removed, or replaced, implementing the right redirect means that users are redirected to the new page rather than presented with 404 errors (Page Not Found) and 406 errors.
There are two broad categories of redirects:
- Server-Side Redirects: These are done at the server level (via HTTP status codes) and take place prior to the loading of any content. They are efficient and speedy.
- Client-Side Redirects: These depend on meta tags or scripts within the HTML and are handled by the browser after the page load has commenced.
When you execute a redirect—a permanent redirect, like a 301 redirect what you are doing is giving search engines a signal that the URL of the page has actually changed permanently. Not only do you preserve link equity (or “link juice“) that has been accumulated on the old URL, but also your site’s SEO remains safe.
Why Redirect URLs in WordPress?

Redirects play a pivotal role in maintaining a healthy website and ensuring that both users and search engines have a positive experience. Here’s why you should consider using redirects on your WordPress site:
- Maintain SEO Equity: When you’re rewriting a URL (such as rewriting a slug or relocating content to another page), you’re losing backlinks and source URL equity unless you’re employing a redirect. Using a 301 redirect, most of the SEO equity is passed from the old page to the new page without losing your search rankings.
- Prevent 404 Errors: Not only do 404 errors anger visitors, but they also harm your SEO. Broken links reduce user trust and boost bounce rates. Redirects redirect visitors automatically to a live page instead of a dead end.
- Enhance User Experience: When a user clicks on an old bookmark or a link to another webpage, a nicely designed redirect directs them to new and related content. This smooth experience pleases users and doesn’t let them leave your site in frustration.
- Consolidate Content: You can, from time to time, merge multiple pages into one page in order to prevent duplicate content or streamline the overall site structure. Redirects enable you to merge such pages so traffic and authority are transferred to the new merged page.
- Domain Migration and HTTPS Migration: When you are migrating the domain of your site or migrating from HTTP to HTTPS, you must redirect your old URLs to your new domain or secure URL. This saves your SEO without losing your traffic in the process.
- Redirect Dead Links: At times websites or old pages link to your website with an old URL. Redirecting the same to the latest content will keep customers always directed towards the content they are searching for, regardless of whether the original URL has been deleted or changed.
By implementing effective WordPress redirects, you not only improve your site’s overall performance but also strengthen your digital presence and reputation in the eyes of both users and search engines.
Types of Redirects
Redirects are not one-size-fits-all. The one you will use will be based on your needs and the situation you are addressing. These are the most common types:
- 301 Redirect (Permanent)
- 302 Redirect (Temporary)
- 307 Redirect (Temporary)
- Meta Refresh Redirect
- HTTP to HTTPS Redirect
When to Use Redirects in WordPress
Understanding when and how to do a redirect will help you retain user experience along with SEO capabilities. The situations mentioned below are common where WordPress redirects must be implemented:
- Changes in URL Structure or Permalink: When you change your permalink setting so as to produce “pretty” URLs or when you change the configuration of your site, your URLs are broken. A 301 redirect redirects individuals and search engines to the new URL.
- Merging or Deleting Pages: When deleting an older page or merging several posts onto one post, set up a redirect from the older URL(s) to the new page. Not only does this remove 404 errors, but it also transfers the SEO equity of multiple sources onto a valid page.
- Domain Migration: If your website is to be moved to a different domain, redirect all your old URLs to the new ones. The migration does not impact your search rankings and redirects your visitors to your new site without interruption.
- HTTPS Switch: After you have an SSL certificate in place, then you should now switch HTTP traffic over to the HTTPS version of your website. Not only is it more secure, but it also notifies search engines of a positive ranking signal.
- Repairing Broken External Links: Occasionally, external websites link to older URLs on your website. A redirect will catch this traffic and direct people to the new page so you don’t lose quality referral traffic.
- Temporary Maintenance or Promotions: In a temporary change—such as a promotions page or maintenance mode—use a 302 or 307 temporary redirect since it will let search engines know the change is temporary. By using the correct kind of redirect in the correct scenario, you always have users arrive with the correct content and secure and even enhance your site’s SEO performance.
How to Redirect a Page or URL in WordPress: Methods
There are several methods to implement redirects in WordPress. We’ll walk through three common approaches: using a plugin, editing the .htaccess file, and using PHP for server-side redirects.
Method 1: Using a Plugin
Plugins are the easiest way to manage WordPress redirects without touching code. They offer a user-friendly interface, reduce the chance of errors, and usually come with additional tracking features. Here are three popular plugins:
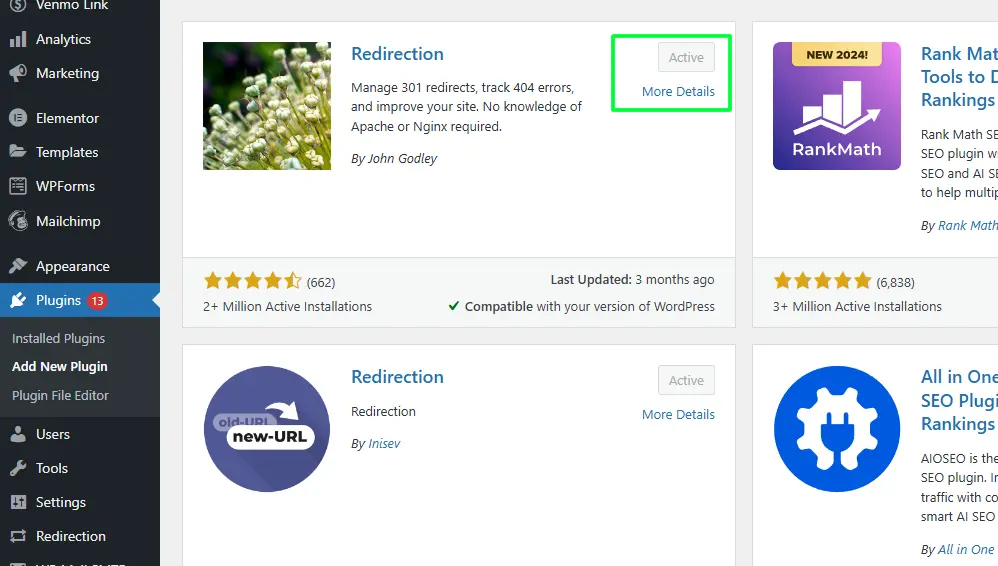
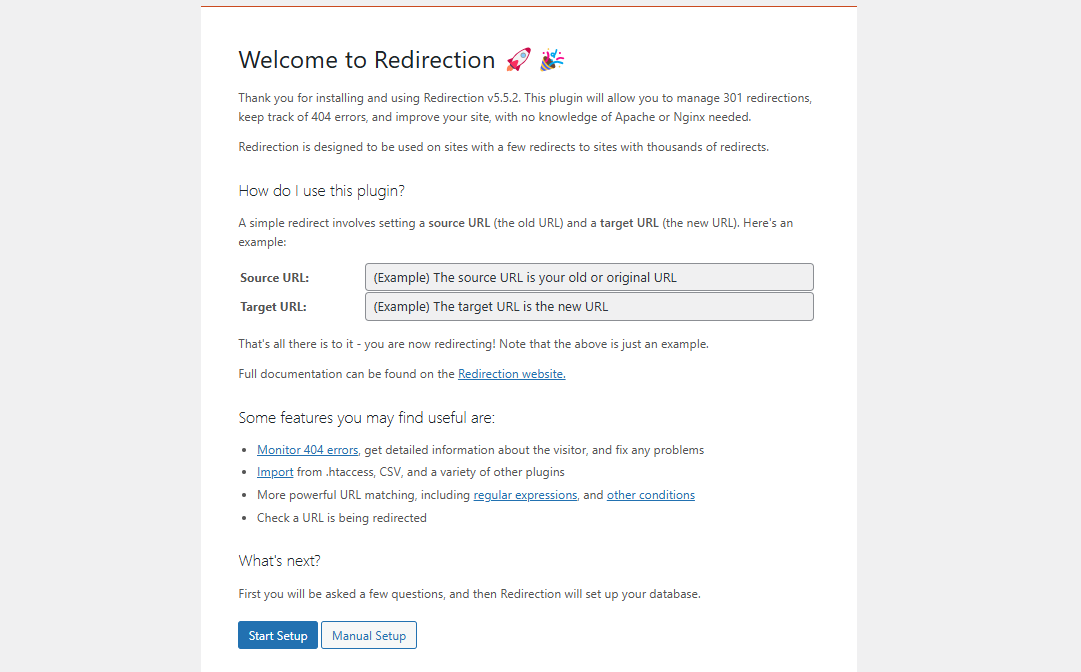
1. Redirection
Redirection is among the top and widely used WordPress redirect plugins. It is completely free and has advanced functionalities like 404 tracking and conditional redirects.
How to activate Redirection:
- Install and Activate the Plugin: Go to Plugins → Add New, search “Redirection“, then install and activate.

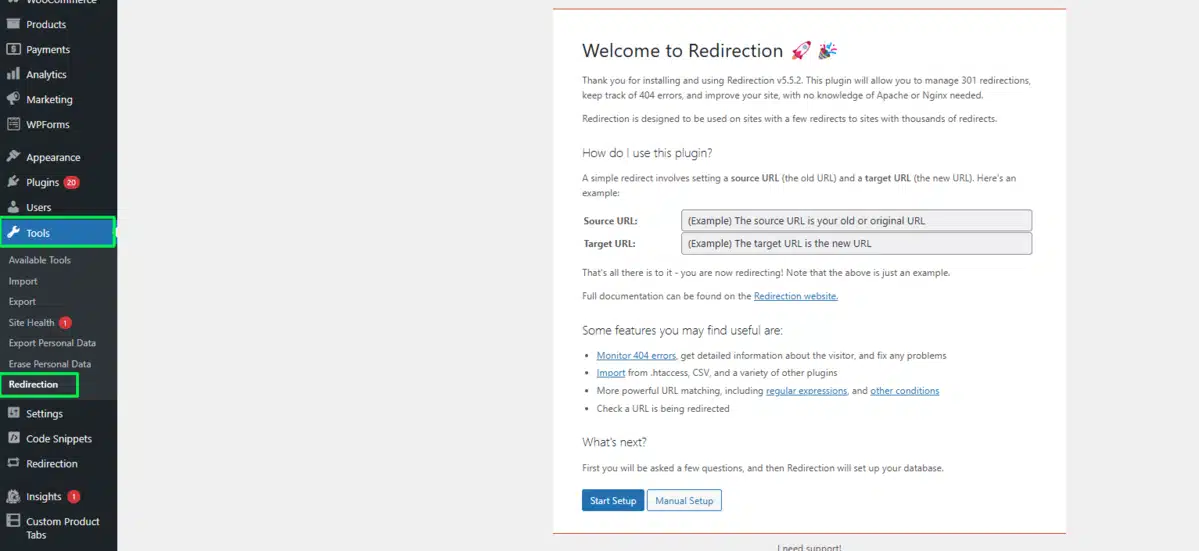
- Setup: Then go to Tools → Redirection.

- Add New Redirect:
- Press Add New
- In the Source URL field, enter the previous URL path (e.g., /old-page/).
- In the Target URL field, enter the URL (i.e., https://www.yoursite.com/new-page/).

- By default, this plugin can create a 301 redirect. You may adjust the status code if you need to.
- Click Add Redirect.
- Test the Redirect: Open a new browser window, clear your cache if required, and enter the old URL. Verify you’re redirected to the new page.
Redirection allows you to manage bulk redirects and logs to review how often redirects are called.
2. Yoast SEO (Premium Version)
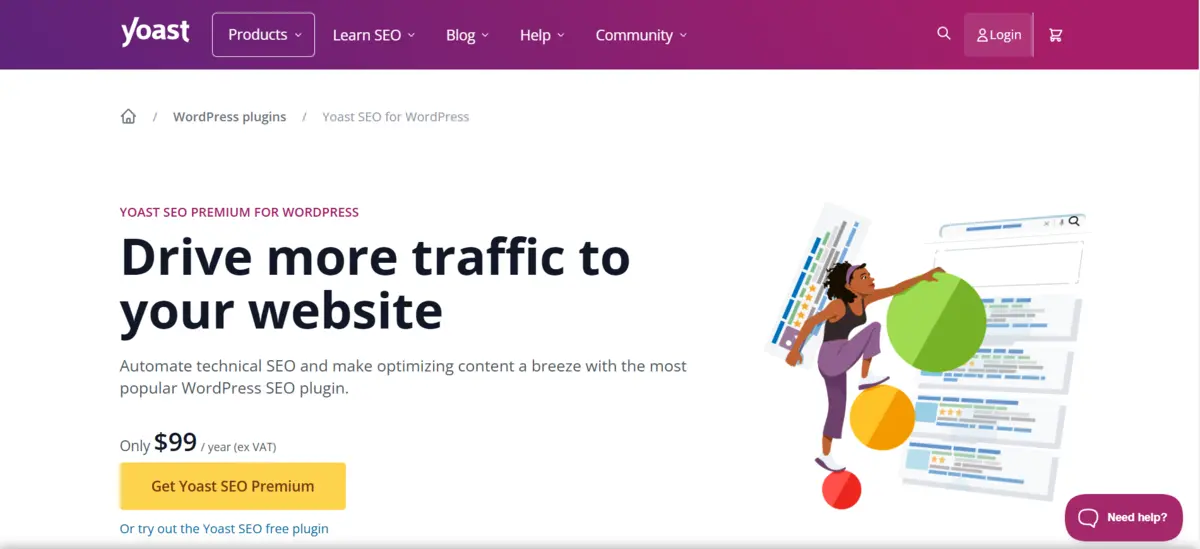
Yoast SEO is well-known for its robust SEO features. The premium version includes a built-in redirect manager that automatically creates redirects when you change a post’s URL.
How to Use Yoast SEO Redirect Manager:
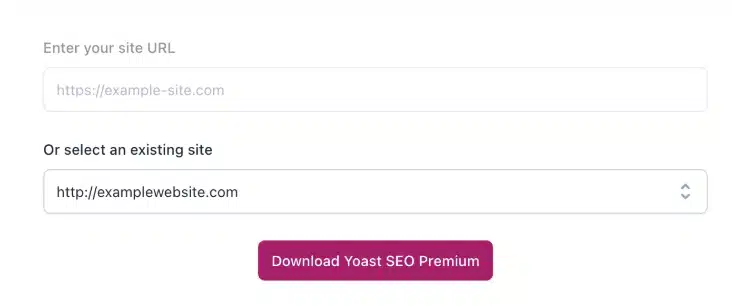
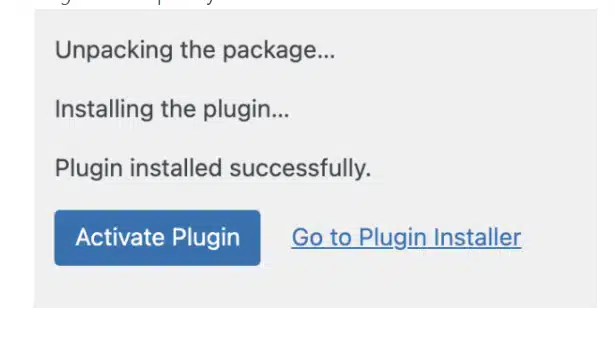
- Install and Activate Yoast SEO Premium: Purchase and install the premium version if you’re not already using it.
- Purchase and download the plugin from the My Yoast installation page.

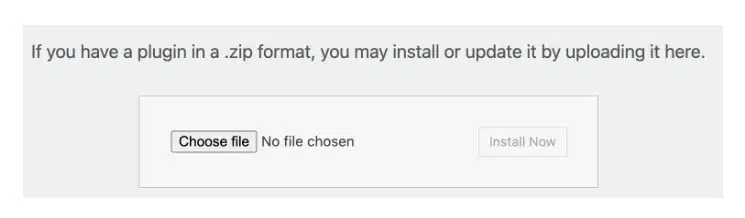
- Go to WordPress Dashboard → Plugins → Add New, and upload the ZIP file.

- And activate it.

- Purchase and download the plugin from the My Yoast installation page.
or,
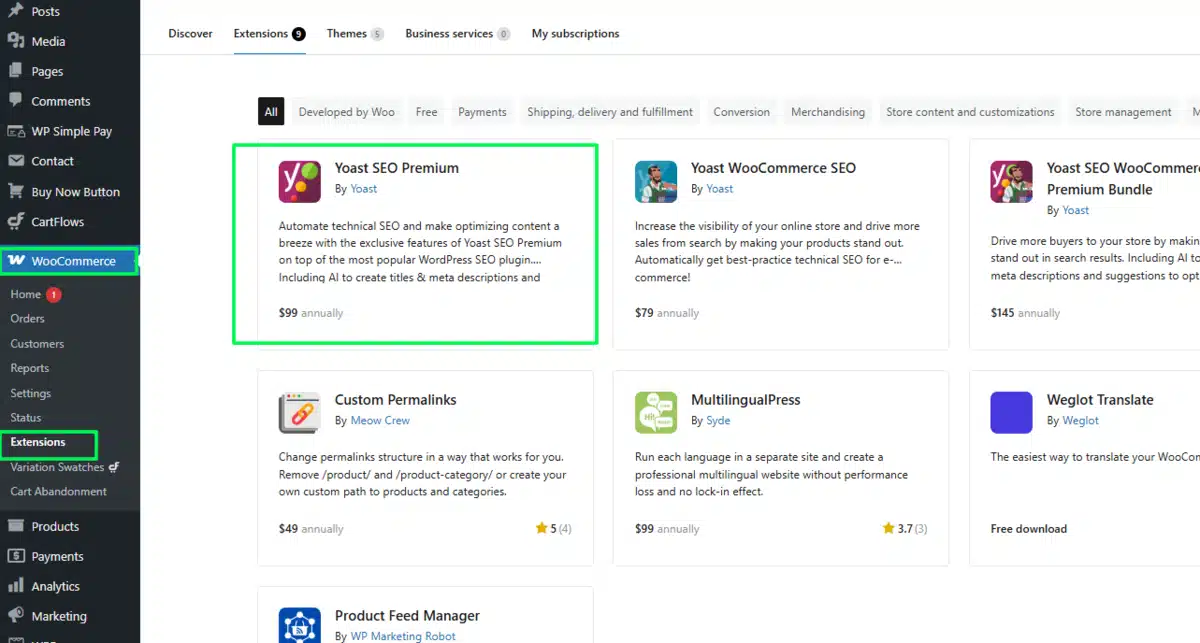
- Visit WooCommerce → Extension.
- Then, Search for an Yoast SEO Premium
- You can buy the Yoast SEO Premium for WooCommerce.

2. Automatic Redirects: When you change a URL (slug) of a post or page, Yoast SEO Premium will automatically create a 301 redirect from the old URL to the new one.
3. Manual Redirects:
- Navigate to SEO → Redirects in your WordPress dashboard.
- Add the old URL and the new destination URL manually.
- Choose the type of redirect (301 for permanent moves, 302 for temporary ones) and save.
Yoast’s redirect manager is particularly useful for managing changes without installing additional plugins.
Method 2: Editing the .htaccess File
For those comfortable working with server files, editing the .htaccess file directly is an efficient way to set up redirects. This method is particularly useful for handling site-wide redirects and can be faster than using a plugin.
However, it comes with risks—incorrect settings in .htaccess can break your website.
Steps to Edit .htaccess:
- Backup Your Site: Always create a backup of your website before making changes to core files.
- Access the .htaccess File:
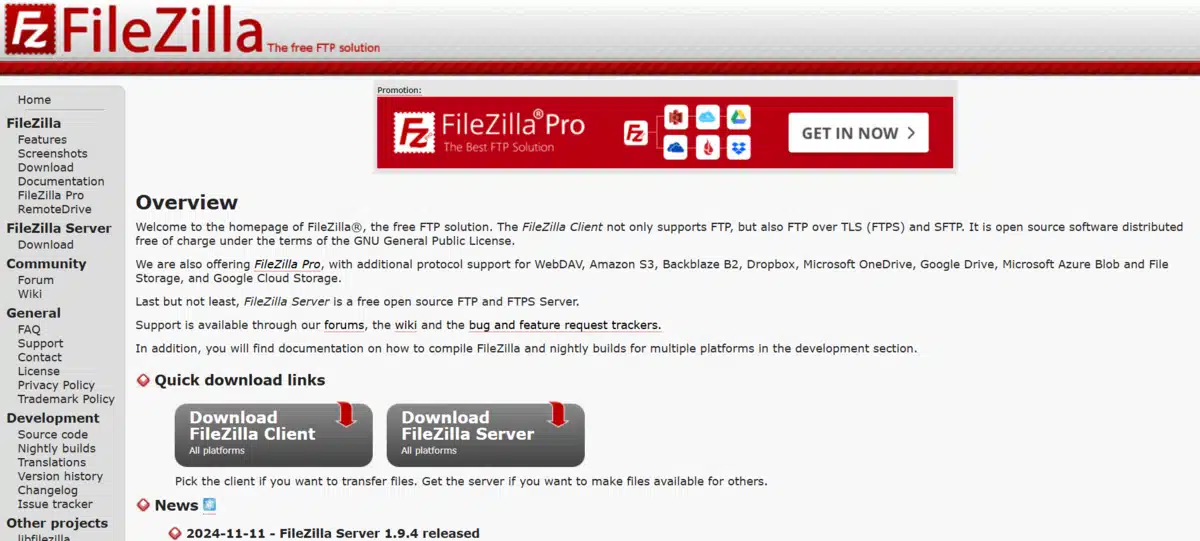
- You can edit .htaccess via FTP.

- Step 1: Use an FTP client like FileZilla to connect to your website.
- Step 2: Navigate to the public_html folder.
- Step 3: Download the .htaccess file to your computer (for backup).
- Step 4: Open it in a text editor (e.g., Notepad++), make changes, and upload it back.
- If you can’t see it, ensure that hidden files are visible.
- You can edit .htaccess via FTP.
- Add Redirect Rules:
- Open the .htaccess file in a text editor.
- To redirect a single page, add a line like this (place it right after the WordPress section):
Redirect 301 /old-page.html https://www.yoursite.com/new-page/
- To redirect an entire domain (useful when migrating domains), add:
RewriteEngine On
RewriteCond %{HTTP_HOST} ^(www\.)?olddomain\.com [NC]
RewriteRule ^(.*)$ https://newdomain.com/$1 [L,R=301,NC]
Save the changes and upload the updated .htaccess file back to your server. Test the redirects by visiting the old URLs.
This method is powerful but requires careful attention to detail. A small error in syntax can cause serious issues with your site’s functionality.
Method 3: Using PHP for Server-Side Redirects
If you prefer coding over plugin management or need a custom solution, you can implement redirects using PHP. This method is useful when you want to add redirects conditionally or on a per-template basis.
Steps to Create a PHP Redirect:
- Open the Theme File:
This method can be applied in your theme’s header file (header.php) or within a custom page template.- Go to Appearance → Theme File Editor.
- On the right sidebar, find and click on header.php under the Theme Files section.
- Make your changes and click Update File to save.

- Insert the PHP Redirect Code: Place the following code at the very top of your file (before any HTML output):
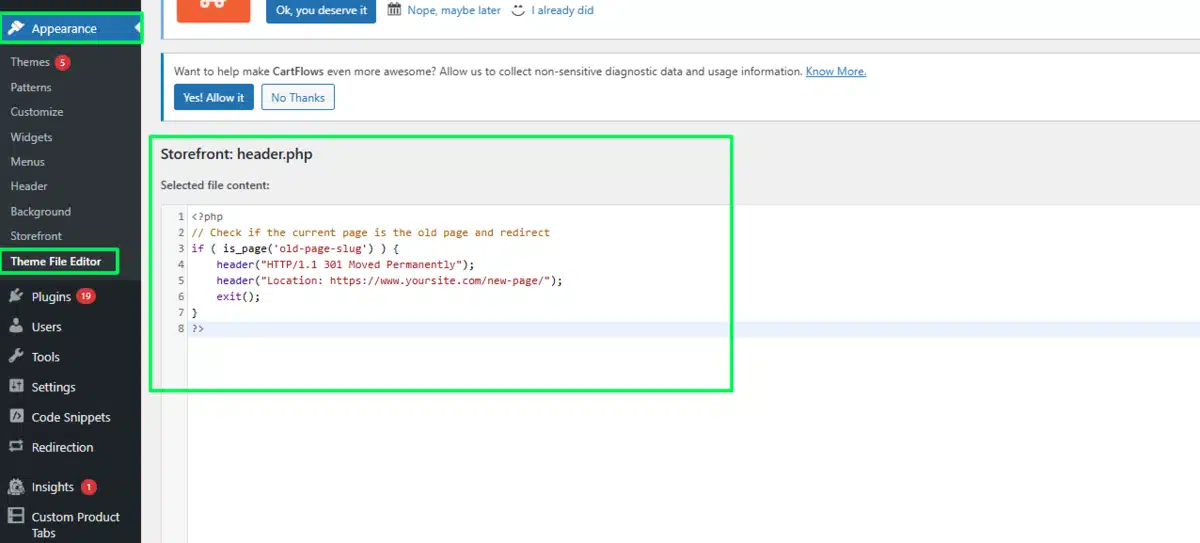
<?php
// Check if the current page is the old page and redirect
if ( is_page('old-page-slug') ) {
    header("HTTP/1.1 301 Moved Permanently");
    header("Location: https://www.yoursite.com/new-page/");
    exit();
}
?>
Replace 'old-page-slug' with the slug or condition that identifies your old page.
Ensure you call the exit() function immediately after the header functions to prevent any further code execution.
3. Test Your Redirect: Save the file and visit the old URL to ensure the redirect works properly.
This method gives you full control over the redirect logic and can be integrated with WordPress conditional functions for advanced use cases.
Best Practices for WordPress Redirects
Implementing redirects properly is as much about planning and maintenance as it is about setting them up. Here are some best practices to follow:
1. Use the Correct Redirect Type
- 301 Redirects for Permanent Moves: Always use 301 redirects when you’re permanently moving content. This passes on the full link equity to the new URL.
- 302/307 for Temporary Changes: Use temporary redirects when the change is only short-term. Remember that search engines may not transfer full SEO value with these.
2. Keep Your Redirect Chains Short
- Avoid Multiple Redirects: A redirect chain occurs when URL A redirects to URL B, which then redirects to URL C. This can slow down page load times and dilute SEO value.
- Direct Redirects: Ensure your redirects point directly from the old URL to the new URL without intermediary steps.
3. Monitor and Audit Your Redirects
- Regular Audits: Use tools like Google Search Console or third-party site audit tools (e.g., Semrush) to monitor broken links and redirect chains.
- Update When Needed: Remove outdated redirects once search engines have fully indexed the new URLs, but only after confirming that the old URLs no longer receive traffic.
4. Test Redirects Thoroughly
- Clear Browser Cache: Redirects are often cached by browsers. Always test in an incognito window or clear your cache.
- Check with Multiple Tools: Use HTTP status code checkers to verify that the redirects are working as intended and returning the correct status codes (e.g., 301, 302).
5. Maintain Consistency Across Your Site
- Keep URL Structures Simple: Changing URL structures frequently can lead to multiple redirects. Plan your URL hierarchy carefully from the start.
- Internal Linking: Update your internal links to point directly to the new URLs instead of relying on redirects, which reduces the load on your server and improves user experience.
6. Use Plugins Wisely
- Avoid Plugin Overload: While plugins like Redirection are very helpful, too many plugins can slow down your website. Choose one reliable solution that meets your needs.
- Backup Regularly: Always back up your site before installing new plugins or making major changes.
By following these best practices, you can ensure that your WordPress redirects not only maintain your SEO performance but also provide a better user experience.
Troubleshooting Common Redirect Issues
Even when you follow best practices, issues can still arise. Here are common redirect problems and how to troubleshoot them:
1. Redirect Loops
- Symptoms: The browser shows a “too many redirects” error.
- Cause: This often occurs when redirects are chained incorrectly (e.g., URL A → URL B → URL A).
- Solution: Review the redirect rules in your plugin or .htaccess file. Ensure that no URL is being redirected to itself, either directly or indirectly.
2. Caching Issues
- Symptoms: Changes to your redirects are not taking effect immediately.
- Cause: Browser or server cache may be holding onto old redirect rules.
- Solution: Clear your browser cache, use incognito mode, and, if applicable, clear any caching plugins or server caches.
3. Incorrect HTTP Status Codes
- Symptoms: A redirect is not transferring SEO value, or search engines are not updating their index.
- Cause: Using a temporary (302) redirect instead of a permanent (301) one.
- Solution: Double-check your redirect type and modify it to a 301 redirect if the change is permanent.
4. Misconfigured .htaccess File
- Symptoms: The site breaks completely, or pages return server errors.
- Cause: A syntax error in the .htaccess file.
- Solution: Always back up your .htaccess file before editing. Use an FTP client to restore the original file if errors occur, then carefully reapply your changes.
5. Plugin Conflicts
- Symptoms: Redirects work in one part of your site but not another.
- Cause: Multiple plugins trying to manage redirects can conflict.
- Solution: Limit your site to a single redirect management plugin. Disable others to prevent overlapping rules.
Regular monitoring and the use of diagnostic tools (such as HTTP status code checkers and site audits) are crucial to keeping your redirects in good health.
Conclusion
Redirects are an essential part of managing a dynamic WordPress website. Whether you’re reorganizing content, updating your URL structure, migrating domains, or transitioning to HTTPS, using the right type of redirect ensures that both users and search engines are guided smoothly to the correct page.
By understanding the differences between 301, 302, 307, and other types of redirects—and by choosing the right method (plugins, .htaccess, or PHP code)—you can maintain your site’s SEO strength while providing an excellent user experience.
Always follow best practices, test your changes thoroughly, and monitor your site regularly for any issues. This proactive approach will help you avoid common pitfalls such as redirect loops and broken links, ensuring that your WordPress site continues to rank well and delight visitors.
FAQs
Q1. Why would I use WordPress redirects?
Redirects help to maintain SEO rankings, prevent broken links, and improve user experience when URLs are modified.
Q2. What is the easiest method of creating a WordPress redirect?
The simplest method is to use a plugin like Redirection that does not require coding.
Q3. How do I create a WordPress 301 redirect without a plugin?
You can either edit the .htaccess file or insert PHP code inside functions.php.
Q4. Does website speed get affected by redirects?
Yes, too many redirects do make websites slower, and therefore, it is always advisable to restrict them to the absolute minimum and have them under check.
Q5. How can I check whether my redirects are indeed working?
You can check by entering the old URL in a browser or using Google Search Console or redirect check tools.

Abhijit Sarkar
Hi, I’m Abhijit Sarkar. I am deeply passionate about creating engaging content and exploring. My journey includes gaining valuable experience in content writing and creating useful resources for my readers.

Leave a Reply