How to Use FileZilla: Step-by-Step Guide for Beginners


FileZilla is a simple FTP (File Transfer Protocol) client. It helps users move files from their computers to web servers. FileZilla and other FTP clients are key for managing websites. They let users upload, download, and change files easily.
FileZilla is free to download. It is open source and works on different platforms. It supports FTP, SFTP, and FTPS, making it great for many users. This post will cover how to download, install, use, and connect to servers. It will also explain how to manage website files.
Let’s begin with how to use FileZilla to transfer files without further delay.
What is FileZilla?
FileZilla is a free and open-source File Transfer Protocol (FTP) software. It lets you transfer files between a remote server and your local computer.
It is very popular for web administration because it simplifies the process of managing files on web servers. FileZilla transfers data via FTP, SFTP, and FTPS, which guarantees secure transfers.
Key Features of FileZilla:
- Regular updates, free and open-source
- Cross-platform (which means it works for Windows, macOS and Linux).
- Ease of use transfers files by dragging and dropping them
- SFTP and FTPS connections are secure
- Bookmark and site manager for easy access
FileZilla has two versions.
- FileZilla Client: Used to connect to FTP servers and retrieve files. Recommended for the majority of users.
- FileZilla Server: Permits users to configure their own FTP server. Appropriate for advanced users overseeing file hosting.
How to Use FileZilla: Step-by-Step Guide
Downloading and Installing FileZilla
1. How to Download FileZilla
FileZilla can be downloaded from its official website. Be careful of other sites, as they could have bundled spyware.
For Windows
- Go to FileZilla’s official website.
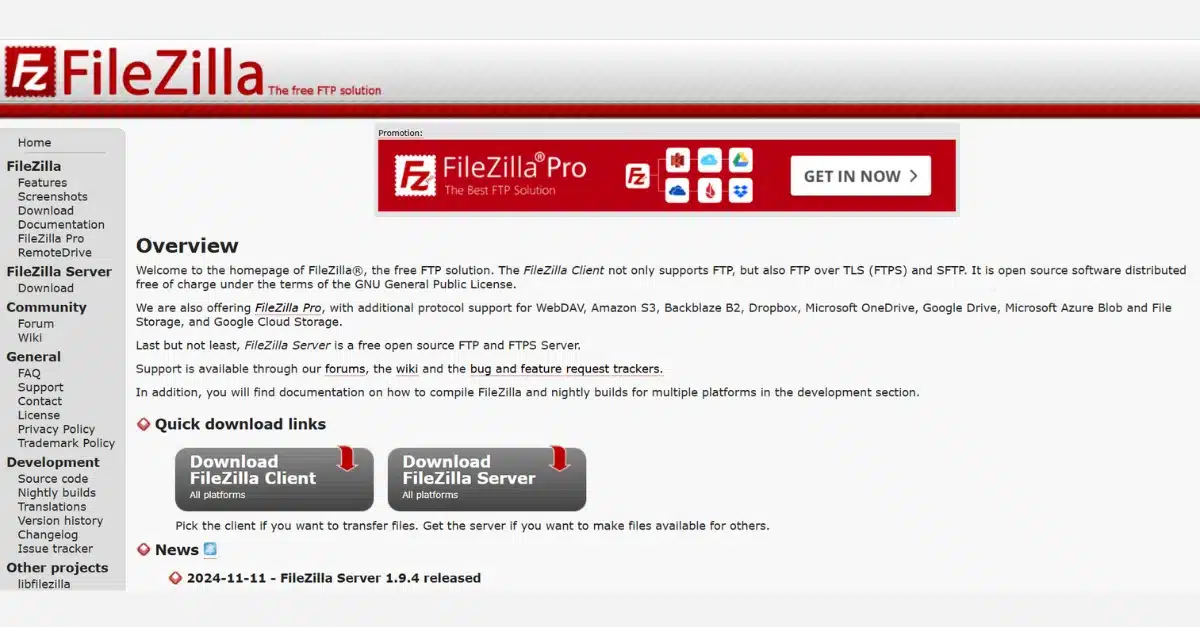
- Hit Download FileZilla Client and select your preferred version.
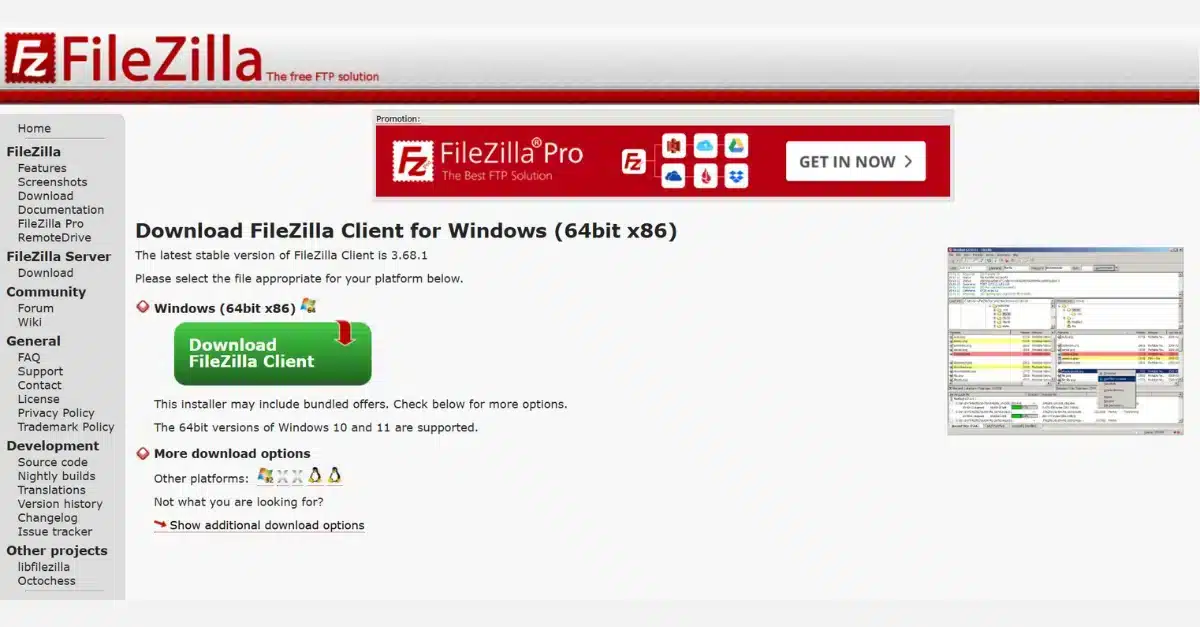
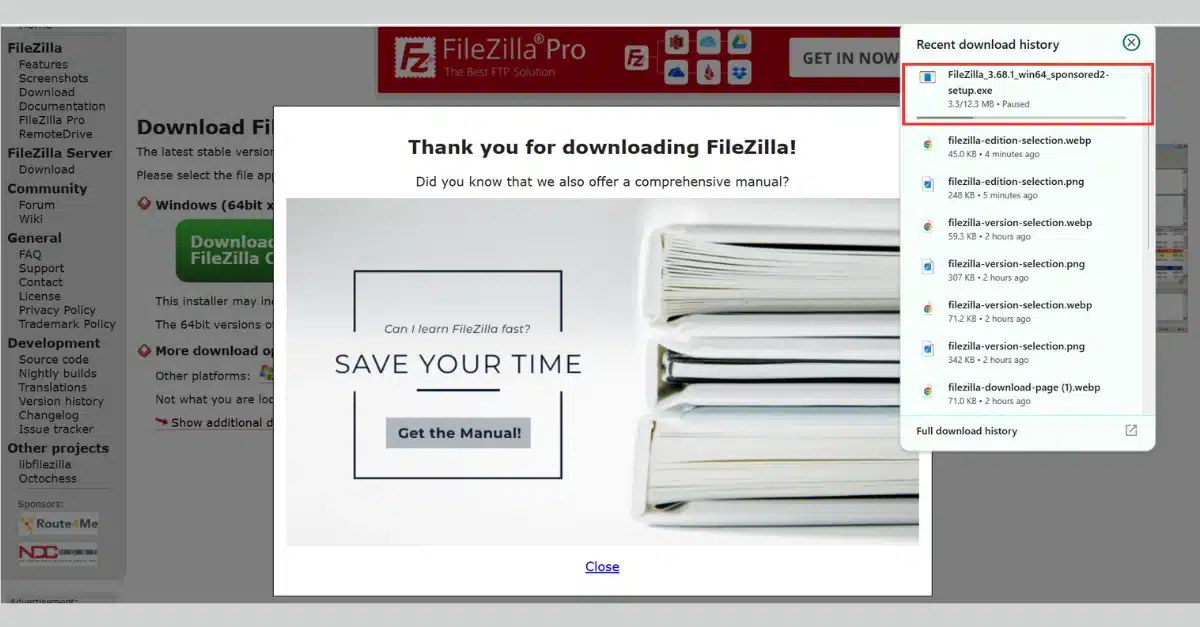
- Once you select the version, your download will start automatically. You will see a confirmation pop-up after the download begins.
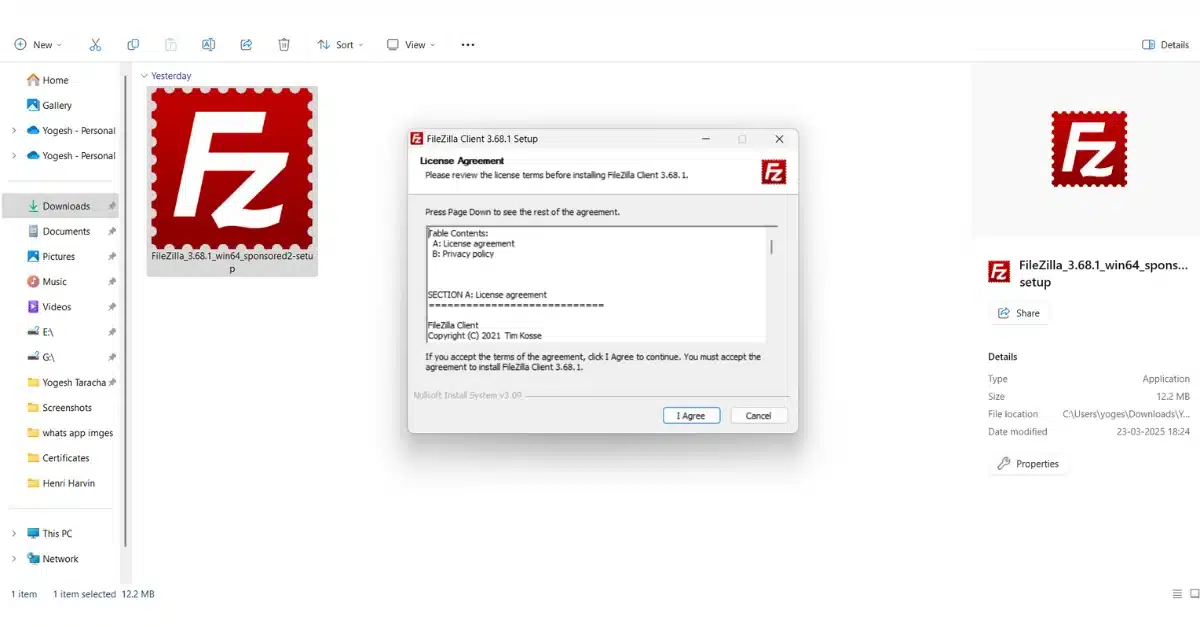
- After the download is complete, locate the .exe file in your Downloads folder.
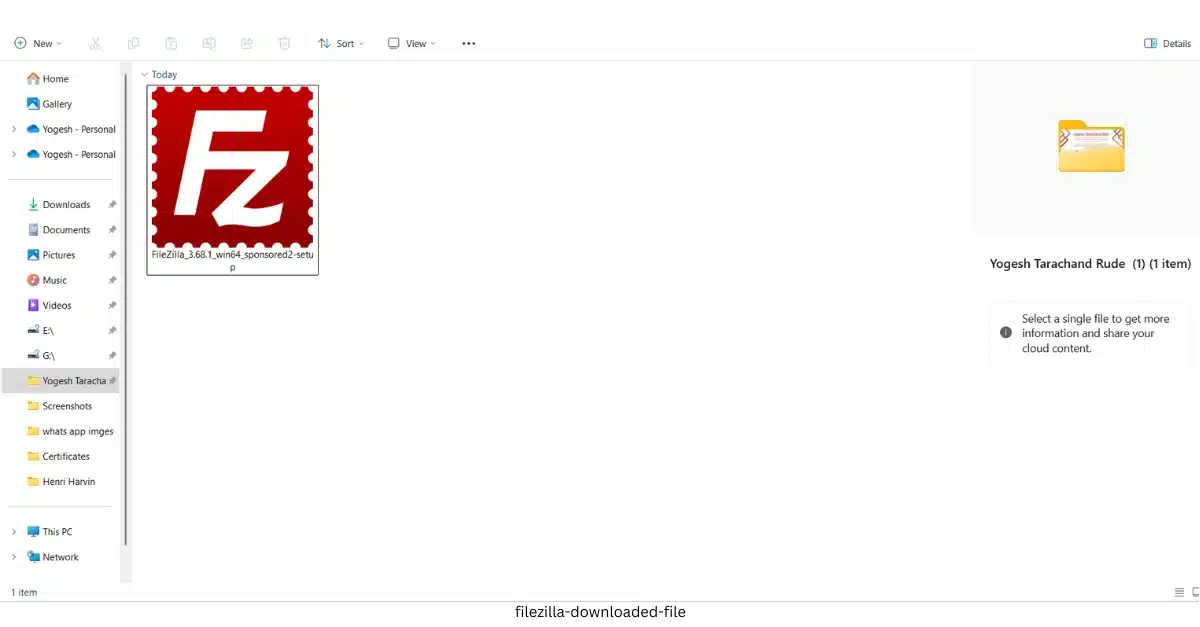
- Select default choices and finalize the installation.
For macOS
- Grab FileZilla for the Mac version on the official website.
- Double-click the .dmg image and relocate FileZilla to the Applications directory.
For Linux
- Install it using the terminal using the command below.
sudo apt install filezilla  # For Debian/Ubuntu
sudo dnf install filezilla  # For Fedora
- Otherwise, grab it from the official website directly.
Key components of FileZilla’s interface
FileZilla has a user-friendly interface that is split into sections. This design helps with efficient file transfers. The key components of FileZilla comprise the following:
- Quickconnect Bar: Users can quickly connect to an FTP server. Just enter the host (FTP address), Username, Password, and Port number. The default ports are 21 for FTP and 22 for SFTP. The Quickconnect button connects users without credential saves.
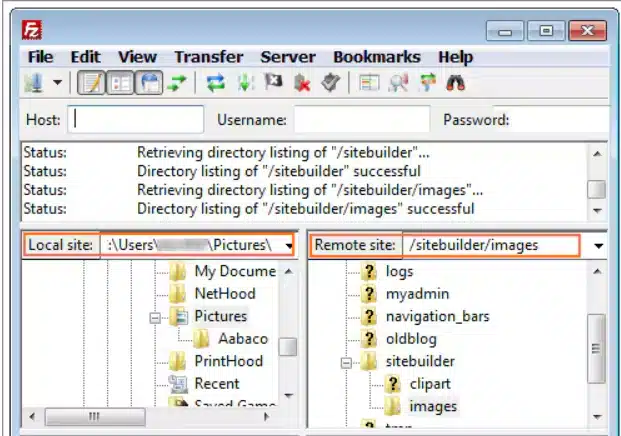
- Local Site Panel: The left panel displays files and folders on your computer. Users can navigate directories and select files for transfer.
- Remote Site Panel: This panel helps you navigate and manage files on the server. It sits opposite the local site panel.
- Transfer Queue: The bottom panel shows the progress of the file transfer. It lists pending files and those that failed to transfer. This feature lets users retry failed transfers. Users can also check their progress.
- Icons and Settings:
- Refresh Button: Updates the file list
- Disconnect Button: Closes the server connection
- Upload/Download Buttons: Transfers required files with a simple right click.
Knowing this helps enhance the ease of file management in FileZilla.
Connecting to a Server in FileZilla

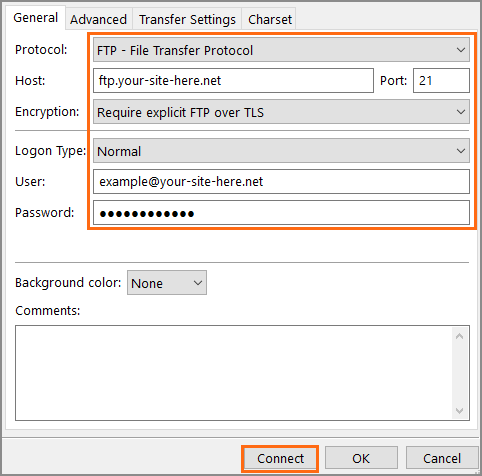
To transfer files using FileZilla, you need to connect to a web server using FTP or SFTP. Below are the details required for a successful connection:
Information Required:
- Host: The FTP address (e.g.,
ftp.yourwebsite.comor an IP address). - Username & Password: Provided by your hosting provider, such as Hostinger, etc.
- Port Number:
- FTP: Default is
21 - SFTP (Secure FTP): Default is
22
- FTP: Default is
1. Using Quickconnect for Instant Connection
For a one-time connection:
- Open FileZilla.
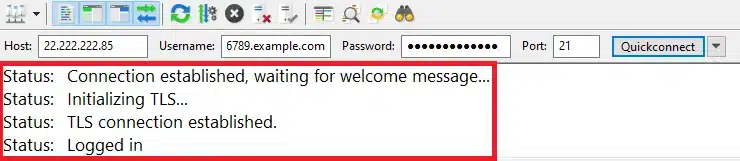
- Enter the Host, Username, Password, and Port in the Quickconnect bar.

- Click Quickconnect and wait for the connection to establish.
Note: Quickconnect doesn’t save login details for future use.
2. Using Site Manager for Saved Connections (Best for Regular Use)
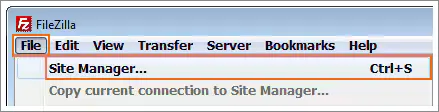
- Click File → Site Manager.
- Click New Site, enter a name, and add server details.
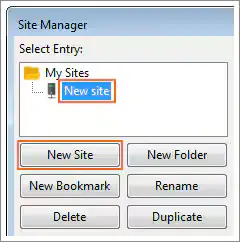
- Select the connection type (FTP or SFTP).
- Click Connect or Save for future logins.
Using Site Manager is recommended for frequent access, as it saves credentials securely.
Uploading and Downloading Files in FileZilla
You can transfer files to and from your local computer using a remote server. There are several methods to do this.
Opening Local and Remote Directories:
- Above on the left, a panel shows the local site. It has files saved on your computer.
- On the right above, there is a panel named Remote Site, which contains files and folders stored on the server.
- You can use the two panels to search for files/folders to be transferred.
1. Using Drag and Drop
- To upload a file, drag the file from the Local Site Panel to the Remote Site Panel.
- To download a file, drag the file from the Remote Site to the Local Site.
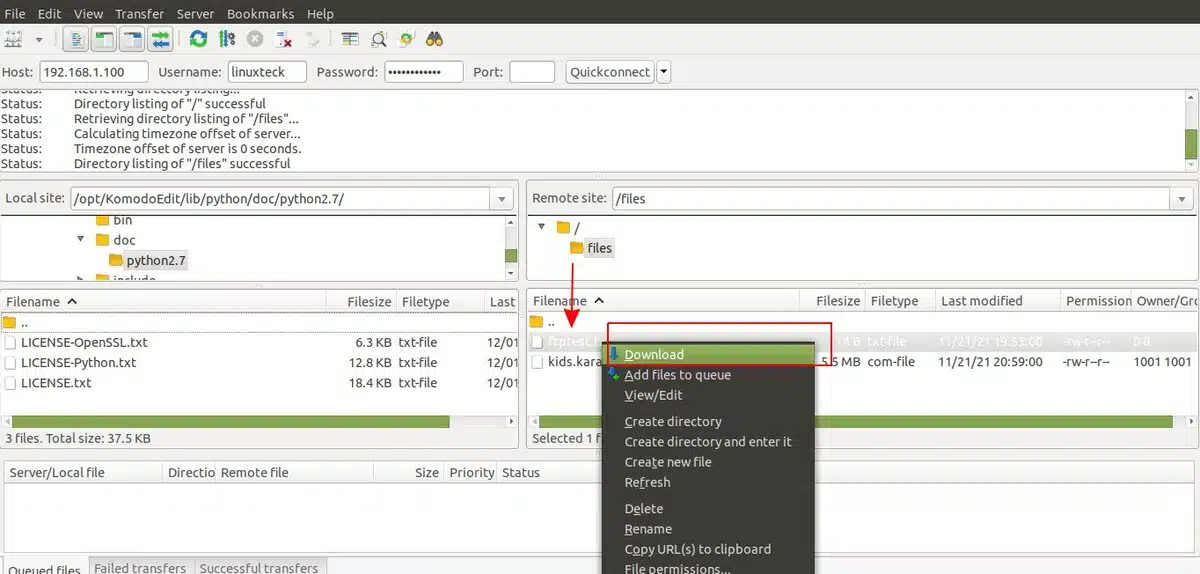
2. Using Right Click
- To Upload a File: Right-click on a file or folder, then click Upload to send the file to the server.
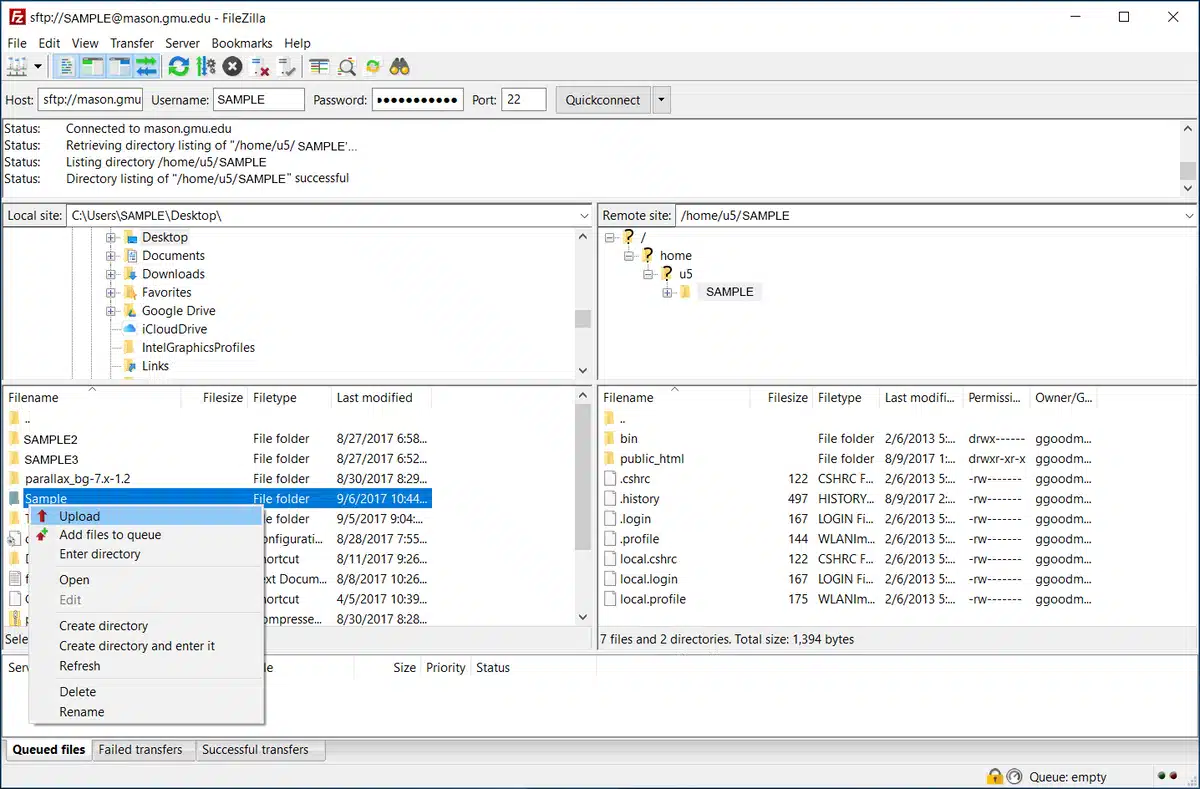
- To Download a File: Right-click on the file or folder, then click Download to pull the file you wish to keep.
Effective Transfer Status Knowing and Queue Controlling
- Use the Transfer Queue to hear and manage transfers. You can see unsatisfied, in-progress, and failed transfer activities.
- Achieved transfers can then be viewed via the Successful Transfers tab.
- To redo failed transfers, right-click and select Reset and Requeue.
- Managing the queue well ensures file transfers are monitored. It also prevents interference and protects your data from being lost.
Handling Files and Their Permissions On FileZilla
With FileZilla, users can manage server files easily. They can set file permissions, delete files, move them, and rename them.
1. Deleting, Renaming and Moving of the Files
- Rename: In the Remote Site Panel, right-click on the folder or file that you want to rename and click Rename.
- Delete: Select the file or folder to be Deleted and then right-click it. After this, choose the option Delete.
- Move: You can move files by dragging and dropping them into the right folders in the Remote Site Panel.
- Bulk Actions: Select multiple files or folders to rename, delete, or move at once. This makes it quick and easy.
- Refresh After Action: Always refresh the Remote Site panel. This way, you can see the updated results after file operations.
2. Setting File Permissions (CHMOD Settings)
In order to change the permissions for a specific file/folder, you need to:
- Right-click on the file or folder
- Click on the option File Permissions.
- Fill the assigned boxes with numeric values or tick/ untick the permissions boxes.
- Use the “Apply to all subfolders and files” option to set permissions for the whole directory.
- Don’t use 777 unless you have to. It allows full access, which is a big security risk.
3. Explaining The Permission Codes
- 644: Default for files (Owner can Read & Write, Others can only Read).
- 755: Default for folders (Owner has Full Access. Others can only Read & Execute).
- 777: Total access is given (very high risk for safety, be careful).
4. Viewing File Details and Attributes
- File Info: Right-click a file or hover over it to see the size, last modified date, and type.
- Sort by Columns: Click on the Name, Size, or Date Modified headers. This will arrange the files for you.
- Status Bar Insight: Check the total file size and count at the bottom of FileZilla.
- Identify Issues: Helps detect outdated or suspicious files during audits.
- Routine Maintenance: Reviewing file attributes regularly keeps the server organized and secure.
5. Synchronizing Local and Remote Files
- Directory Comparison: Use the feature to visually compare local and remote folders.
- Color Coding: Modified or unmatched files are highlighted (e.g., yellow or green).
- Manual Sync: Right-click on Upload or Download to manually sync files.
- Timestamps: Match files based on the last modified time to prevent overwriting.
- Ideal for Developers: Keeps local development and live server files perfectly aligned.
It is essential to set these codes correctly to guarantee Security and Functionality.
Troubleshooting Errors with FileZilla: Common Issues and Fixes
When you use FileZilla, you might see errors about connections, file transfers, or permissions. Here’s how to troubleshoot them:
1. Errors On Connection
530 Incorrect Login:
- Make sure your username, password, and host address are correctly filled out.
- Be sure that your FTP account is active with the provider you use for hosting.
Problems With Timeout:
- Try increasing the timeout from Edit → Settings → Connection.
- Ensure that your internet is connected and check firewall configurations.
2. Errors Failed To Transfer
- Check the disk quota of your server.
- Try switching your mode to passive: Edit → Settings → FTP → Passive Mode.
- If possible, transfer files in smaller sizes, like a few kilobytes.
3. Problems With Permission Or Access Denied
- Right-click on the file and choose File Permission. Set appropriate CHMOD values for the file, for example, 644 for Files and 755 for Folders.
- If you can not change the file, then you should discuss it with your hosting provider.
Best Security Practices When Using FileZilla
To secure the file transfer process, these practices should be implemented:
1. Prefer SFTP Over FTP (is FileZilla safe)
- SFTP, or Secure File Transfer Protocol, is safer than regular FTP. It encrypts data during transfer, keeping it secure.
- For connections, make sure that SFTP (Port 22) is selected rather than FTP (Port 21).
2. Do Not Save Passwords in the Site Manager
- FileZilla, unfortunately, saves passwords in an unencrypted format, which can easily be compromised.
- Instead of saving passwords, use the “b” feature.
3. Confirm SSL/TLS Settings for Encryption
- In the case of using FTPS, we need to make sure that there is TLS encryption so that there is secure communication.
- Confirm the security settings from Edit → Settings.
4. Make Sure You Have The Latest Version of FileZilla
- Security loopholes are patched with every routine update.
- Only install updates for FileZilla from the official website. Other sources might have malware.
Conclusion
FileZilla is a user-friendly FTP client with plenty of features. It is perfect for transferring files from your computer to the web server and vice versa. It works with FTP, SFTP, and FTPS, giving efficiency and security while managing files.
We have covered the installation, connecting to a server, and how to use FileZilla to transfer files between computers, setting permissions, and FileZilla problems within the guide.
Boost your experience by following these security practices:
- Use SFTP.
- Don’t save passwords.
- Update FileZilla.
FileZilla is a useful tool for managing websites, no matter your skill level.
Frequently Asked Questions
Q1. What is FileZilla used for?
FileZilla is used to transfer files between your computer and a web server using FTP, SFTP, or FTPS protocols. It’s ideal for managing website files.
Q2. Is FileZilla free to use?
Yes, FileZilla is completely free, open-source, and available for Windows, macOS, and Linux platforms.
Q3. How do I connect to a server using FileZilla?
You can connect by entering your host, username, password, and port number in the Quickconnect bar or saving the details in the Site Manager.
Q4. Can I upload and download files using FileZilla?
Absolutely. You can drag and drop files between your local computer and the server or right-click to upload or download them.
Q5. Is FileZilla secure for transferring files?
Yes, if you use SFTP (port 22) or FTPS, your file transfers are encrypted and secure. Avoid using plain FTP for sensitive data.
Abhijit Sarkar
Abhijit Sarkar is a content writer at DevDiggers covering WordPress setup, platform migration, and site security. He works through each process himself before writing about it, so his guides on topics like migrating from Blogger or locking down WordPress reflect what actually happens on screen, not just what the documentation describes.
Join thousands of readers getting smarter every week.
Leave a Reply