Resizing WordPress images takes about two minutes per image and requires nothing beyond your dashboard. Most beginners skip one step that matters: checking your theme’s content width before resizing, so you’re not just guessing at a number.
This guide covers the three built-in tools WordPress gives you, what to do with images you’ve already uploaded at the wrong size, and the one mistake that makes people think they’ve fixed the problem when they haven’t.
How to Resize WordPress images in the Media Library?
This is the fastest method for resizing individual images. It changes the actual stored file, not just how it displays on screen.
Before you touch anything, check your theme’s content width. Right-click anywhere on your site and choose Inspect in Chrome. Move the cursor over your content area and look for the blue-highlighted column. The small pop-up info shows the pixel width. That number is your target for body image.
Got it? Here are the steps:
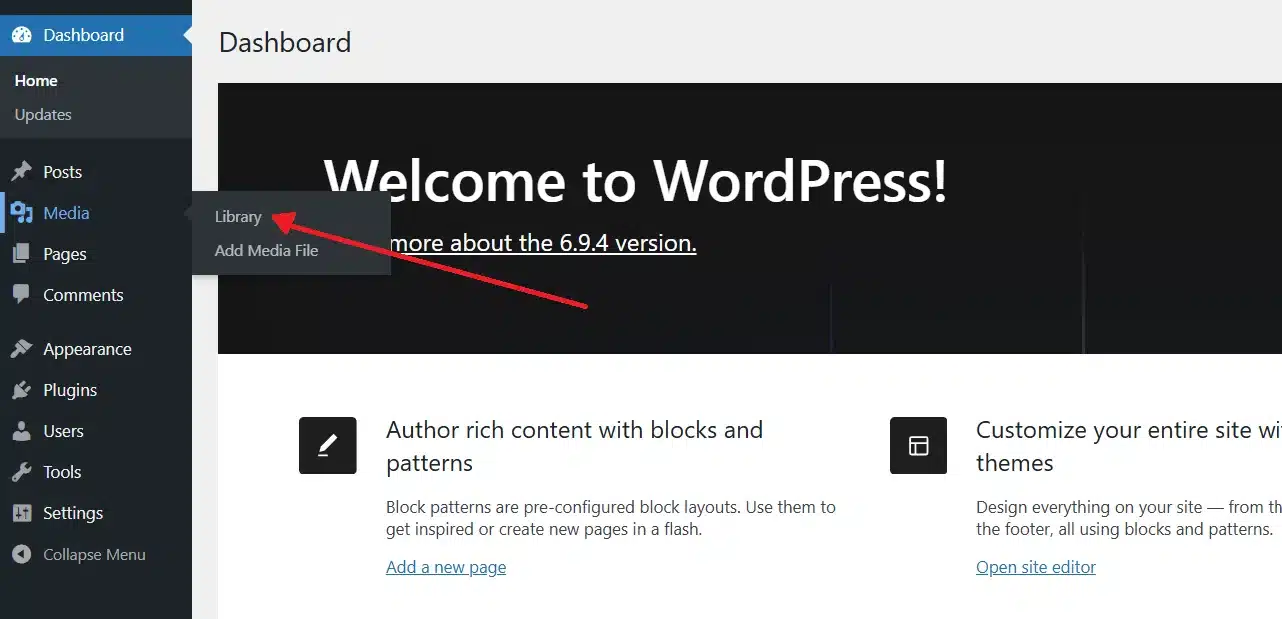
- Go to Media > Library in your WordPress dashboard.
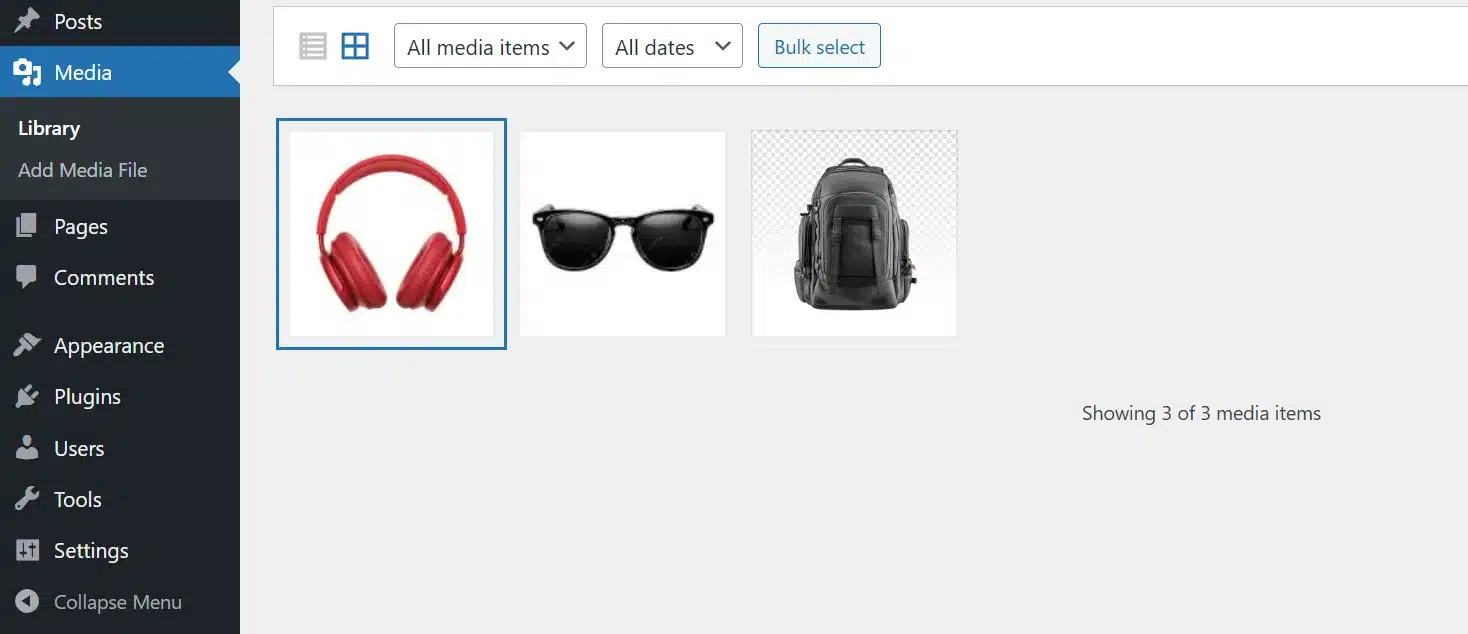
- Click the image you want to resize.
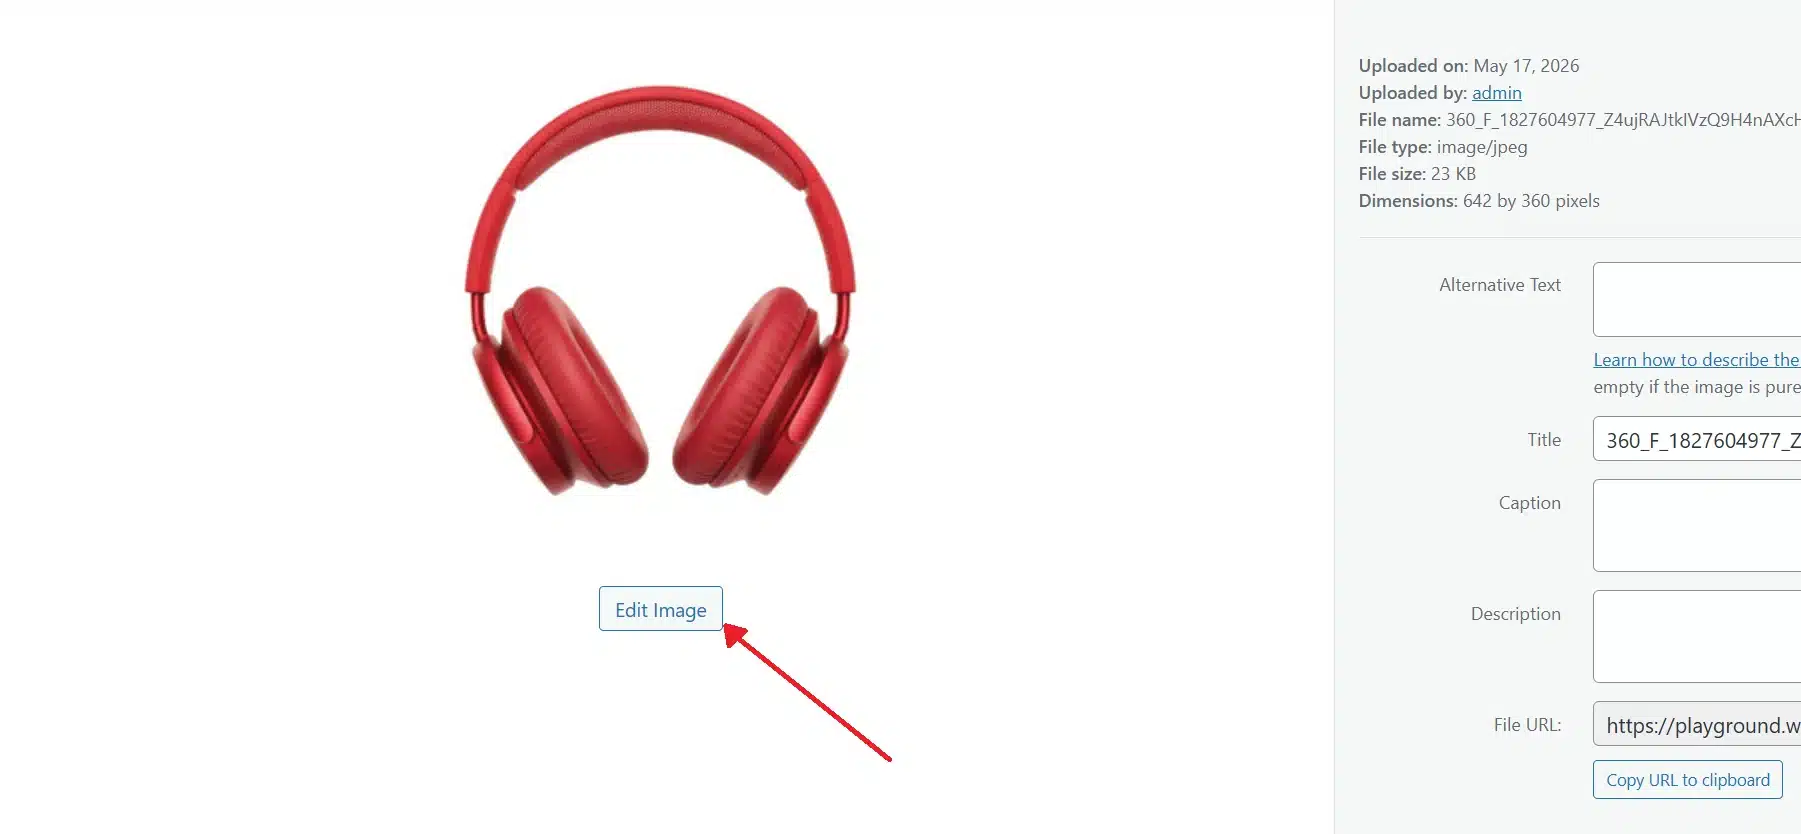
- Click the Edit Image button below the image preview.
- Under Scale Image on the right, enter your target width in pixels. WordPress will calculate the height automatically to keep the correct aspect ratio.
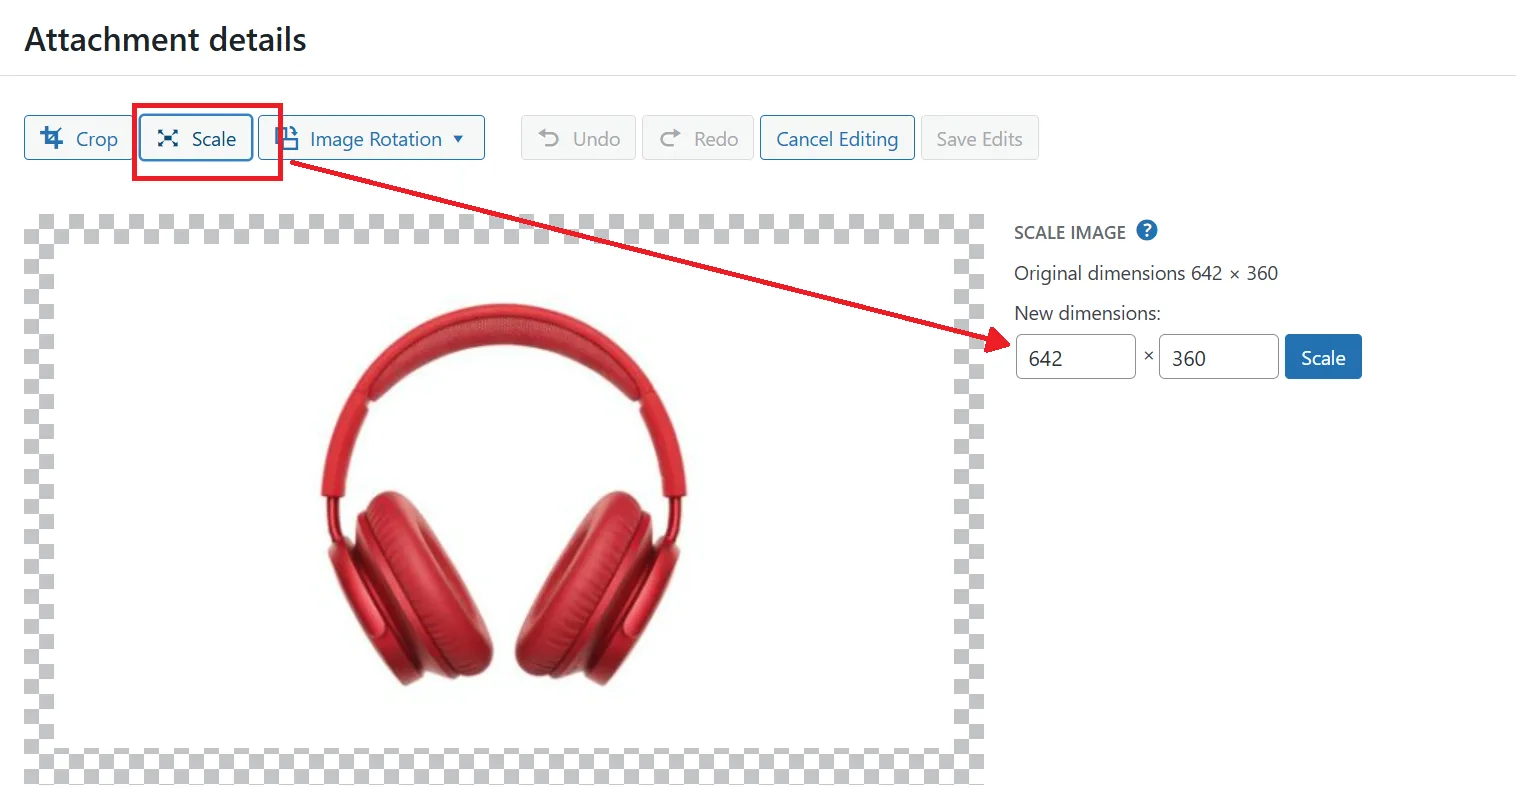
- Click Scale.
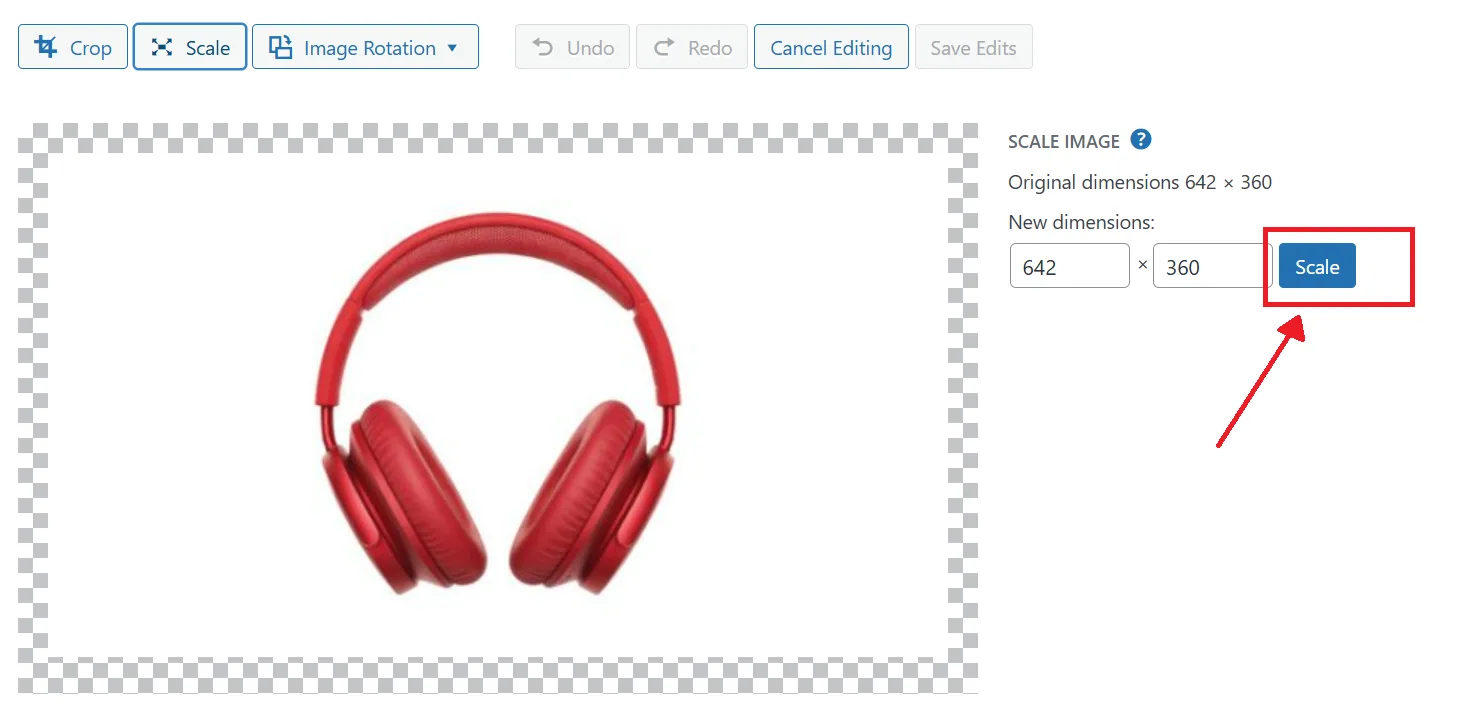
- Click Save to apply the changes.
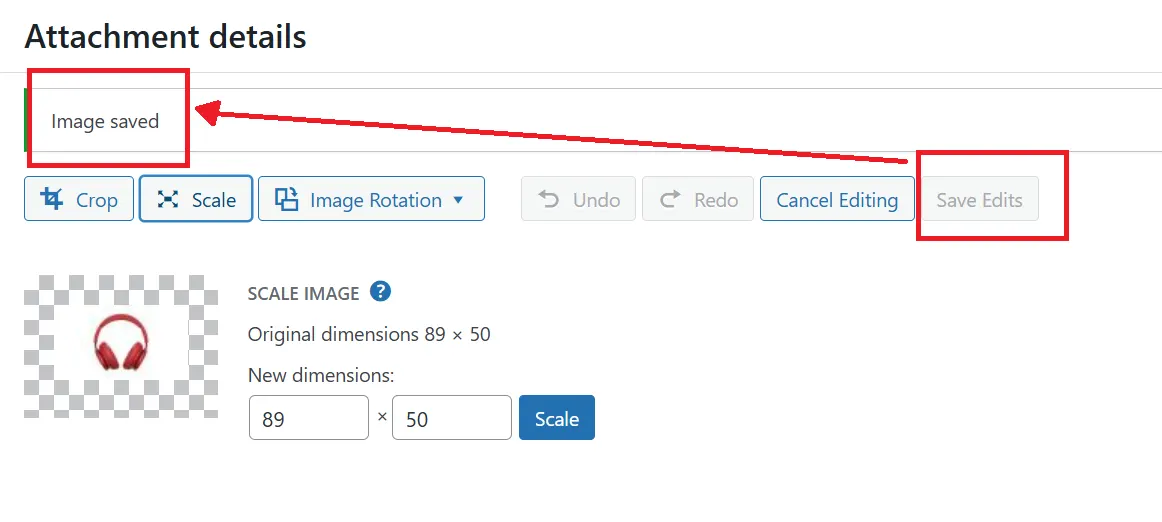
If you entered the wrong dimensions, scroll down and click Restore Original Image to undo everything. WordPress keeps the original file intact until you overwrite it intentionally.
Worth knowing: If you only enter a width, the height adjusts automatically. You rarely need to set both manually unless you are cropping to an exact ratio.
Most content columns in popular WordPress themes sit between 650px and 800px wide. A SeedProd test found that resizing a 2.5MB image down to its correct display size reduced the file to 280KB, a 90% drop in weight. On a site with dozens of images, that adds up fast.
How to Resize Images in the Block Editor
The block editor gives you two quick ways to resize images after you’ve added them to a post or page. Just know what you’re getting before you use either one.
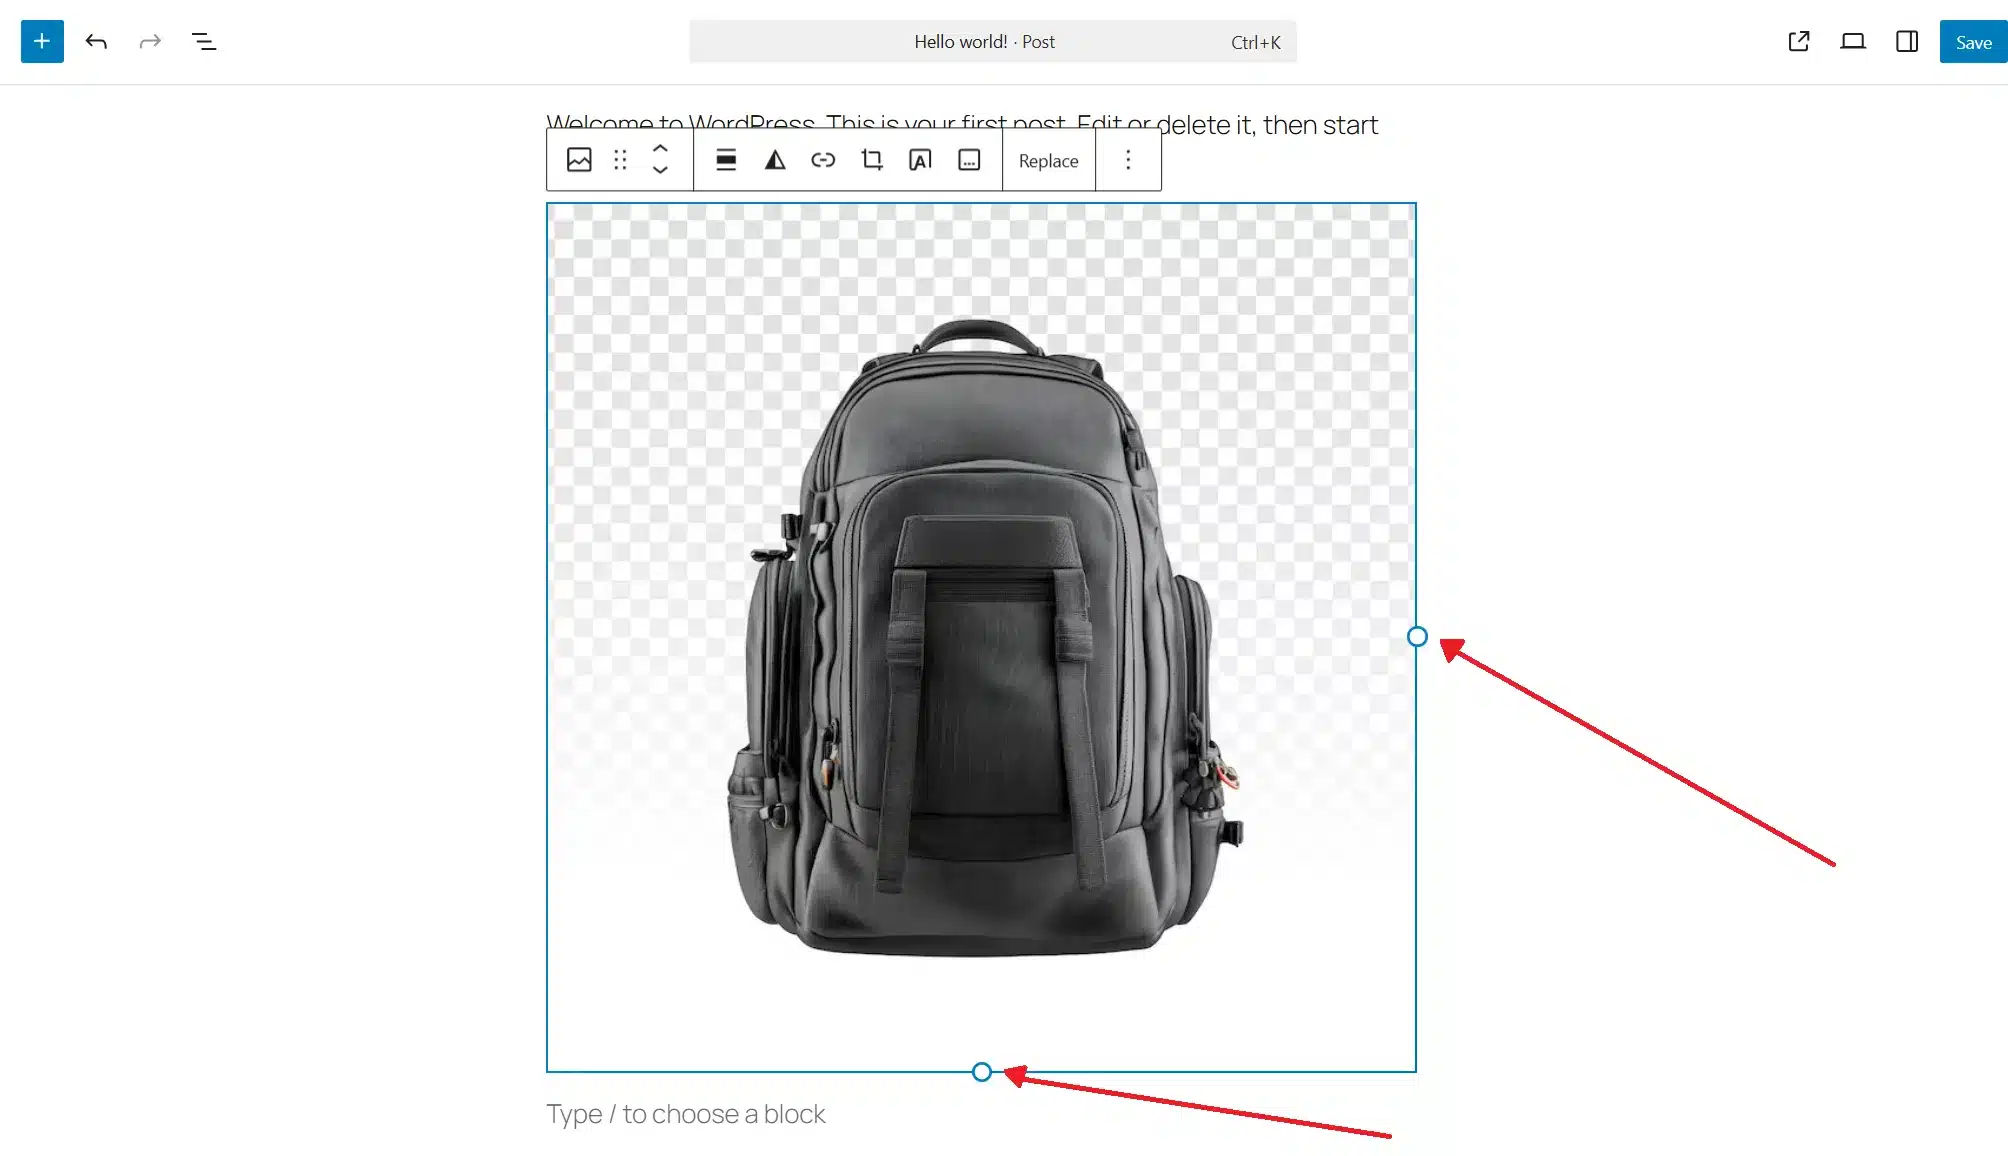
- Method 1: Drag handles: Click on the image in the editor. You’ll see a circular handle on the right side and at the bottom. Click and drag to change the size visually. This works for quick layout adjustments.
- Method 2: Width and Height fields: With the image selected, open the block settings panel on the right. You’ll find exact pixel fields under the Image settings tab.
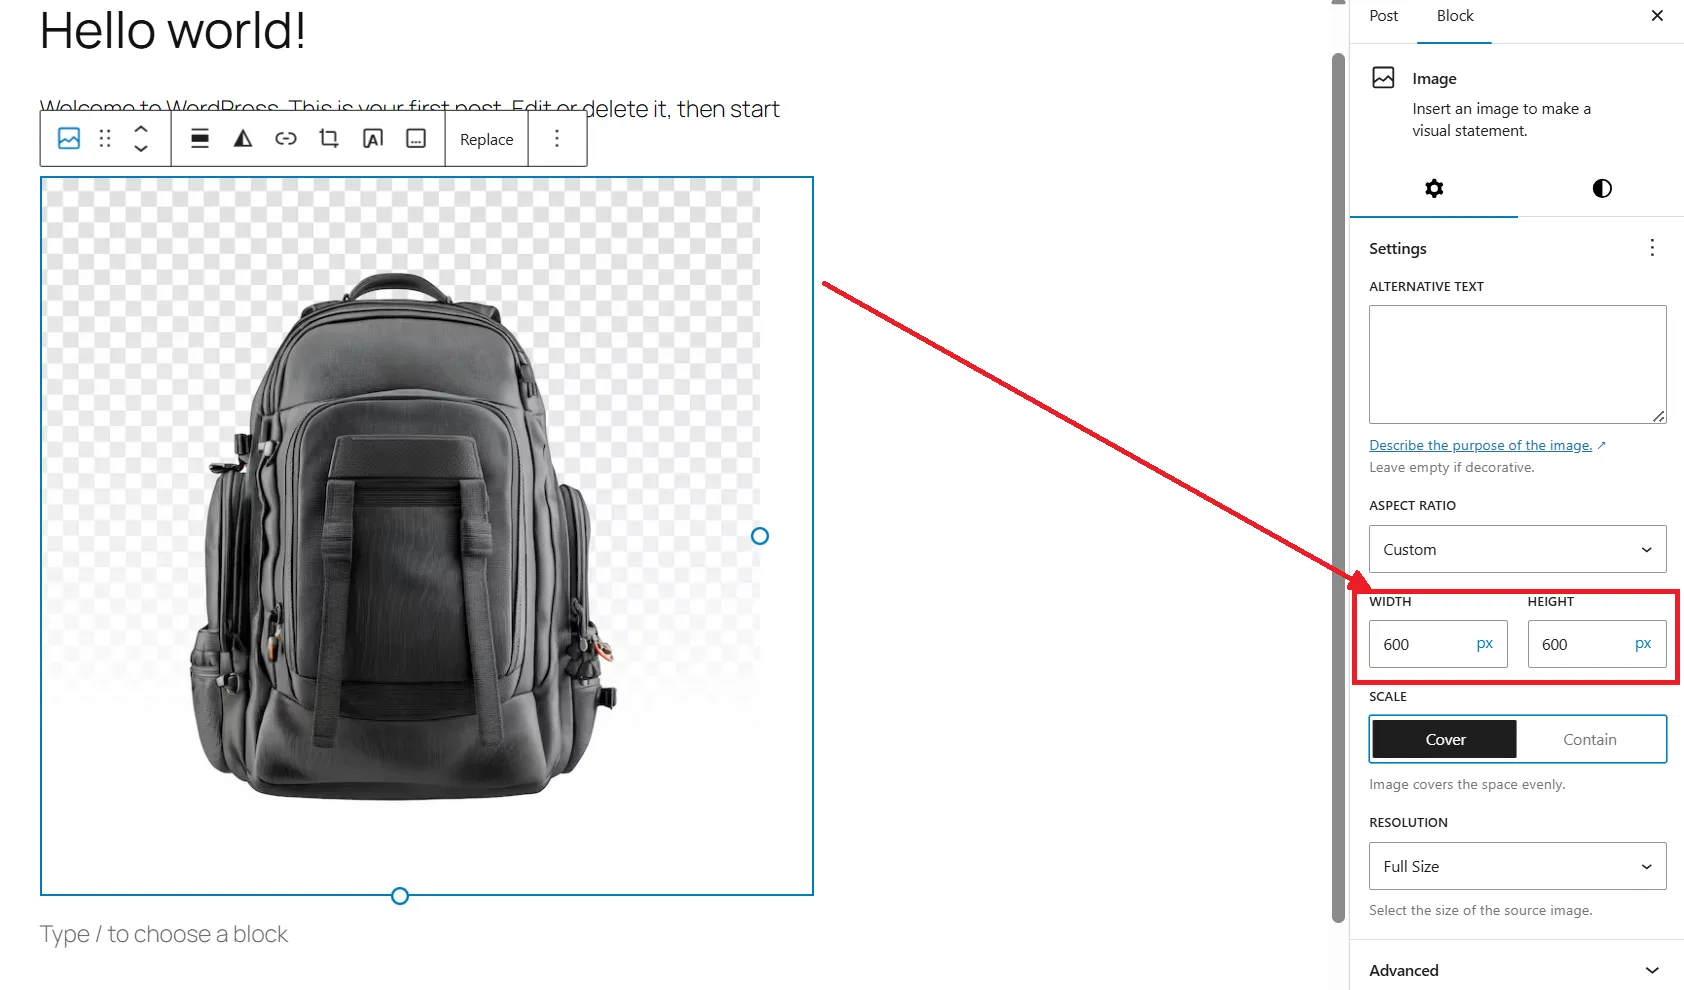
Here’s the catch. Neither of these methods changes the actual file stored on your server. The browser is still downloading the full-size original. You’re just telling it to display the image at a smaller size. A 3MB photo stays 3MB. The page still loads the same amount of data.
So use the block editor method when you need to fit an image into a specific layout. Use the Media Library method when you want to reduce file size and improve load speed.
How to Change WordPress Image Sizes Globally?
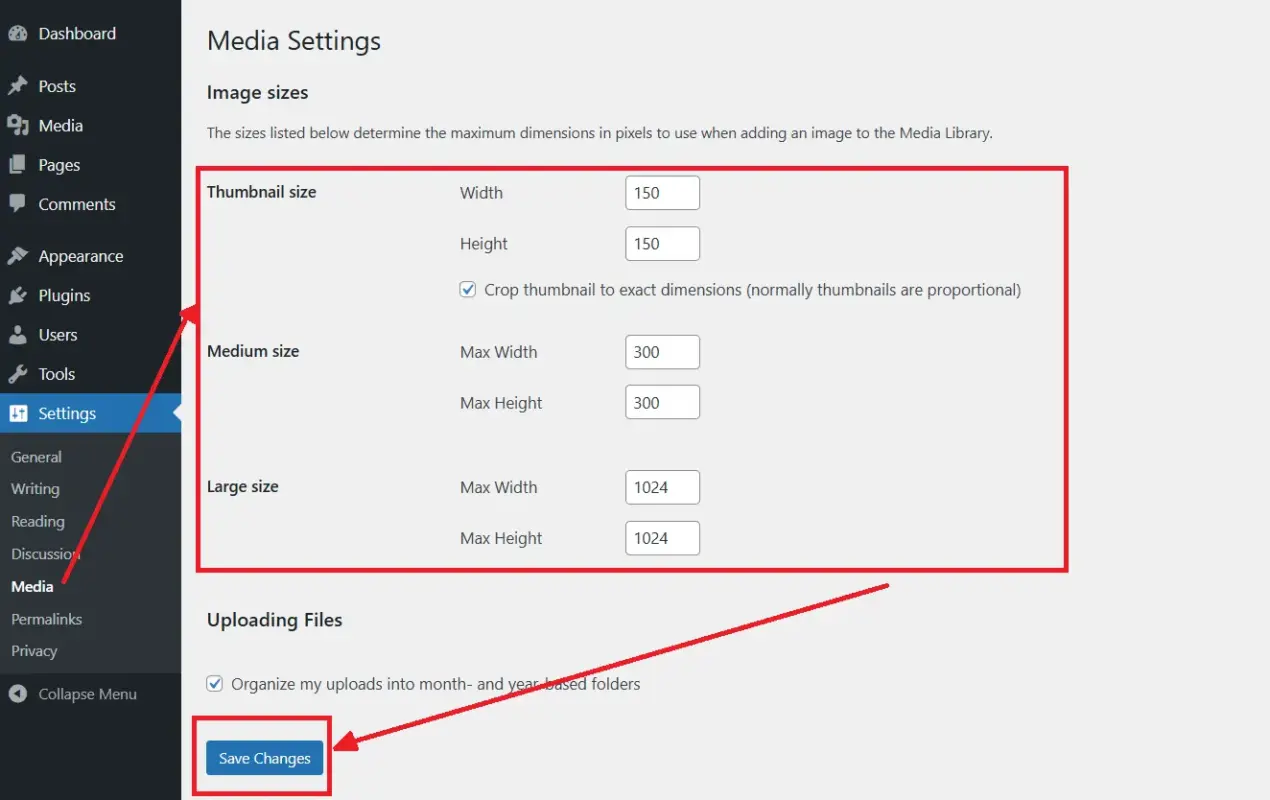
Go to Settings > Media in your dashboard.
- Thumbnail size: Default 150×150 pixels, cropped square. Used in galleries and archive grids.
- Medium size: Default 300×300 pixels maximum. Used inside post content.
- Large size: Default 1024×1024 pixels maximum. Used for featured images and wide content.
Change any of these to match your design needs. Click Save Changes when done.
One thing most guides leave out: this only applies to images you upload after saving. Every image already in your Media Library stays at its old dimensions.
What Happens to Images You’ve Already Uploaded?
This is where most people get stuck. You switch themes and update your media settings, and nothing changes on your site. The old images still look wrong.
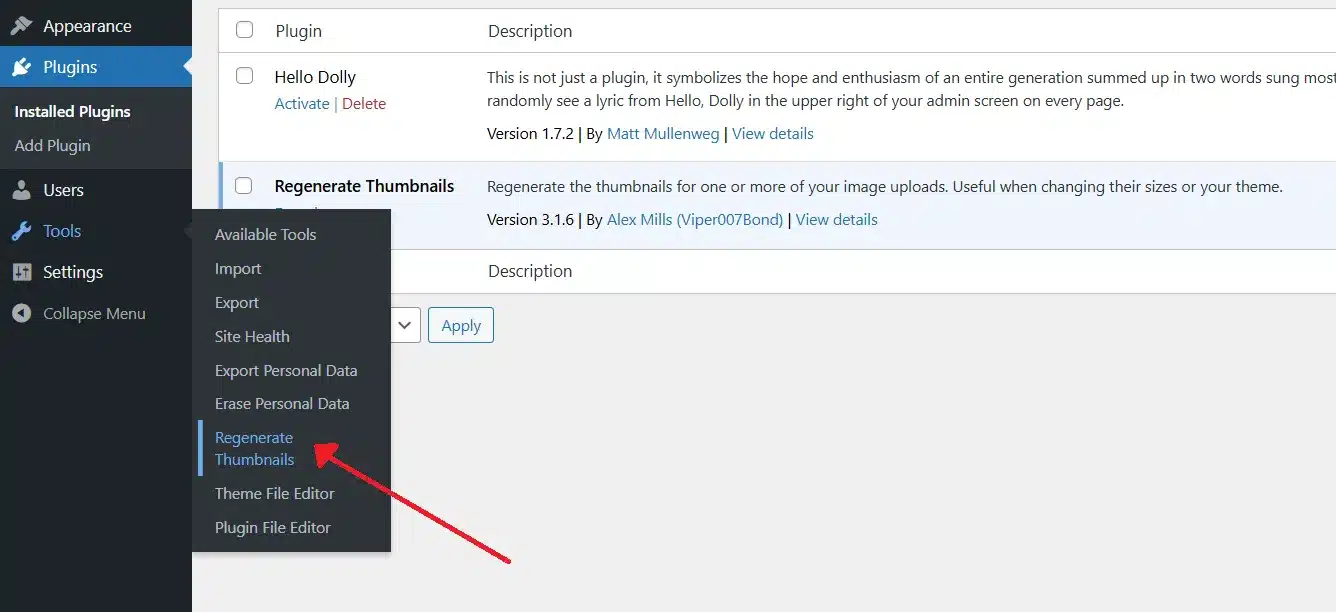
- Install and activate the plugin called Regenerate Thumbnails.
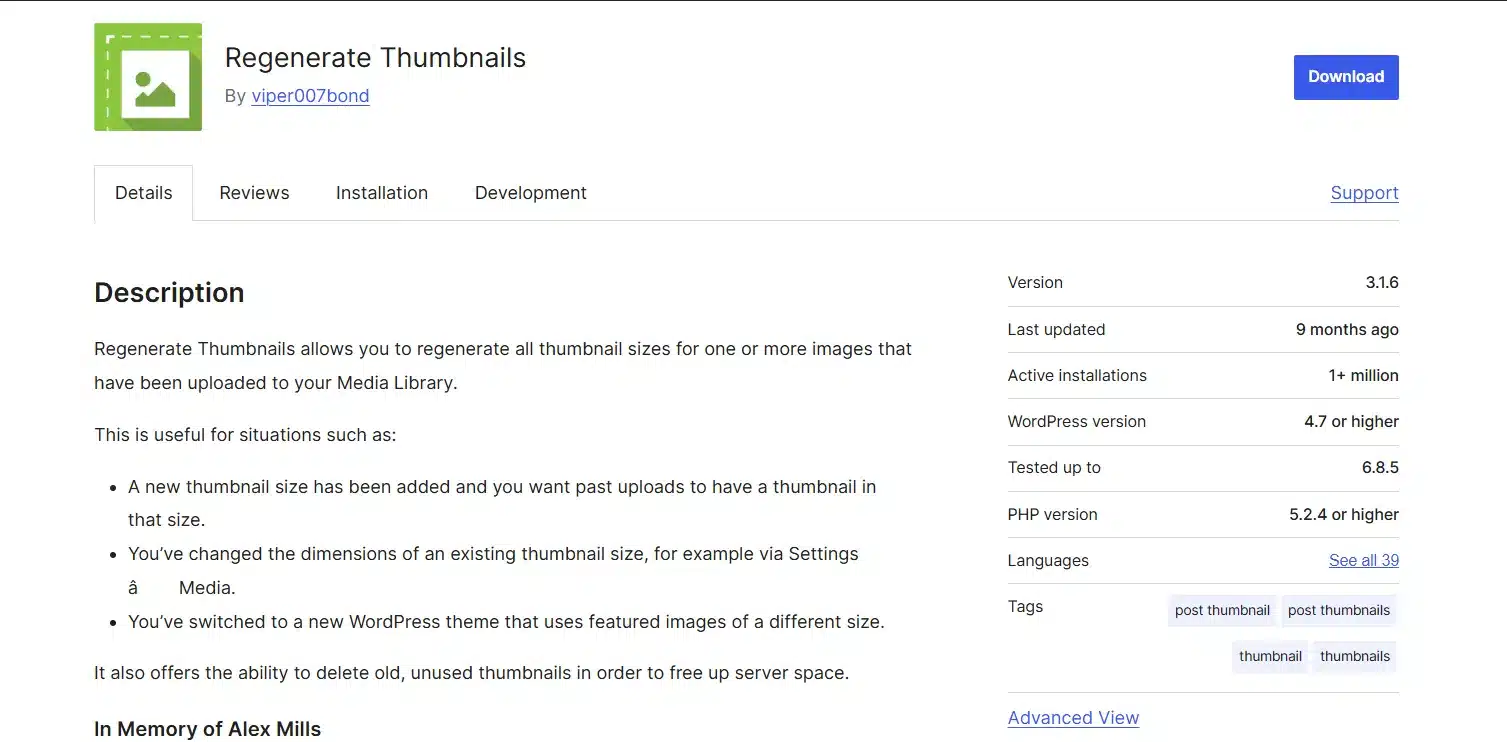
- Go to Tools > Regenerate Thumbnails and click the button. On a large site with hundreds of images, this can take a few minutes. Let it run.
Before you do this, back up your site. The plugin creates new versions of your images according to your current settings and deletes the old intermediate sizes. According to Kinsta’s guide on regenerating thumbnails, this is the right step any time you change themes or update your Settings > Media dimensions.
A note from support: We see this exact situation often. Store owners switch WooCommerce themes, and suddenly their product thumbnails look stretched or cropped incorrectly. The Settings > Media + Regenerate Thumbnails workflow fixes it every time.
If the plugin stalls or throws errors, check whether another plugin is causing a conflict. Our guide on checking for plugin conflicts in WordPress walks through that process.
What Size Should WordPress Images Be?
There is no single right answer, but there are solid starting points.
- For blog post body images: Match your theme’s content width. Most fall between 650px and 800px wide. Check with the Inspect method described above.
- For featured images, 1200×628 pixels is the most widely recommended size. It works across most themes and aligns with social media sharing dimensions. Some themes prefer 1200×675 for a clean 16:9 ratio.
- For full-width headers and hero sections: 1920×1080 pixels covers most screens, though the visible crop area will vary by theme.
- For WooCommerce product images: Aim for at least 800×800 pixels, ideally 1000×1000. WooCommerce uses product thumbnails for category and shop pages and a larger image for the single product page zoom feature. Consistent square dimensions keep your product grid uniform. If you run a WooCommerce store, pairing well-sized product images with one of the fastest WooCommerce themes makes a measurable difference to page load.
- File size targets: Keep body images under 200KB where possible. Featured images can run up to 500KB. Anything above 1MB is a red flag unless you have a specific reason.
For format, WordPress has supported WebP uploads since version 5.8. WebP files are typically 25–30% smaller than JPEGs at the same visual quality. If your host and theme support it, upload WebP by default.
The Mistake Most People Make When Resizing WordPress Images
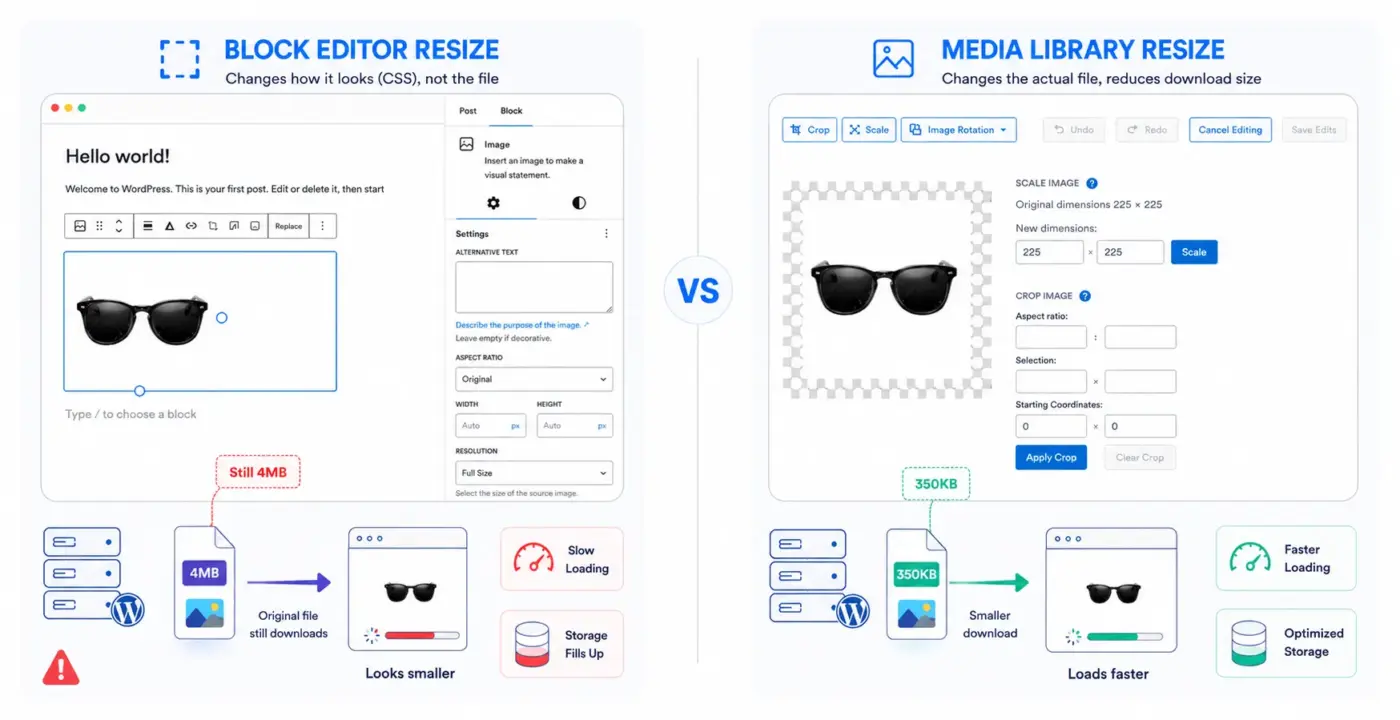
A lot of store owners and bloggers resize images in the block editor, see the image look smaller on screen, and assume the job is done. It isn’t.
What the block editor does is add a CSS width to the image element. The browser still fetches the original file from your server. If you uploaded a 4MB photo, the visitor’s browser is still downloading 4MB. Your page still loads slowly. Your hosting storage is still filling up.
The actual fix is one of the two methods that change the file: the Media Library editor for individual images, or Settings > Media with Regenerate Thumbnails for your whole site.
Think of it this way. The block editor resizes the frame. The Media Library resizes the painting. One affects what you see. The other affects what gets downloaded.
Image size is one piece of the broader site speed picture. If you want a full check, our WordPress speed optimisation service covers everything from image handling to caching and server setup.
Conclusion
You can resize images in WordPress without any extra tools. The Media Library editor handles individual images and changes the actual file.
The block editor changes display size only, which looks right, but doesn’t reduce what gets downloaded. Settings > Media lets you set global dimensions for all future uploads, and Regenerate Thumbnails applies those changes to images already in your library.
If you’re a store owner and your product thumbnails look wrong after a theme change, the Settings > Media plus Regenerate Thumbnails workflow is the fix. For ongoing site performance, proper image sizing is a good first step.
Frequently Asked Questions(FAQs)
Q1. Can I resize all images in WordPress at once without a plugin?
Not through the dashboard alone. The built-in Media Library editor only handles one image at a time. For bulk resizing of existing uploads, you need the free Regenerate Thumbnails plugin after updating your dimensions in Settings > Media.
Q2. Does resizing an image in WordPress affect its quality?
Scaling an image down does not noticeably reduce quality. Scaling it up past its original dimensions will make it appear unclear or unclear because WordPress is stretching pixels that do not exist at that size. Always start with a high-resolution source and scale down.
Q3. Why do my images still look wrong after I changed the settings in Settings > Media?
Because those settings only apply to images uploaded after the change. Images already in your Media Library were generated using the old dimensions. Install Regenerate Thumbnails and run it from Tools > Regenerate Thumbnails to apply your new settings to existing images.
Q4. What is the difference between scaling and cropping an image in WordPress?
Scaling changes the overall size while keeping the same proportions. Cropping removes part of the image to fit a specific shape or ratio. If you want a smaller version of the full photo, scale it. If you want to cut out a section and focus on a specific area, crop it.
Q5. Does resizing images in WordPress help with SEO?
Yes, but indirectly. Smaller image files reduce page load time, which is a ranking signal. According to Cloudinary, even a one-second delay in load time can reduce conversions by up to 7%. Google’s Core Web Vitals also score pages on visual stability and load performance, both of which are affected by image file size.
Q6. Will resizing WordPress images affect my WooCommerce product thumbnails?
Yes. WooCommerce registers its own image sizes for thumbnails, catalogue images, and single product photos. If you resize through Settings > Media and run Regenerate Thumbnails, those sizes will update too. For the sharpest product images, upload at 1000×1000 pixels or larger and let WooCommerce scale down as needed.
Q7. Can I undo a resize in WordPress?
Yes, if you have not overwritten the original. In the Media Library editor, scroll down below the image preview and click Restore Original Image. This resets all edits. If you have already clicked Save and closed the editor, check whether your hosting provider keeps file backups. Going forward, consider keeping a local copy of the original images before editing them in WordPress.