Have you ever been locked out of your WordPress dashboard with a sudden fatal error warning?
You’re not alone!
Knowing how to access WordPress admin with a fatal error warning can save you time and stress and keep your website up and running.
A fatal error in WordPress is a serious issue, but the good news is that it’s often fixable with the right steps.
In this guide, we’ll take you through troubleshooting and fixing common causes of fatal errors.
Whether it’s a plugin conflict, theme issue, or a server-related problem, you’ll soon learn how to access WordPress admin with a fatal error warning and get your site back on track.
Understanding the Fatal Error Warning in WordPress
Before trying to solve it, first and very importantly, understand what a fatal error warning in WordPress is and why it happens.
A fatal error will say that something has crashed within your WordPress installation, which causes the site to act like it’s literally ‘crashing‘ and will not access your admin panel.
More often than not, it’s precipitated by the conflict of either a plugin, theme or even some of the core WordPress files.
The error message typically looks something like this:
Fatal error: Uncaught Error: Call to undefined function… in /home/yourwebsite/public_html/wp-content/plugins/…The key takeaway from this message is that WordPress cannot complete a critical function, so your website and admin dashboard are inaccessible.
Common Causes of a Fatal Error in WordPress
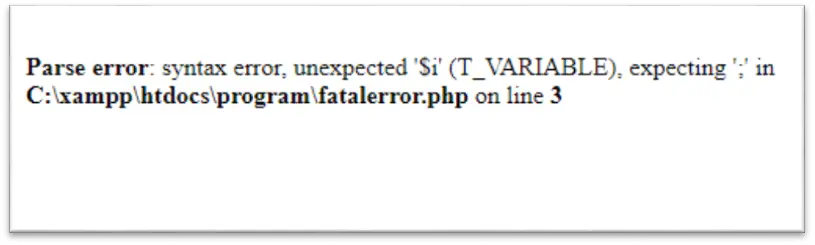
Several factors can trigger a fatal error in WordPress, with some of the most common causes including:
- Conflicting Plugins: You installed or upgraded a particular plugin that has caused conflicts with the core WordPress version and other plugins that were installed, resulting in fatal errors.
- Theme Conflict: Maybe you were using a theme that is perhaps outdated and quite poorly coded and somehow is conflicting with your core WordPress files or installed plugins.
- PHP Errors: The PHP version your hosting environment uses could be outdated and cause some WordPress compatibility problems.
- Corrupted Files: Sometimes the WordPress core files, plugins, or themes are corrupted due to errors resulting from partial updates or file manipulation. A fatal error may occur then.
- Memory Exhaustion: WordPress indeed has a memory limit. If you overshoot this memory limit, then sometimes a fatal error might occur.
Now that you are going to know what possibly could have caused the fatal error, let’s proceed and try to learn how one can access their WordPress admin in case of such an error.
How to Access WordPress Admin with a Fatal Error Warning: Step-by-Step Guide
If you encounter a fatal error warning and cannot access your WordPress admin dashboard, follow these steps to troubleshoot and resolve the issue.
1. Enable Debugging Mode
To diagnose which is the problem, WordPress has a debugging mode. This will present you with more detailed error messages so that it will help you determine why there’s this fatal error.
Enable debugging mode by doing the following:
- Access your website’s files via FTP or through your hosting provider’s file manager.
- Find the
wp-config.phpfile in the root directory of your WordPress installation. - Add the following line of code before the one that reads, That’s all, stop editing!:
define( 'WP_DEBUG', true );
- If you want the error messages to be saved to a log file, add this line as well:
define( 'WP_DEBUG_LOG', true );
Once debugging is enabled, try reloading your WordPress admin page.
The detailed error message will guide you on how to access WordPress admin with a fatal error warning by pointing out the exact problem.
2. Disable All Plugins
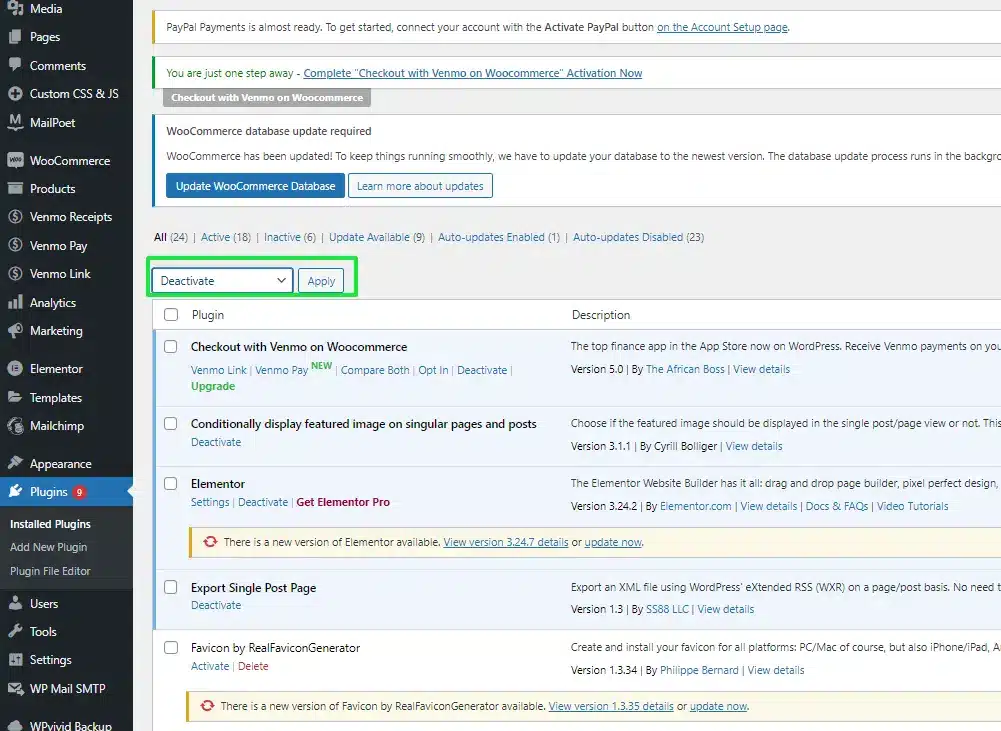
If you have tried debugging and it doesn’t seem to work, or maybe sometimes it appears to indicate a fact that a plugin is causing the problem, the next logical step as to how to access WordPress admin with a fatal error warning would be to disable all plugins.
Plugin conflicts are among the most common reasons for fatal errors in WordPress.
Here’s how to disable plugins without accessing the admin panel:
- Access your website’s files via FTP or through your hosting control panel.
- Open the
wp-contentdirectory and move it into the plugins folder. - Rename the
pluginsfolder toplugins_disabled.
This will temporarily deactivate all your plugins. If the problem seems resolved, you now know that one of your installed plugins was the offender.
You can now try to discover which plugin is causing the problem by reversing the name of the folder back to plugins and deactivating the plugins one by one from the WordPress admin section.
3. Switch to a Default WordPress Theme
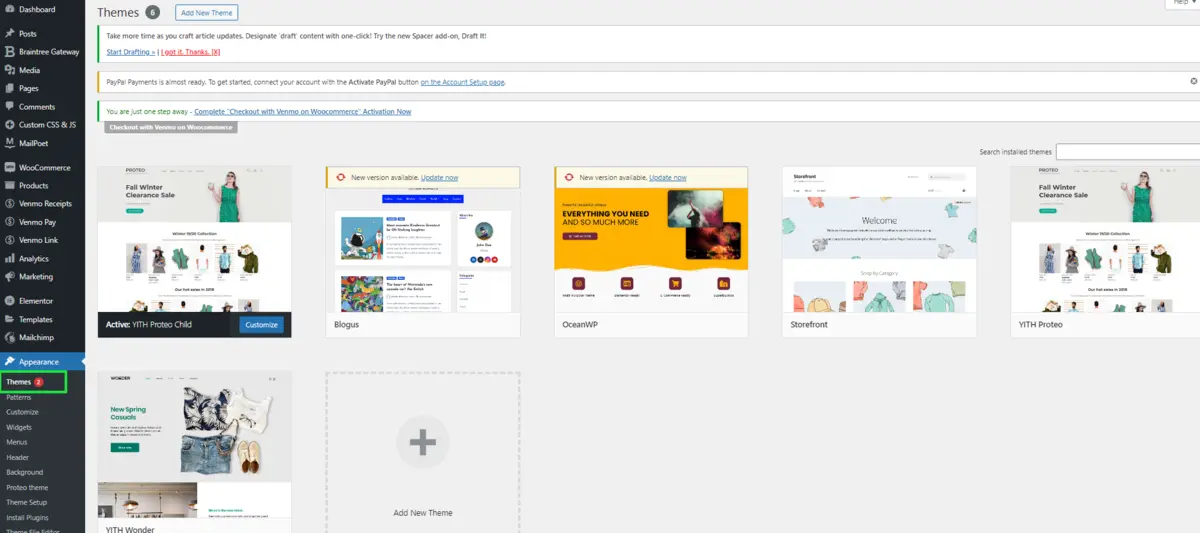
If the above does not work you should follow how to log into the WordPress admin with a fatal error message with a warning and how to switch to default WordPress theme that includes Twenty Twenty-One.
This is how you do it to make WordPress show you the admin dashboard without fatal error messages:
- Access your files through FTP or your file manager.
- Find
wp-content/themes. - Rename your currently active
themefolder to something liketheme_disabled.
The fact is that WordPress should automatically find a default theme if no active one is present. If you were able to log back into the admin panel, your theme was creating some sort of fatal error.
4. Increase PHP Memory Limit
Increasing the PHP memory limit if you get an error referring to memory exhaustion is perhaps the most common answer to the question of how to get access to WordPress admin with a fatal error concerning a memory exhaustion error warning.
Here’s the way to increase the PHP memory limit:
- Edit
wp-config.phpusing FTP. - Add the following code right before the line “That’s all, stop editing!:
define( 'WP_MEMORY_LIMIT', '256M' );
After increasing the memory limit, reload your website. This solution can often fix fatal errors caused by resource limitations.
5. Reinstall WordPress Core Files
It occurs because there are corrupted core files. You may reinstall WordPress without losing any content.
How to reinstall WordPress
- Download the latest version of WordPress from WordPress.org.
- You will use FTP to access your website files.
- You will upload the new WordPress files in your root folder on the server, replacing all files except for the
wp-contentfolder.
Once you upload the file, try viewing the admin dashboard. Most of the fatal errors are solved by reinstalling the core WordPress files as a result of corrupted files.
6. Check PHP Version Compatibility
An outdated PHP version can cause a fatal error in WordPress. Ensuring your site runs on a supported version of PHP is crucial to solving how to access WordPress admin with a fatal error warning.
Here’s how you check and update your PHP version:
- Access your hosting control panel and get into the PHP settings.
- Ensure that the PHP version is at least 7.4 or higher.
If the hosting provider only supports an older PHP version, update or move to a host that supports more up-to-date PHP versions.
7. Restore Your Site from a Backup
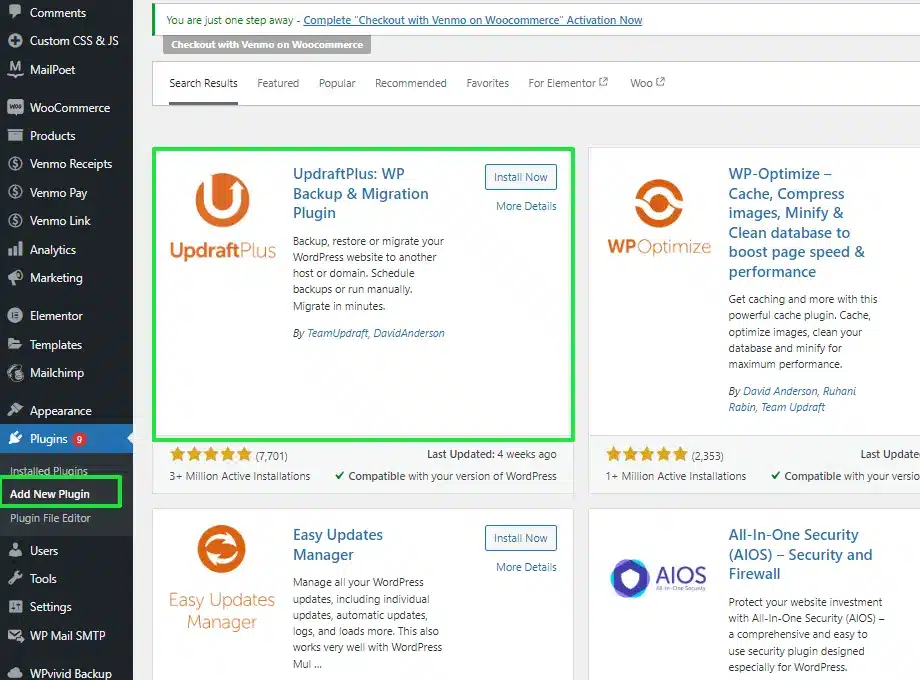
If all else fails, restoring your site from a backup may be the quickest way to regain access. Many hosting providers offer automatic backups, or you may have created backups using a plugin like UpdraftPlus.
To restore from a backup:
- Log into your hosting account and navigate to the backup section.
- Choose a backup from before the fatal error occurred and restore your website.
After restoring, check if the fatal error is resolved and if you can access the admin dashboard.
8. Contact Your Hosting Provider

When you’ve tried everything and still can’t figure out how to access WordPress admin with a fatal error warning, it’s time to contact your hosting provider’s support team. They may identify server-related issues or fix file permission problems that are causing the error.
Preventing Future Fatal Errors in WordPress
Preventing future fatal errors starts with proactive website maintenance. Here’s how you can avoid running into this issue again:
- Keep WordPress, Plugins, and Themes Updated: Regular updates minimize the risk of compatibility issues that can lead to fatal errors.
- Use Reputable Plugins and Themes: Only download from trusted sources like the WordPress repository or verified developers.
- Back-Up Your Website Regularly: Regular backups ensure you can quickly restore your site in case of issues.
- Monitor Your Website’s Performance: Using a tool to monitor error logs and website performance will alert you to problems before they escalate.
- Test in a Staging Environment: Use a staging site to test updates, new plugins, or theme changes before making them live to avoid conflicts.
Conclusion
Facing a fatal error in your WordPress site can be daunting, but now that you know how to access WordPress admin with a fatal error warning, you’re well-equipped to handle the situation.
Whether the error stems from plugin conflicts, theme issues, or memory limit exhaustion, following the steps outlined here will help you regain access to your admin dashboard.
By regularly updating your WordPress installation, using quality plugins and themes, and backing up your site frequently, you can avoid encountering this issue in the future.
Now that you understand how to access WordPress admin with a fatal error warning, you can confidently address any problems that arise and keep your website running smoothly.
FAQs
What is a fatal error in WordPress?
A fatal error in WordPress occurs when the platform cannot complete a necessary function, causing the website or admin panel to crash. This can be due to plugin conflicts, theme issues, or server-related problems.
How do I access WordPress admin with a fatal error warning?
You can access WordPress admin by troubleshooting the issue via FTP, disabling plugins or themes, increasing PHP memory, or enabling debugging mode to pinpoint the problem.
Can I fix a fatal error in WordPress without a developer?
Yes, most fatal errors can be resolved by following a step-by-step troubleshooting process, such as disabling plugins or themes, updating PHP, or restoring from a backup.
Why do plugin conflicts cause fatal errors in WordPress?
Plugin conflicts happen when two or more plugins are incompatible with each other or with the WordPress core. This can lead to a fatal error that crashes the site.
How can I prevent future fatal errors in WordPress?
You can prevent fatal errors by regularly updating WordPress themes and plugins, using reputable plugins and themes, and creating regular website backups.