
You can make a Subscriber into an Admin on WordPress from Users > All Users in under a minute. That route needs an Administrator account on the site. If you are locked out, WP-CLI or the database does the same job.
We checked every method against the WordPress Roles and Capabilities guide and the WP-CLI command docs in October 2026. The database steps now cover the table prefix and the user level row as well as the role itself.
Below you will find five methods, the Super Admin steps for multisite networks and the security checks to run after any role change. Pick the method that matches the access you still have.
What Are the WordPress User Roles?
WordPress ships with five user roles on a single site: Subscriber, Contributor, Author, Editor and Administrator. Multisite networks add a sixth role called Super Admin, who controls every site in the network. The WordPress Roles and Capabilities guide lists what each role can do:
- Subscriber: This is the most basic level of access. Subscribers can read content and edit their own profile. They cannot write or publish posts.
- Contributor: Contributors can write and edit their own posts but cannot publish them. An Editor or Administrator has to approve their work.
- Author: Authors can write, edit and publish their own posts and upload media to them.
- Editor: Editors control all content. They can publish and manage posts written by other users and moderate comments.
- Administrator: Administrators control the whole site. That covers content, themes, plugins, users and settings.
- Super Admin: This role exists only in multisite networks. A Super Admin manages every site in the network and the network settings.
How to Make a Subscriber Into an Admin on WordPress: 5 Quick Methods
There are five ways to make a subscriber into an admin on WordPress: the dashboard, a plugin, WP-CLI, a code snippet or the database. Use the dashboard whenever you can still log in with an Administrator account. Use WP-CLI, the snippet or the database when no admin login works.
Method 1: Use the Built-in WordPress User Management
WordPress has a built-in screen for managing users. If you already have an Administrator account, you can change any user role right from your WordPress dashboard.
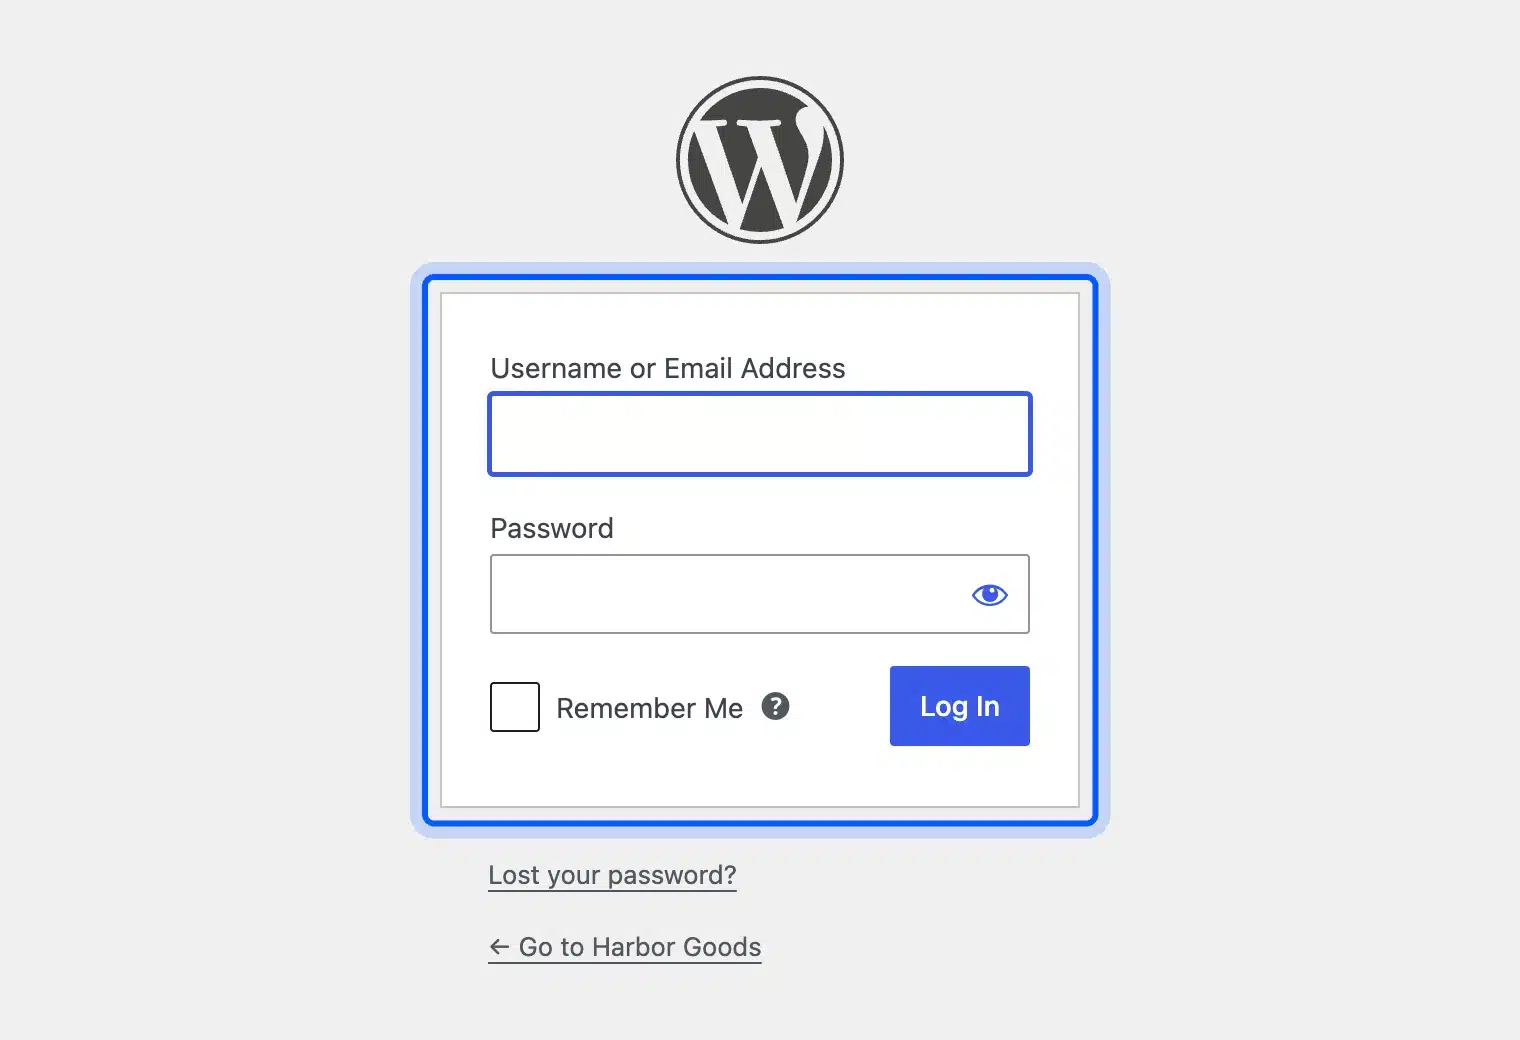
- Log in to Your WordPress Dashboard: Start by simply logging into your WordPress dashboard with your account having the Administrator rights. Once you log in, you will be able to view the full user management options.
- Navigate to All Users: From the panel on the left of your dashboard, simply click on Users, followed by All Users. From there, you will get to see a list of all of your site’s registered users. Simply look for the user who has the Subscriber role that you want to promote at present.

- Edit the User Profile: Hover over the username and click the Edit link below it. WordPress opens that user’s profile page.
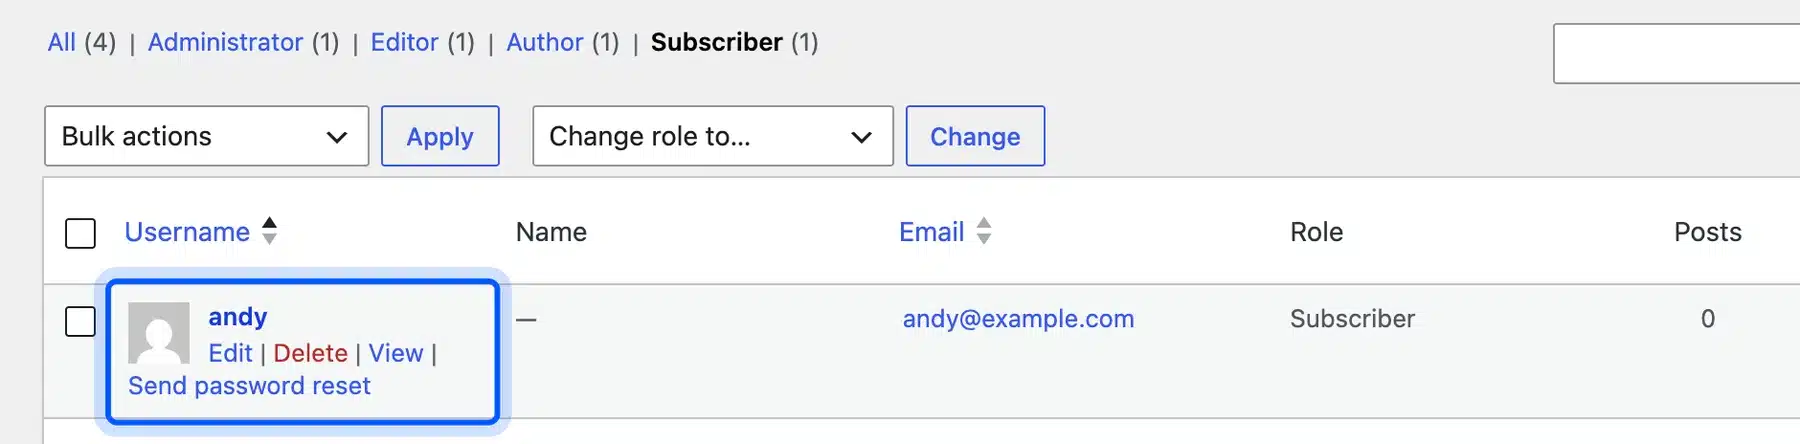
- Alter the Role: Scroll down on the user’s profile page until you find the Role dropdown. By default, it will be named as Subscriber. Simply click the dropdown and select Administrator from there.

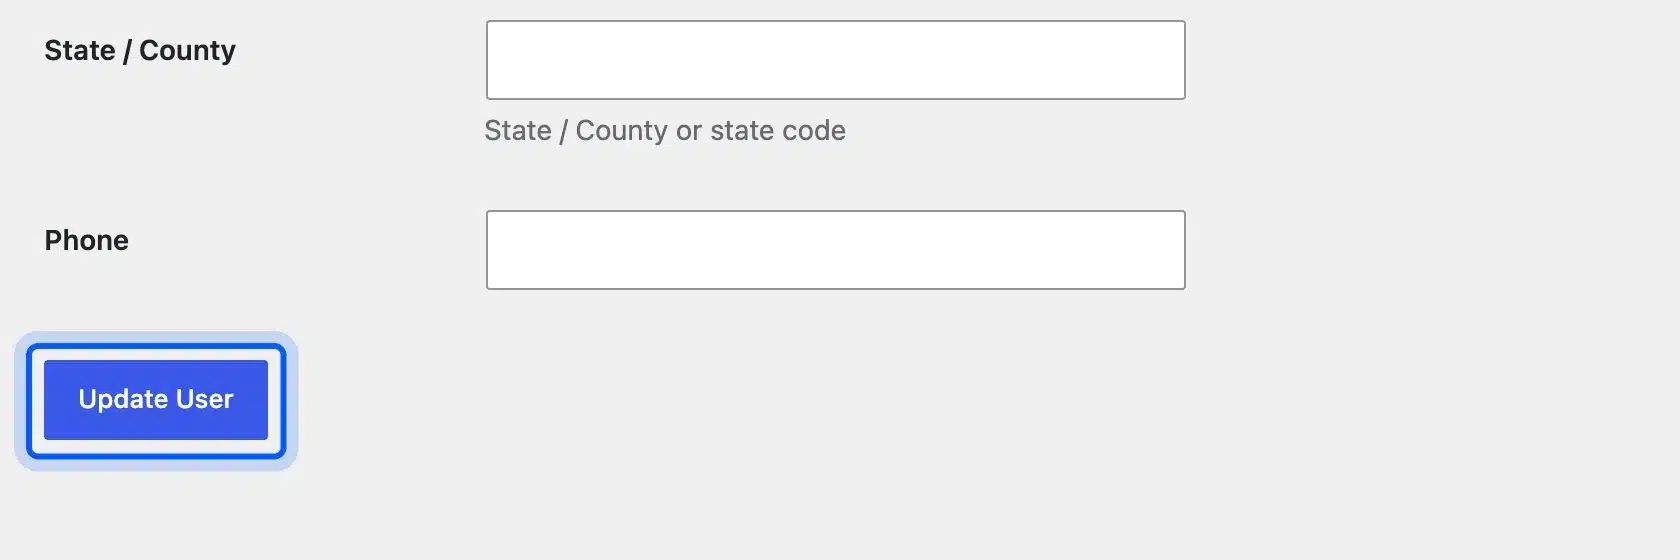
- Update the User Profile: After selecting the new role, scroll to the bottom of the page and click Update User. This will save the changes and upgrade the user’s role to Administrator.
- Verify the Change: Go back to Users > All Users and check the Role column. It should now read Administrator for that user.
Method 2: Using a Plugin
A role plugin helps when you also want to fine-tune single capabilities. User Role Editor is the most used free option, with 700,000+ active installs on WordPress.org as of October 2026.
- Install and Activate the Plugin: Go to Plugins > Add Plugin and search for User Role Editor. Install it and activate it.
- Open the User List: Go to Users > All Users. The plugin adds a Capabilities link under each username.
- Select the User: Click the Capabilities link under the user you want to promote.
- Change the Role: Set the primary role to Administrator and click Update.
Method 3: Using WP-CLI
WP-CLI changes a role with one command and needs no login. It is the fastest fix when you are locked out but still have SSH access to the server. Many managed hosts include WP-CLI on their plans.
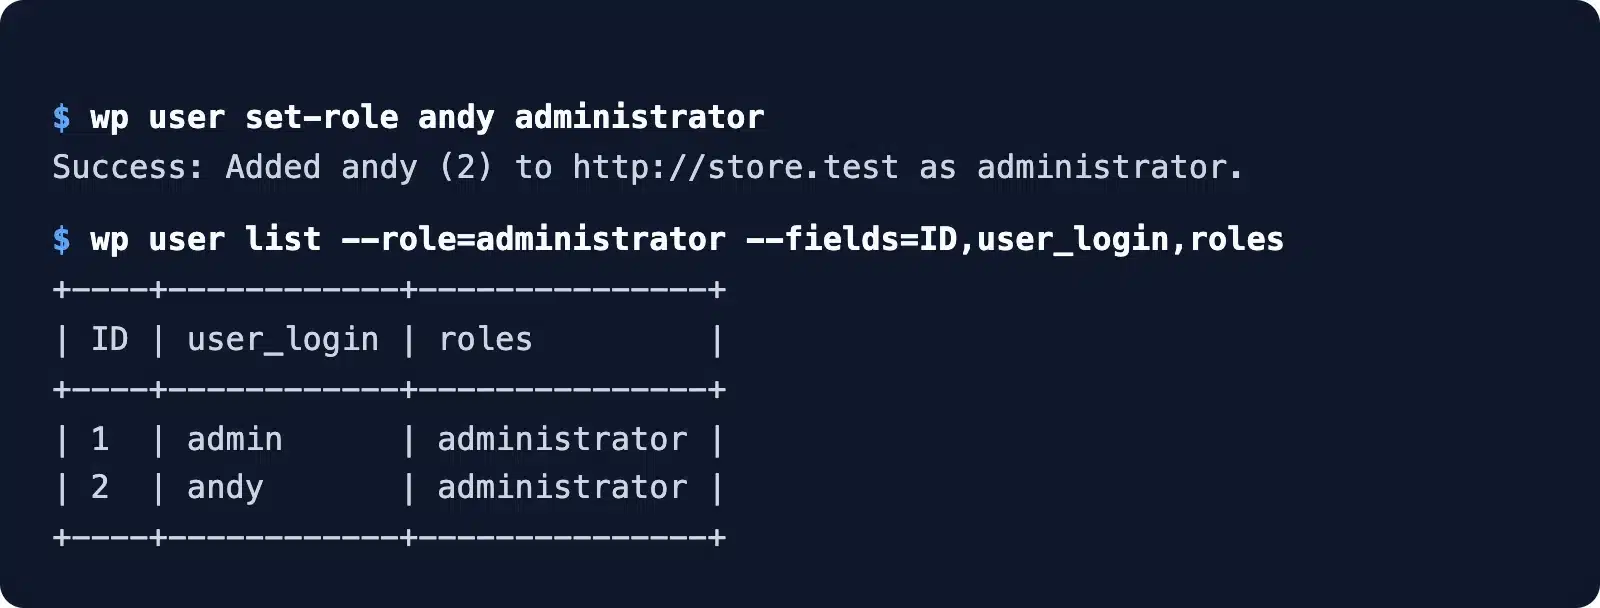
Connect over SSH, move into the WordPress folder and run this command. You can pass a user ID, email address or username:
wp user set-role andy administrator
WP-CLI prints a success line naming the user and the new role. Run wp user list --role=administrator afterward to confirm the account now shows up as an Administrator.
Method 4: Using a One-Time Code Snippet
This method helps when you can reach the site files over FTP or a file manager but cannot log in. Create a file named promote-user.php in wp-content/mu-plugins/ and paste the snippet below into it.
Replace andy with the username you want to promote. The snippet runs once on the next page load and skips users who are already Administrators:
<?php
add_action( 'init', function () {
	$user = get_user_by( 'login', 'andy' );
	if ( $user && ! in_array( 'administrator', (array) $user->roles, true ) ) {
		$user->set_role( 'administrator' );
	}
} );
Load any page of the site once, log in with the promoted account and then delete the file. Leaving it in place means anyone who learns the username knows it will always be an admin. Back up the site before you add any code.
Method 5: Using the Database
Step 1: Open Your Hosting Control Panel
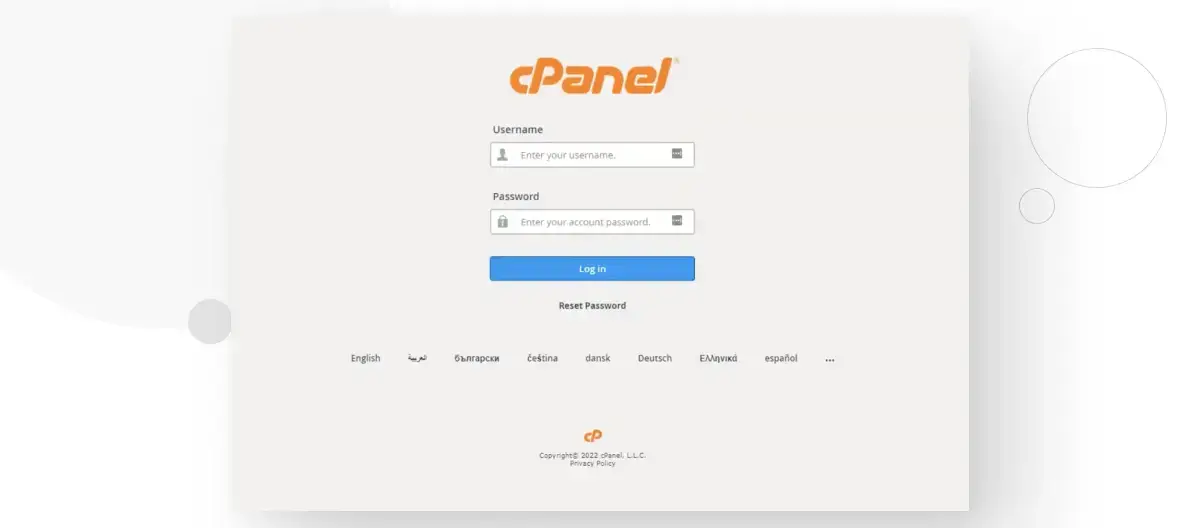
Log in to your hosting account and open its control panel. On cPanel hosts the database tools sit under the Databases section. Other hosts such as Hostinger or SiteGround have their own dashboards with a phpMyAdmin link.
Step 2: Access phpMyAdmin
Once the control panel opens, look for your database manager, such as phpMyAdmin.

Step 3: Access Your WordPress Database
- On the left sidebar, select your WordPress database from the list of all installed databases.

- If you are not sure which database contains your WordPress database, you can go back to the main cPanel interface and navigate to Files > File Manager.
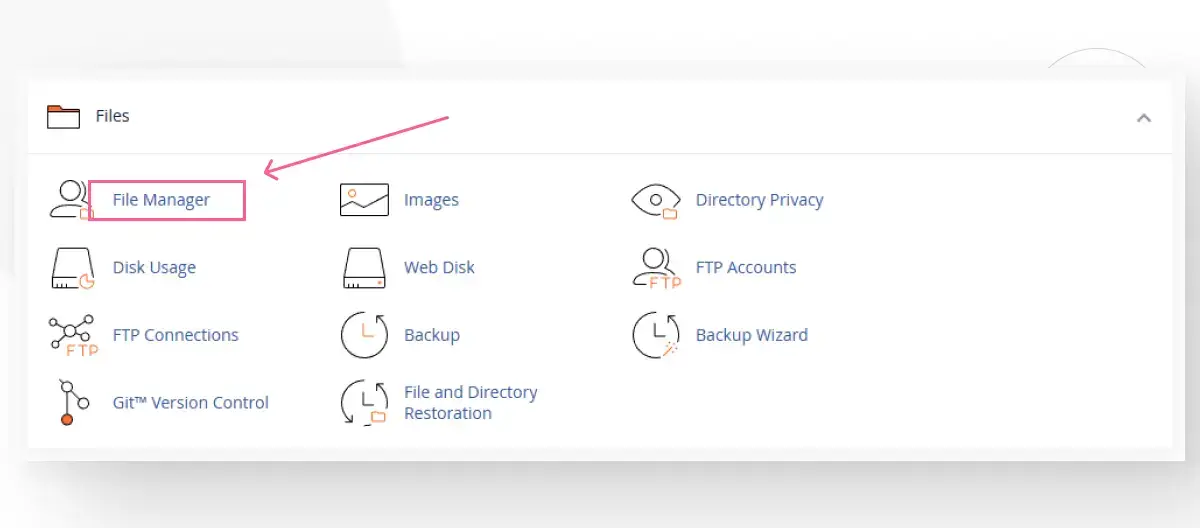
- Then, navigate to the
public_htmlfolder, which is your site’s main installation folder. In some cases, it might have a different name, such as/orroot,public,root_html, or your simple website’s name.
- In this folder, right-click the file named
wp-config.phpand select View/Edit. Find theDB_NAMEline for the database name. Note the$table_prefixline too, because every table and meta key below starts with that prefix. - Once you get the database, head back to phpMyAdmin and choose that database from the left sidebar.
Step 4: Search and Modify Your User
- Open the
usermetatable with your prefix in front, such aswp_usermeta. This table holds the settings of every user on the site.
- Find the user you want to promote by searching the nickname meta key for their name. Note the
user_idon that row. In this guide, we search for the user with the nickname Andy.
- Find the row for that
user_idwhere the meta key is your prefix pluscapabilities, such aswp_capabilities. Set its value toa:1:{s:13:"administrator";b:1;}. - Find the row where the meta key is your prefix plus
user_level, such aswp_user_level. Set its value to10. That is the level WordPress stores for Administrators. - Log in with that account. If the dashboard says you do not have permission, the meta key prefix does not match the
$table_prefixinwp-config.php.
How to Make a User a Super Admin on WordPress Multisite
On a multisite network the Administrator role only controls one site. To give a user control of the whole network, make them a Super Admin from Network Admin > Users. You need to be a Super Admin yourself, or use WP-CLI on the server.
Follow these steps in the network dashboard:
- Go to My Sites > Network Admin > Users and click Edit under the user.
- Tick the box that grants the user super admin privileges for the network.
- Click Update User to save the change.
From the command line, the wp super-admin add command does the same. Pass one or more user IDs, emails or usernames:
wp super-admin add andy
Super Admins also hold the unfiltered HTML capability on multisite, which normal site Administrators lose there. Give this role to as few people as you can.
Security Impacts when You Promote Someone to Administrator
Changing someone from a subscriber to an admin provides the individual with full control and authority over your website. This also means that there are certain risks, and you must be careful before considering anyone for this role on your WordPress site.
- Confirm User Reliability: Make sure that the individual you want to promote to admin from subscriber is reliable enough and understands the responsibilities that come along with it.
- Restrict Administrator Access: If possible, always try to restrict the number of users who have administrator rights. The fewer the administrators are, the fewer the chances for any error or unauthorized changes.
- Back Up Your Site: It is always very important to back up your entire site before you make any changes to the user roles. This also ensures that if anything goes wrong, you can easily restore your site.
- Backup Tools: You can use plugins such as UpdraftPlus to make routine backups of your site.
- Keep an Eye on User Activity: Once you promote a user to an Administrator role, check out their activities. WordPress security plugins such as Wordfence or Sucuri can assist with monitoring changes and notify you in case of any kind of suspicious activity.
- Two-Factor Authentication (2FA): Two-factor authentication for all Administrator accounts provides another layer of security. Even in the case of security concerns and where your credentials might be compromised by someone, 2FA might stop any kind of unauthorized access. To keep away any kind of unauthorized access to your WordPress admin, learn how hackers mine WordPress for admin email addresses.
How to Keep Your Site Secure After Role Changes?
Every new Administrator account is one more login an attacker can target. After a role change, review who holds admin rights, keep WordPress and plugins updated and watch login attempts. These five habits keep the site safe after any role change:
- Regular Security Audits: Perform routine audits of your site’s security. This involves checking user access logs, watching for suspicious changes, and making sure that all plugins and themes are current.
- Update WordPress Regularly: Keeping your WordPress installation current is one of the best methods to secure your site against vulnerabilities. Always apply the latest security patches and updates.
- Enforce Strong Passwords: Make sure all Administrator accounts and other high-privilege user accounts employ strong, non-repetitive passwords. Look into using password policies that need a combination of letters, digits, and symbols.
- Use Security Plugins: Security plugins such as Wordfence, Sucuri and Solid Security provide a variety of features ranging from malware scanning to firewall protection. These plugins can add more layers of protection, making it more challenging for malicious users to get into your site.
- Monitor Login Attempts: Implement systems to monitor and restrict login attempts. This can stop brute-force attacks and notify you if there is suspicious activity on your website.
Conclusion
Making a subscriber into an admin on WordPress takes one dropdown on the user profile screen when you can still log in. When you cannot, WP-CLI, a one-time snippet or two rows in the user meta table do the same job.
Whichever method you use, keep the number of Administrators small and back up the site first. Turn on two-factor authentication for every admin account.
Frequently Asked Questions (FAQs)
Q1. How to change a Subscriber to an Admin in WordPress?
You simply need to log in to the WordPress dashboard as an Administrator; there, you can update the role from the Role dropdown.
Q2. Can you use a plugin to change a Subscriber’s role to Admin?
Yes, plugins like User Role Editor can make this process easier. You simply need to install the plugin and activate it.
Q3. Is there a way to promote a Subscriber to Admin without using a plugin?
If you are comfortable with coding, you can modify your WordPress functions. But do not forget to back up your site before making any changes to prevent any issues.
Q4. How to change a Subscriber to Admin using the database?
Open phpMyAdmin and the wp_usermeta table, using your own table prefix. Set the user’s wp_capabilities value to the administrator string and their wp_user_level value to 10.
Q5. What security precautions should be taken when promoting a user to Admin?
Ensure the user is trustworthy and limit the number of Administrators on your site. Back up your site, monitor activities, and use security features like two-factor authentication (2FA) to keep your site safe.