AI integration with WordPress means connecting AI tools like ChatGPT or Rank Math AI directly to your site so they can write, chat, or optimize on your behalf. You do not need to touch a line of code to make this work. Most of the setup happens through the Plugins screen you already use every day.
This guide skips the theory. You will install a plugin, connect it, and test it in the next twenty minutes.
Every step below is broken down small enough to screenshot on its own, so you can build your own internal documentation as you go. Bold text marks the clicks that actually matter.
What Does AI Integration with WordPress Actually Mean?
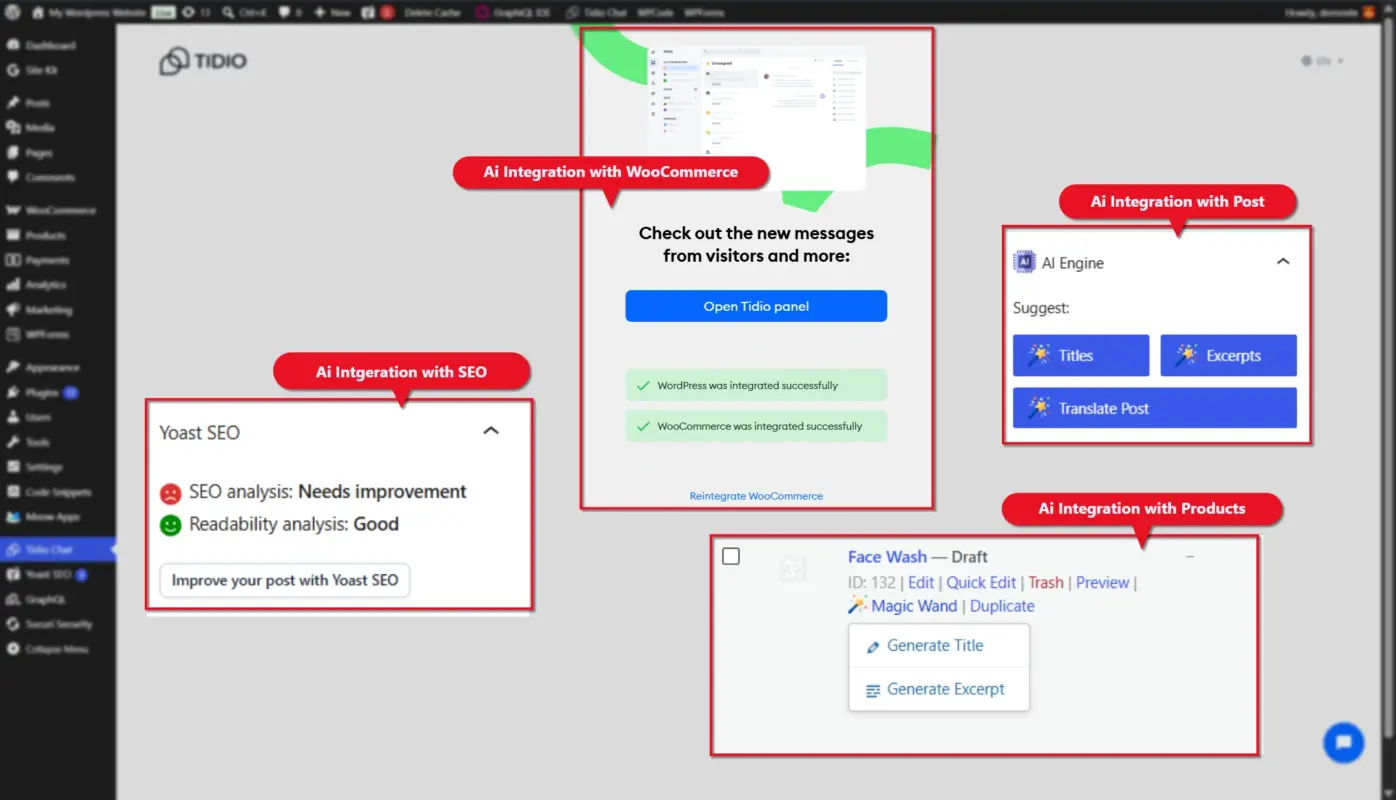
In plain terms, AI integration with WordPress is any setup where an AI model reads or writes something on your site through a plugin or an API connection. That covers a chatbot answering a visitor’s question, a tool drafting a blog post, or an SEO plugin scoring your content before you hit publish.
Adoption has moved fast. Roughly 30% of WordPress sites now run at least one AI-powered plugin, up from under 8% two years ago, according to WordPress usage data. Content generation, SEO, and customer support chatbots lead the use cases.
None of that requires custom development. A single plugin install usually covers it, which is exactly what the next section walks through.
Before You Start: What You’ll Need
Skip this section and you will hit a wall halfway through setup. Three things need to be ready first.
You need admin access to your WordPress dashboard. Editor or contributor roles cannot install plugins, so check this now if you share the site with a team.
Some AI plugins need an API key from the AI provider, usually OpenAI. Not every plugin requires one. Free tools like Akismet run without any external key at all.
Finally, decide what you actually want AI to do before you install anything. Writing help, a chatbot, and SEO scoring are three different problems, and picking one goal first keeps the setup from turning into an hour of random clicking through WordPress AI tools you don’t need yet.
How to Add an AI Plugin to WordPress (Step-by-Step)
This section covers the exact clicks for installing your first AI plugin. We’re using AI Engine as the working example because it handles writing, chat, and images from one install, but the same five steps apply to almost any WordPress AI plugin.
- Go to yoursite.com/wp-admin and sign in with your admin username and password.
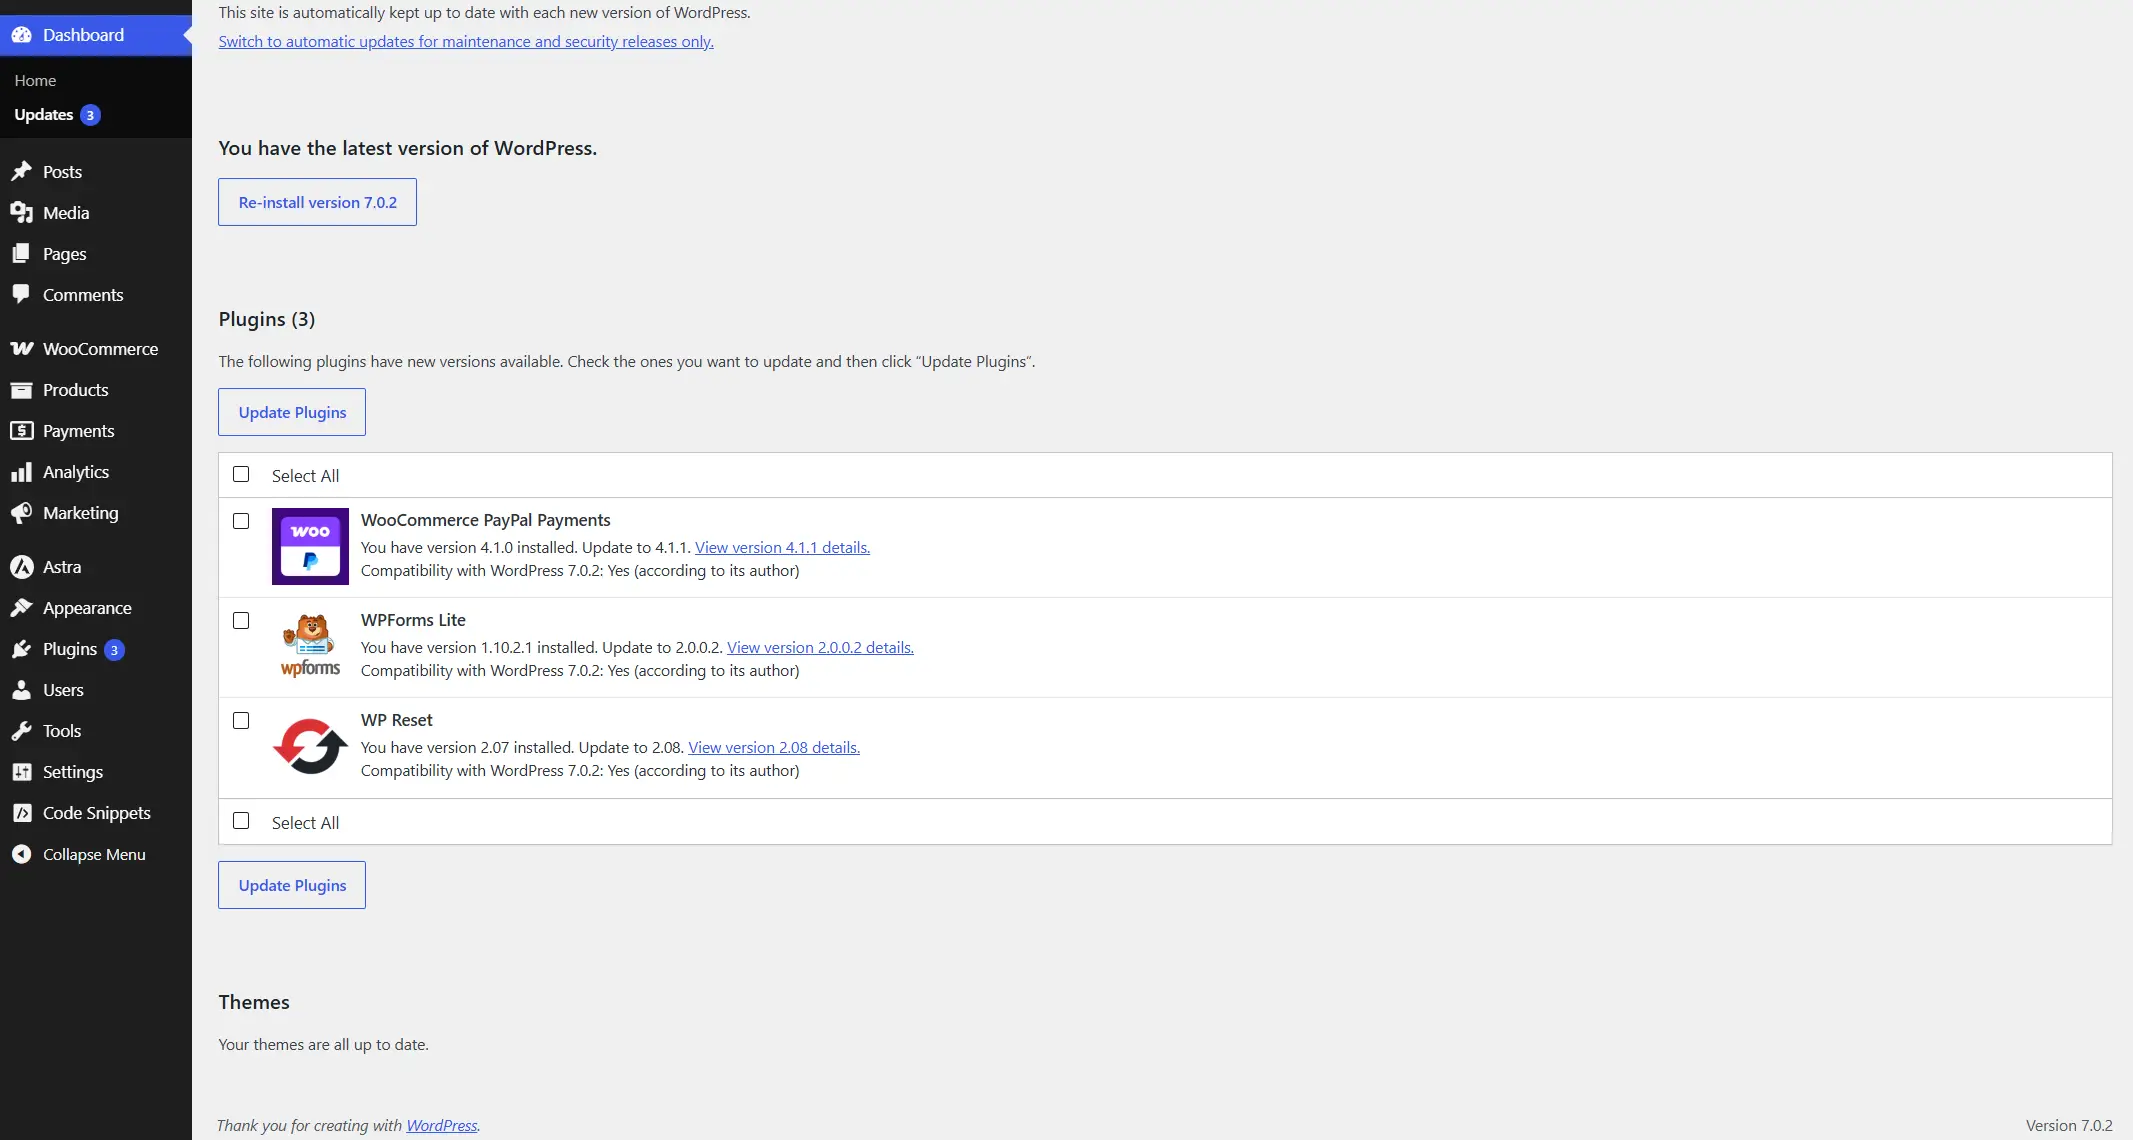
- Click Plugins → Add Plugin in the left sidebar.
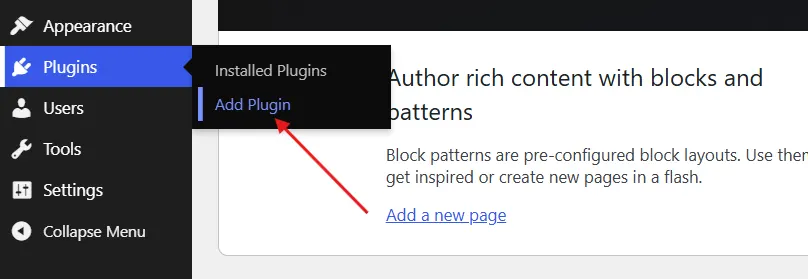
- Activate and Install AI Engine Plugin from WordPress Plugin Directory.
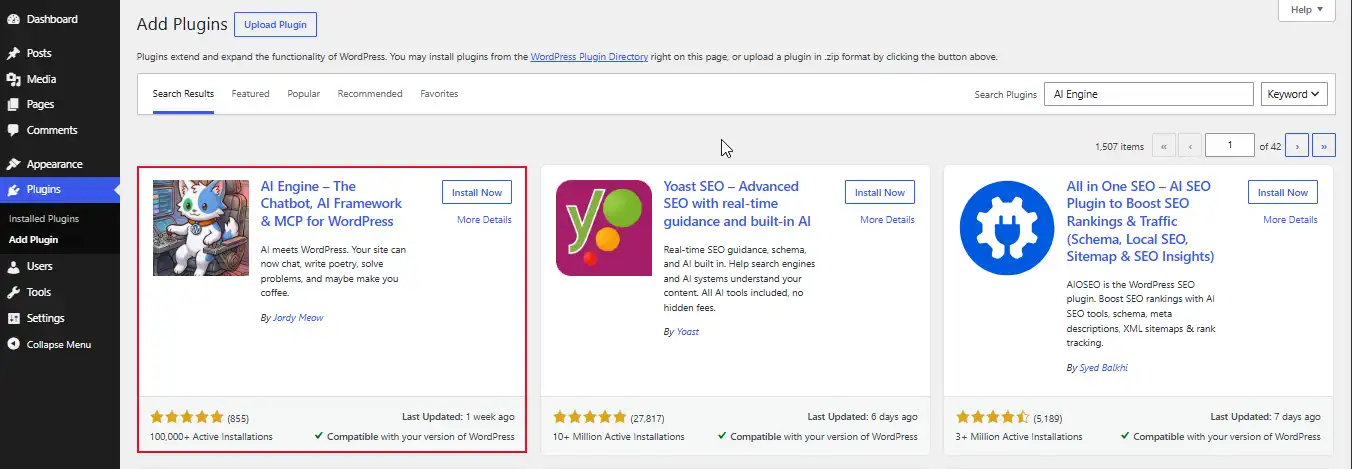
- Open the new AI Engine menu item in your sidebar to confirm the install worked.
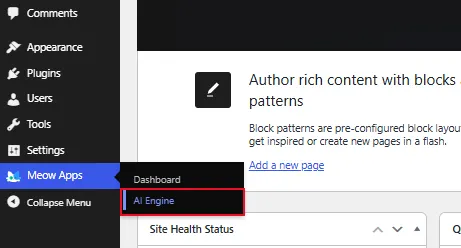
- Go to the plugin’s settings page and find the API Key field.
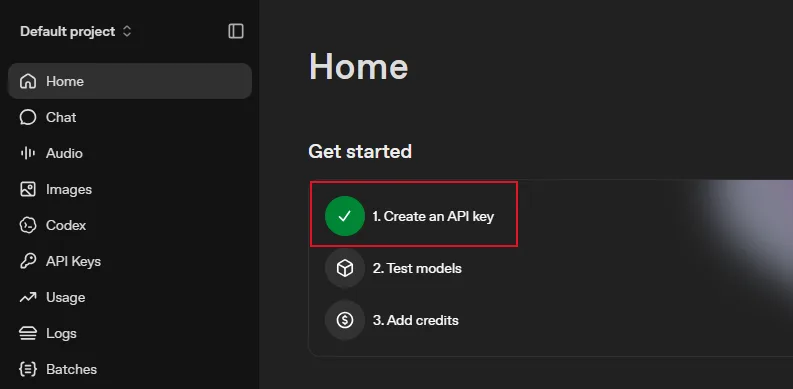
- Create an account on OpenAI’s platform and generate a secret key.
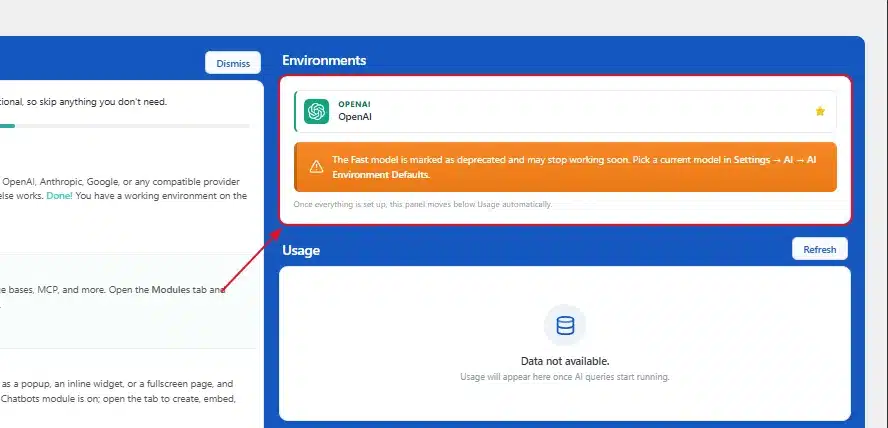
- Paste the Api Key Inside the Environment → OpenAi. A green or yellow checkmark confirms the connection; a red error usually means the key is not filled properly.
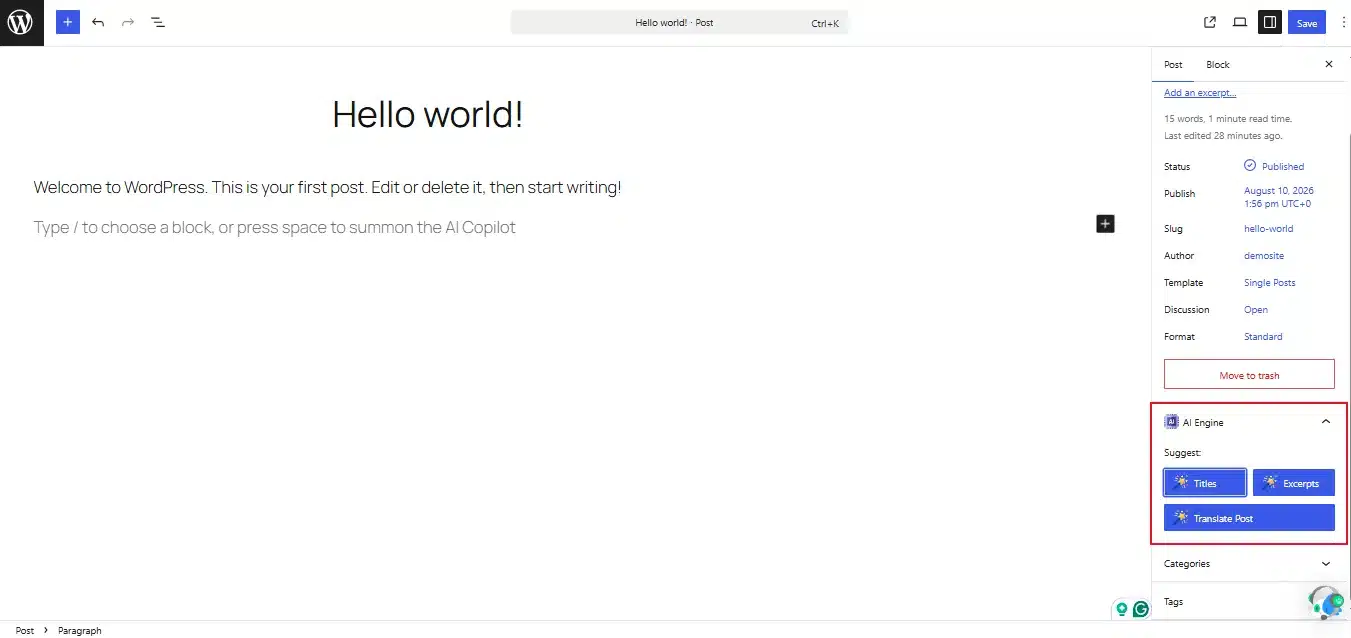
This method takes about five minutes and works the same way for most WordPress AI plugins, not just AI Engine.
How to Use AI for Specific WordPress Tasks
Once one plugin is connected, the same account often powers several tasks across your site, so you rarely need to sign up for a separate service for each use case.
Writing Content in the Block Editor
Place your cursor and use the AI button in your toolbar. Give it a specific prompt, not a vague one. “Write an intro about home coffee grinders for beginners” beats “write something about coffee.” The more context you give it- tone, audience, target word count- the closer the first draft lands to something usable. Treat the output as a starting draft, though, not a final one.
Most plugins let you regenerate a paragraph if the first pass misses the mark, which is faster than rewriting from scratch. Edit it into your own voice before publishing, and always fact-check any specific claims, dates, or statistics it includes.
Setting Up an AI Chatbot
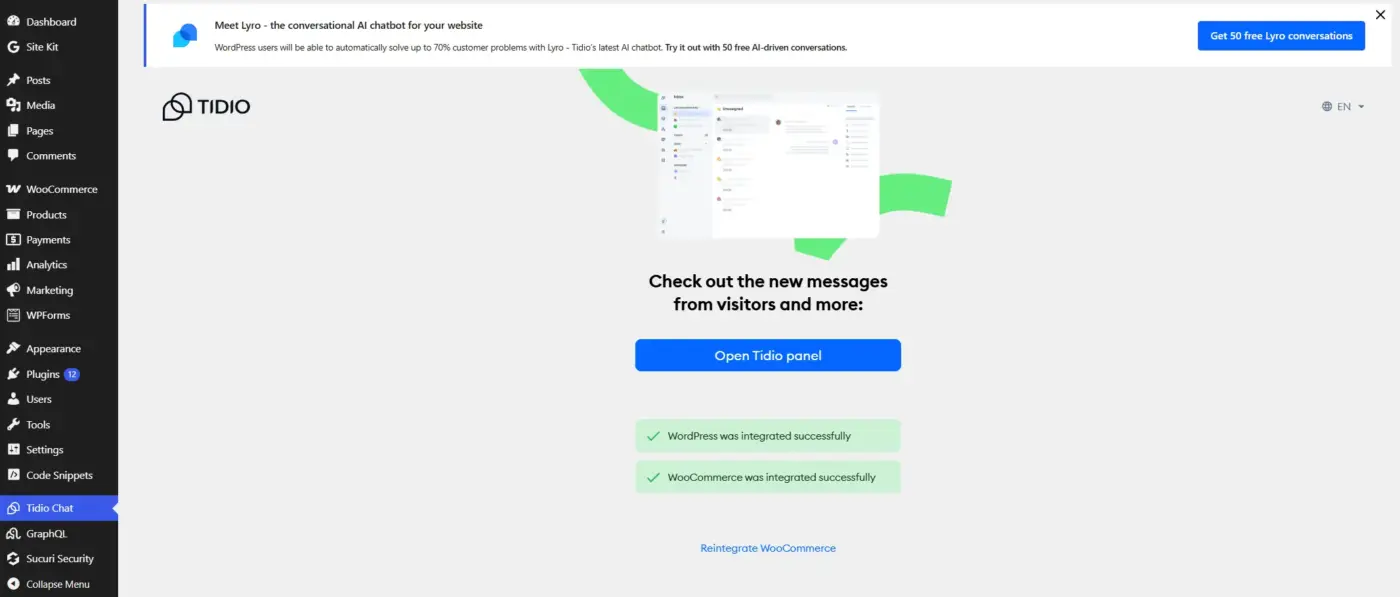
Most chatbot plugins add a widget via shortcode or block, no theme edits needed. Setup usually takes under ten minutes once your API key is connected. Our guide on integrating ChatGPT into WordPress covers both the plugin and manual API routes. Still comparing options? See our WordPress chatbot plugins roundup. Install one the same way as AI Engine, then set a welcome message and, ideally, a fallback response for questions the bot can’t answer confidently.
AI-Assisted SEO with Rank Math or Yoast
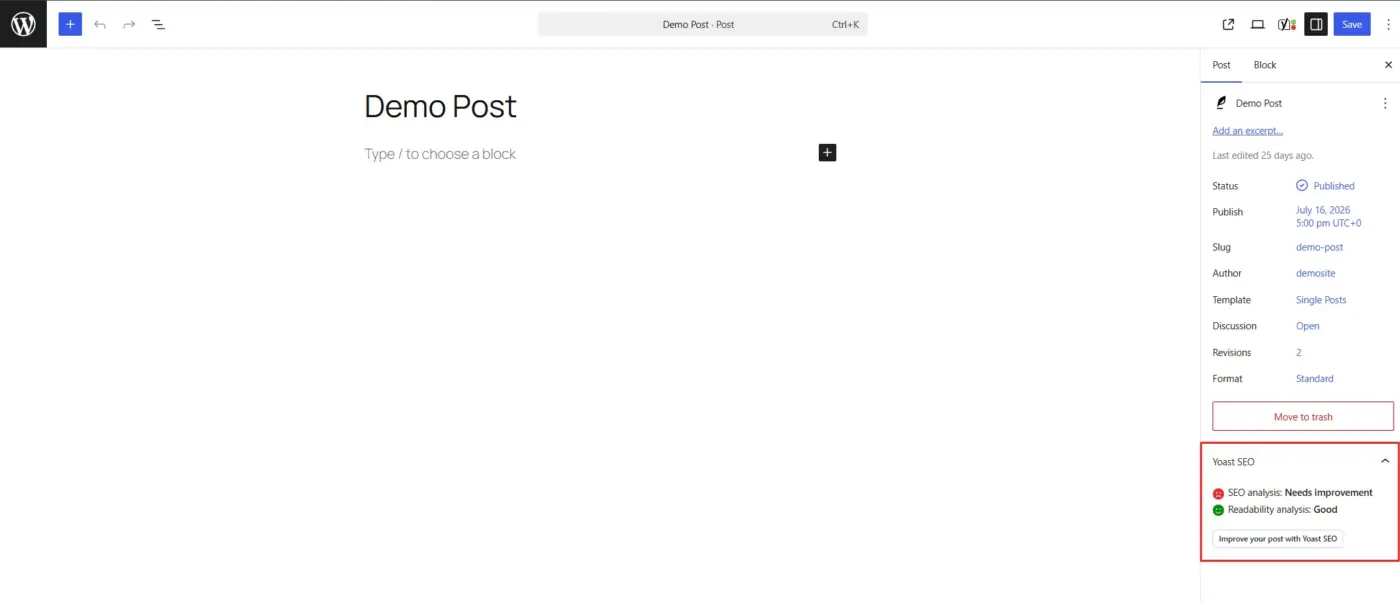
Both plugins now score content with AI as you type, checking keyword placement, content depth, and readability in real time. Install either one, open a post, and check the SEO panel in the sidebar. Rank Math flags missing keywords, thin content, and readability issues; fix the red items first, since they carry the most weight toward your overall score. Green and yellow flags are worth a glance too, but they rarely block a post from ranking the way a red flag can.
AI for WooCommerce Product Descriptions
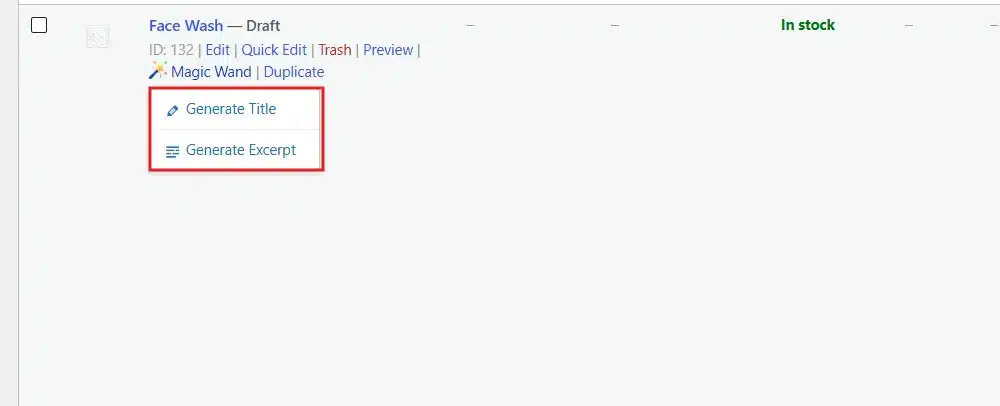
This is where AI pays off fastest for stores: draft hundreds of descriptions in seconds instead of writing each by hand. The catch is accuracy. AI doesn’t know your real specs, materials, or sizing, so a generated description can confidently state the wrong detail unless you verify it against your actual product data. Our guide on using AI for WooCommerce product descriptions covers prompts that keep facts correct, including how to feed the AI your spec sheet directly instead of letting it guess.
Product discovery is moving fast too. Our AI-powered product search plugin lets shoppers search by photo instead of keywords, processing images in-browser rather than sending them externally, which keeps customer data on your own site instead of a third-party server.
Common Mistakes to Avoid When Adding AI to WordPress
Most AI integration problems trace back to the same handful of mistakes. Watch for these.
- Publishing AI content without editing it: Search engines and readers can usually tell, and unedited AI drafts tend to underperform edited ones on both fronts.
- Skipping the privacy policy update: If a chatbot or writing tool sends visitor data to an outside API, your privacy policy needs to say so. This gets missed constantly.
- Running too many AI plugins at once: Each one adds its own script to your site. Stack four or five and your page speed will show it. Start with one plugin, confirm it earns its place, then add another.
- Using a stock API key on a high-traffic site: Free tiers cap out fast. If a chatbot suddenly stops responding, check your API usage dashboard before assuming the plugin broke.
Point to Know: Spam filtering plugins like Akismet already run on machine learning, and pairing them with a new AI writing tool sometimes flags legitimate comments as spam during the first week. Give it time to recalibrate before disabling anything.
Conclusion
AI integration with WordPress is not a redesign project. It is a handful of plugin installs, each solving one specific job: writing, chatting, or scoring content.
Start with the single task costing you the most time right now, install the plugin that handles it, and test it before you touch a second one. That order keeps setup simple and keeps your site fast.
Come back to this guide whenever you’re ready to add the next piece. An AI-powered WordPress website gets built one working plugin at a time, not in one afternoon.
Frequently Asked Questions (FAQs)
Q1. Does adding AI to WordPress slow down my site?
It can, if you install too many AI plugins at once, since each one loads its own script. One or two well-chosen plugins on decent hosting rarely cause a noticeable slowdown.
Q2. Do I need coding skills to integrate AI with WordPress?
No. Every step in this guide uses the standard Plugins screen and plugin settings pages. Coding only becomes necessary for fully custom AI features outside what plugins offer.
Q3. Is AI-generated content on WordPress bad for SEO?
Not inherently, but unedited AI content often reads generically, and search engines reward genuinely useful pages over generic ones. Edit and fact-check anything AI drafts before publishing it.
Q4. Can I use more than one AI plugin at the same time?
Yes, but each added plugin costs some page speed. Confirm the first one is worth keeping before adding a second, and avoid running two plugins that do the same job.
Q5. Will my visitors’ data be safe if I add an AI chatbot?
That depends on the plugin and where it sends data. Check whether the AI provider trains on your conversations, and update your privacy policy to reflect what the chatbot collects.
Q6. What’s the cheapest way to start with AI integration with WordPress?
Free plugins like AI Engine’s free tier or Akismet cost nothing to install, and OpenAI’s API has a small free usage allowance for testing before you commit to a paid plan.
Q7. How much does an OpenAI API key cost to use with a WordPress plugin?
OpenAI’s API runs pay-as-you-go. New accounts often get free testing credit. After that, occasional drafting or moderate chatbot use typically costs a few dollars monthly. Set a usage limit in your dashboard to avoid surprise bills.
Q8. Can I remove an AI plugin later without breaking my site?
Yes. Deactivating and deleting a well-coded plugin removes its settings without touching your posts or pages. Content it already wrote stays published. Chatbot history or custom database tables sometimes linger, so check uninstall notes.
Q9. Do I need a separate AI plugin for each task, or can one plugin do everything?
Some plugins, like AI Engine, bundle writing, chat, and images under one API key. Others handle just one job. Starting all-in-one is simpler; switch to specialized plugins only if a bundled feature falls short.
Q10. How do I know if an AI plugin is safe to install on a client’s site?
Check its last update date, install count, and whether it discloses what data it sends externally. A plugin untouched for over a year is risky. Confirm it doesn’t request more permissions than its job needs.